Replaces
Part Details
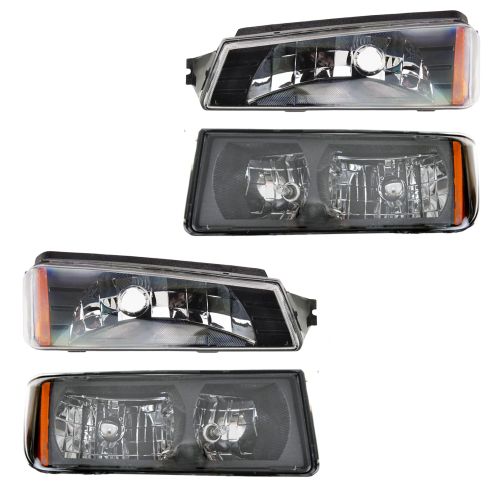
Assemblies may include halogen or incandescent test bulbs that should be replaced before installation.
Attention California Customers:
 WARNING: This product can expose you to chemicals including Chromium (Hexavalent Compounds), which is known to the State of California to cause cancer, and birth defects or other reproductive harm. For more information, go to www.P65Warnings.ca.gov
Lifetime Warranty
This item is backed by our limited lifetime warranty. In the event that this item should fail due to manufacturing defects during intended use, we will replace the part free of charge. This warranty covers the cost of the part only.
Created on:
Tools used
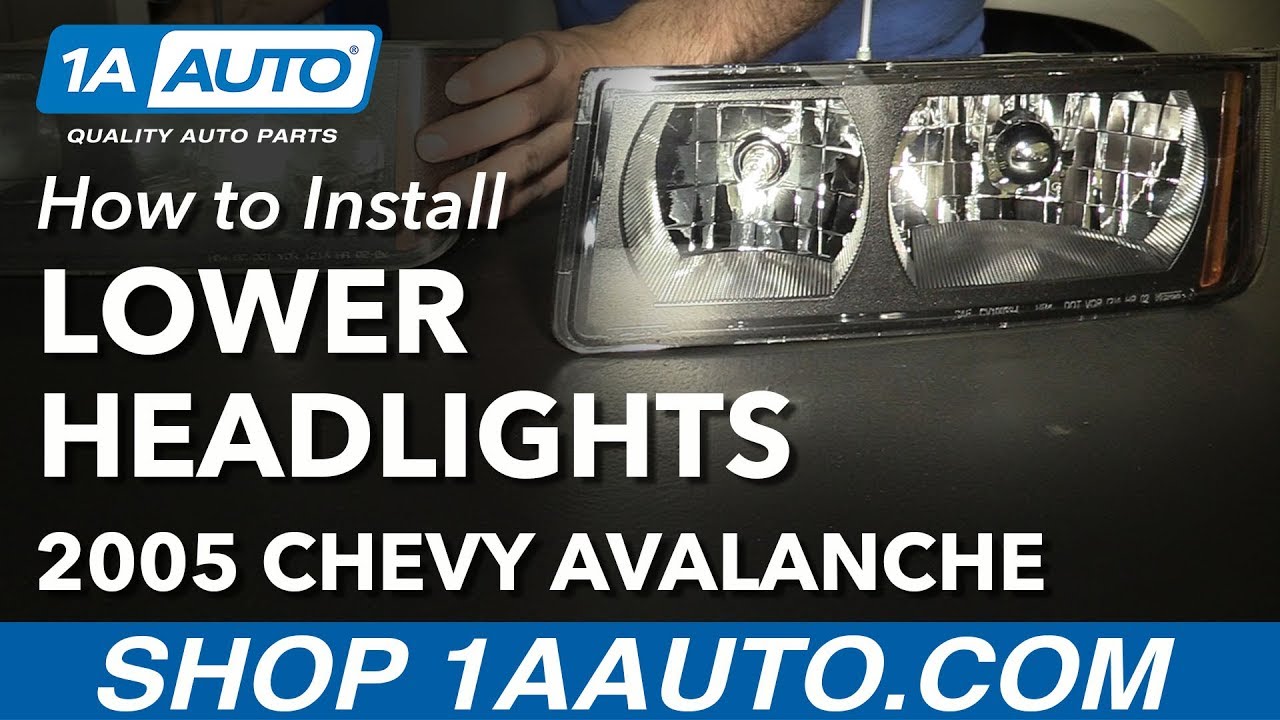
To open the hood on this 2005 Avalanche, open your door. Pull the release. The secondary release is actually under the emblem here. Push it to this side, and lift the hood up. To change this headlamp, you first have to remove the turn signal lamp. Reach down, push this tab in. Push this tab in right here, pull it out. Now, we're going to pull the headlamp away from the grill, off the tabs that it's mounted on. Push this in. Turn it counterclockwise to remove the bulb and socket. Turn the marker light bulb counterclockwise to remove it.
There are two pins, L-shaped pins, one here and one here. I'm going to unlock those to remove the light. I'm going to use a flat-bladed screwdriver to pop it out. Pull it straight out. Same thing over here. Pull it straight up and out. Put those aside. Headlamp is free. I'm going to unlock the connector on the lamp on the bulb and push it down. Pull it off. I'm going to undo the other side. I'm going to pull the clip or the lock on it away from the headlamp, and I'm going to push down on the connector at the same time to pull it off. Then, you can lift the light up and slide it out.
Here's our old yellow and discolored headlamp. It's all pitted from going down the road. You can't really see that well out of this. This is our new one from 1aauto.com, perfectly clear. You're going to have great night vision with this. It comes with two new bulbs, and look at the old one. It has the same style of mounting and the same shape. It'll fit great and look great.
I'm going to take our new head lamp. I'm going to feed that up like that. That has the adjustment for it. I'm going to plug in our connectors. Place it into the little mounting area. We'll reinstall these L-pins. This one will slide down just like that, and I can move it around a little bit to line it up. You flip it over and lock it in. Same thing with the other side. You need to wiggle the headlamp a little bit to get it in there. You want to flip it over and lock it. The headlamp is installed.
Now, reinstall your turn signal lamp. Turn this clockwise to lock it. Install the side marker bulb. Turn it clockwise to lock it. Put these tabs into the radiator support. Push this up and in. If you need to adjust the aim of the headlamp, you can turn this screw in or out.
This is a basic tutorial on how to aim the headlights on your vehicle. Find the axis of your headlights. This is usually indicated with a small dot or the headlight bulb size on the lens. If not, it's the actual center point of your headlight bulb. Transfer this mark to a vertical wall with a preferably dark color that'll allow you to back up 25 feet. Pull up and find the center line of your vehicle, as well as the center line of your headlight axis.
Mark the wall with the height of the headlights and a straight line going across at that axis height. Back your vehicle up 25 feet from the wall to the front edge of your vehicle's headlights. Turn your headlights on, and locate the adjusting screw, usually on the back side of your headlights. You'll want to rotate this until the passenger hot spot or focus of the beam is approximately two inches below the line and the driver's side is four inches below the line. We change the heights on each side so you can still get a good beam to the off side of the road on the passenger's side and have the driver's side low enough to not blind oncoming traffic.
Thanks for watching. Visit us at 1AAuto.com for quality auto parts, fast and free shipping, and the best customer service in the industry.