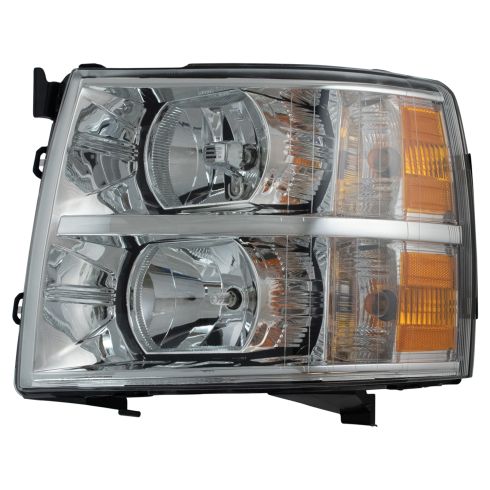
2011 Chevrolet Silverado 1500 Driver Side Headlight Assembly DIY Solutions LHT03043
Out of Stock
$124.95
Notify When Available
Description
Vehicle Fit
Warranty & Shipping
How-To & Tools
Part
Details
Lens Material:
PC (Polycarbonate)
Bulb Type:
H11 Low Beam
9005 High Beam
Item Condition:
New
Specifications
Side Location
Driver Side
Complete Repair in One Purchase - Stop searching for parts individually and complete your repair with a customized kit or set from DIY Solutions.
High-Quality Parts from Trusted Brands - DIY Solutions' kits and sets are selected from the best automotive brands and include hard-to-find and even obsolete parts you may need for your vehicle.
Guaranteed Fit - DIY Solutions ensures its selected parts are quality-tested to guarantee fit and function.
Assemblies may include halogen or incandescent test bulbs that should be replaced before installation.
Attention California Customers:
WARNING: This product can expose you to chemicals including Chromium (Hexavalent Compounds), which is known to the State of California to cause cancer, and birth defects or other reproductive harm. For more information, go to www.P65Warnings.ca.gov
Lifetime Warranty
This item is backed by our limited lifetime warranty. In the event that this item should fail due to manufacturing defects during intended use, we will replace the part free of charge. This warranty covers the cost of the part only.
FREE Shipping is standard on orders shipped to the lower 48 States (Contiguous United States). Standard shipping charges apply to Hawaii and Alaska.
Shipping is not available to a P.O. Box, APO/FPO/DPO addresses, US Territories, or Canada for this item.
Expedited is available on checkout to the United States, excluding Alaska, Hawaii.
Final shipping costs are available at checkout.
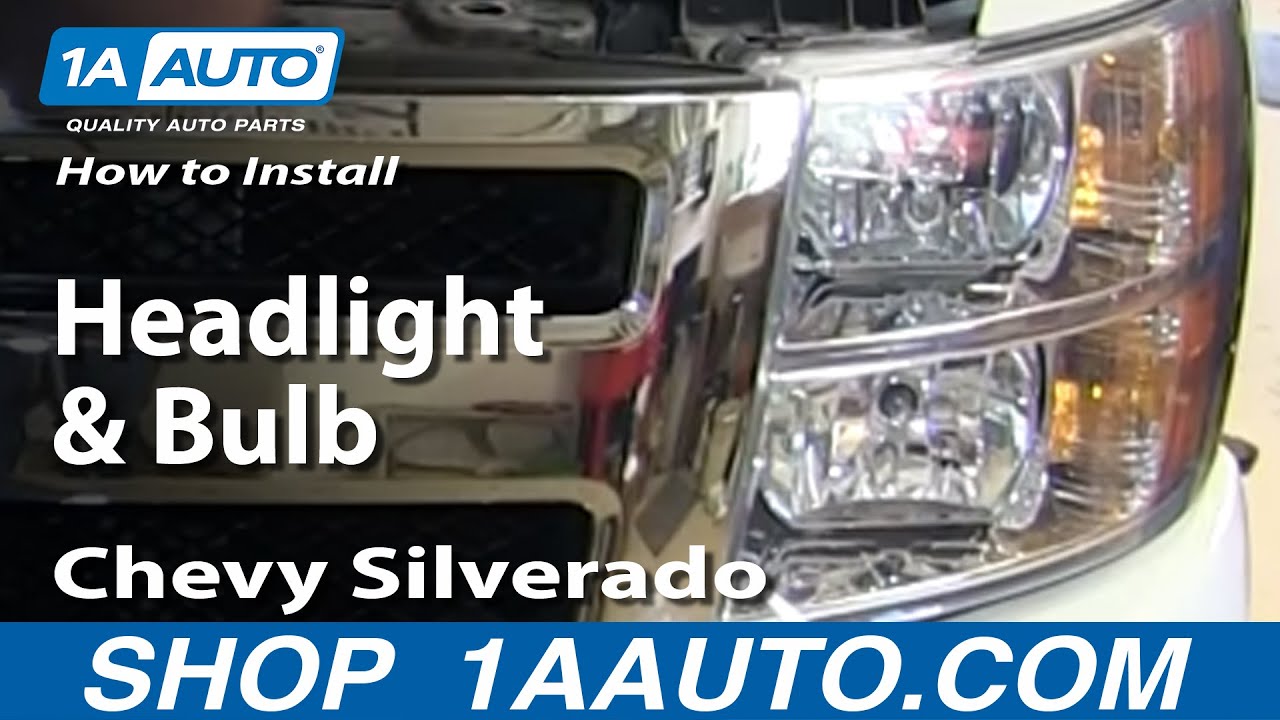
How To Replace Headlights Bulbs 2007-13 Chevy Silverado
Created on:
Tools used
Flat Blade Screwdriver
10mm Socket
Ratchet
Needle nose pliers
1. Removing the Grille
Pry out the eight plastic clips from the trim panel using a flat blade screwdriver
Remove the four 10mm from the grille with the socket and ratchet
Disconnect the four grille clips with the needle nose pliers
Pull out the grille
2. Removing the Headlight
Remove the two 10mm bolts from the headlight bracket
Pull back the wheel well panel
Remove the 10mm bolt from the headlight bracket behind the wheel well panel
Pull the headlight out
Disconnect the headlight wiring harness
3. Replacing the Headlight Bulbs
This step is only necessary if you are replacing the headlight bulbs
Turn the base of the bulbs counterclockwise
Remove the old bulbs
Disconnect the wiring harnesses from the old bulbs
Connect the new bulb to the wiring harness
Insert the new bulbs
Turn the base of the new bulbs clockwise
4. Installing the New Headlight
Reconnect the wiring harness to the headlight
Line up the bolt holes on the headlight bracket to the bolt holes on the vehicle
Replace the three 10mm bolts into the headlight bracket
5. Reattaching the Grille
Push the grille tabs onto the clips
Replace the grille bolts
Put the trim panel into place
Lock the trim panel into place with the plastic clips
Brought to you by 1AAuto.com, your source for quality replacement parts and the best service on the Internet.
Hi, I'm Mike from 1A Auto. I hope this how-to video helps you out and next time you need parts for your vehicle, think of 1AAuto.com. Thanks.
In this video, we're going to show you how to replace the headlight on this 2011 Chevy Silverado 1500. It's the same process on the 2500s and 3500s between the years of 2008 and 2012. The only tools you'll need are a 10 millimeter socket and ratchet, pliers, and a flat blade screwdriver.
Remove the top trim panel. There are some clips and what you do is use your flat blade screwdriver to pry up in the middle of the clip. Once you get the middle up, the whole clip will come out. There are eight of these clips to remove. We'll fast forward, here, as we take those out.
Once the clips are out, you can just lift that panel and set it aside. You can see here there are four 10 millimeter bolts. You want to just go ahead and remove those. Down behind the grill, you'll see there are four of these clips. You just want to use pliers to push the clip together, and then you want to pull out on the grill to pull it free. You want to do that to all four of them. After all four of those clips are free, you just want to pull that grill out and off. Behind the headlight, you can see there's these two 10 millimeter bolts. You just want to remove those. If you come down here into the wheel well and you pull this inner panel back, you'll see there is one more 10 millimeter bolt right there securing that headlight. You just need to loosen that bolt up some.
With those three bolts out, you just want to pull that headlight out and turn it a little bit and it should come free. You'll see there's a harness here. All you'll want to do is . there's a tab at the top, push it in, and pull that harness out.
The new headlight's in the front, the old one in the back. You can see they're exactly the same. Same mounting points, same harnesses, everything. It's an exact replacement from 1A Auto.
If you're just looking to replace the bulbs, you just turn them counter clockwise, they unlock, and pull out. Then, you disconnect by lifting the tab up and pulling out. The new bulb will go on. Insert and turn clockwise to lock it. Same with the upper bulb. Then, there are two other bulbs, basically the same idea, twist counter clockwise. These just pull right out. Put a new bulb in, make sure it snaps in there completely, and put it in. Do the same thing for the upper one. Pull it out, new bulb, make sure it snaps in there completely.
To reconnect your headlight assembly, you just want to push that harness back in and line up these tabs with the holes on the truck. You just want to twist the light in and push it back into place. Let's fast forward, here, as he replaces those three 10 millimeter bolts that secure the headlight. To put the grill back on, you just want to line up the four tabs on the back and push it into place and it will lock on. We'll fast forward as he replaces those four 10 millimeter bolts along the top of the grill. Just put that panel back and replace those eight clips along the top by just pushing down the center to lock them. That's it.
We hope this helps you out. Brought to you by www.1AAuto.com, your source for quality replacement parts and the best service on the Internet. Please feel free to call us toll-free, 888-844-3393. We're the company that's here for you on the Internet and in person.
Product Reviews
Loading reviews
4.89/ 5.09
9 reviews
5 Stars
4 Stars
3 Stars
2 Stars
1 Star
8
1
0
0
0
A great value for me
[{"url": "https://images.turnto.com/media/pNISJll75W64CYGsite/cab9eca46d0a9702f6e17fb53fb03645_1636945590918_0.png", "caption": "This is the best move Ive made for safety, My left light sat in the sun at work in Kansas"}, {"url": "https://images.turnto.com/media/pNISJll75W64CYGsite/c9e7e2cba8e3a4b51a5fbea9308f35ee_1636946162640_0.jpeg", "caption": "So Clear!"}]
Patrick
November 14, 2021
Easy to install following A1A video very bright had to adjust beam down, Shines like those headlights you hate
Nice headlight
Thomas
April 28, 2022
Excellent product and service. Very good fit and installed nicely.
christopher
May 10, 2022
Perfect
Headlamp
Scott
November 21, 2022
Fast delivery, arrived intact and complete, Worked as expected,
Mason
December 1, 2022
The fit was spot on, thanks!
Jesse
January 7, 2023
The item was precisely the part requested. Fit was on spot , easy installation.
I have purchased items before and have never had an issue with them.
Michael
March 25, 2023
just like factory, works great
Jimmy
September 12, 2023
Exact replacement, easy to install, and high quality at a good price.
Juan
May 20, 2024
Fit perfect on my 2011 chevy silverado 1500 v8
Customer Q&A
i installed new housing about 2 mo ago but now drivers side has moisture inside what is problem?December 13, 2021
John D
10
I was told that the bulbs are test bulbs and you should change them out with new bulbs or reuse the one out of the one you replaced. You can also remove the new housing, fill with water and look for leaks.
December 13, 2021
Steven C
10
Often times our lights will come with test bulbs installed. These test bulbs will need to be changed with your original bulbs or brand new bulbs as the test bulbs can cause condensation build-up in the headlight housing.
If the bulbs are taken out and replaced with brand new bulbs or the bulbs from your original lights, this should resolve the issue. All lamps allow some moisture (water vapor) inside through vents, which prevent physical damage due to pressure buildup when lamps are turned on. Most condensation will clear on its own as the outside temperature rises. When the environmental conditions change, the moisture will evaporate.
To review our "How to Fix a Headlight with Water or Moisture in it" video, please copy/paste the URL below in your web browser and hit enter:
https://www.youtube.com/watch?v=KNWTidkxcmQ
If there is still excess condensation build-up which results in the accumulation of water p
December 13, 2021
Cristina P
Customer service
877-844-3393
Monday - Friday 8:00am - 9:30pm ET Saturday - Sunday 8:00am - 4:30pm ET
Chevrolet is a registered trademark of General Motors Company. 1A Auto is not affiliated with or sponsored by Chevrolet or General Motors Company.See all trademarks.
Enter Vehicle Year Make Model
Specify your vehicle's year, make and model to guarantee fit.
Year
Make
Model
Options
Drivetrain
This part doesn’t fit a . Select from parts that fit.