Brought to you by 1AAuto.com, your source for quality replacement parts and the best service on the Internet.
Hi, I'm Mike from 1A Auto. I hope this how-to video helps you out, and next time you need parts for your vehicle, think of 1AAuto.com. Thanks.
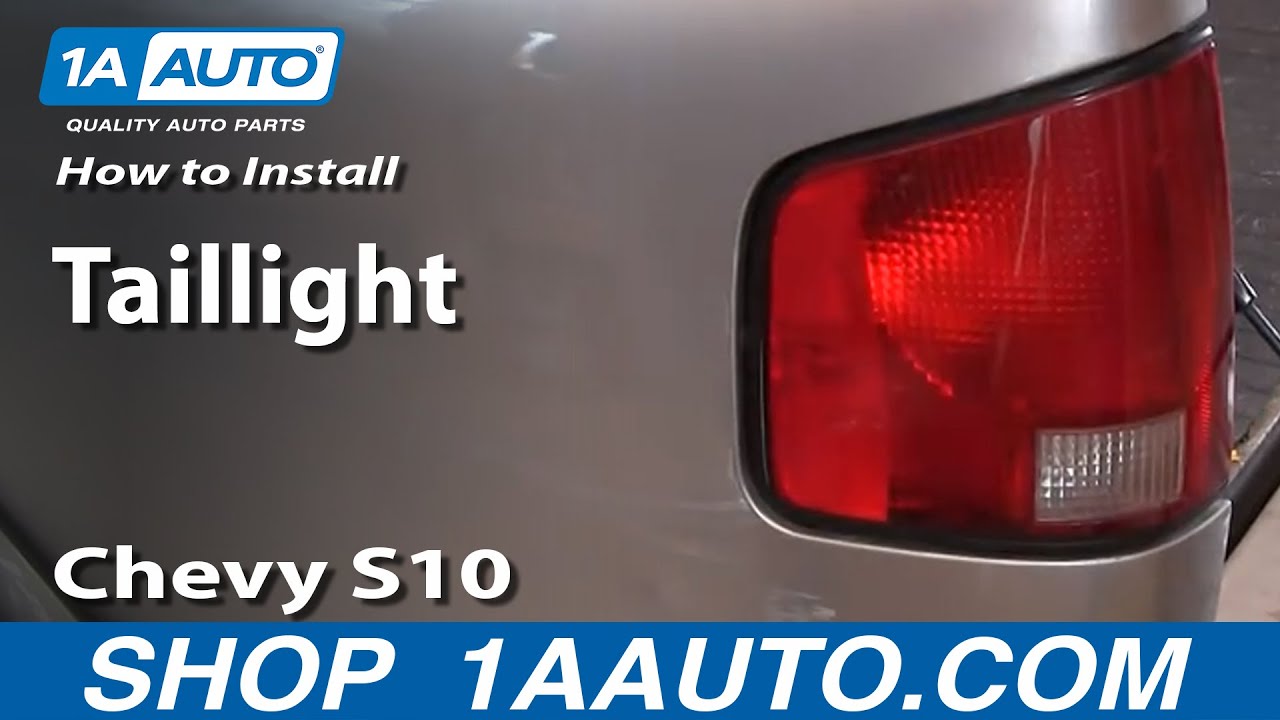
In this video we're going to show you taillight servicing on this GMC Sonoma. It's a pretty easy operation. The only thing you'll need is a Phillips screwdriver, and we're going to show you both, if you just are going to change a bulb as well as if you need to replace your entire taillight assembly.
To remove the taillight to change the bulb, or if it's broken there are two Phillips screws, one right through the latch plate there and then one right down there. We'll fast forward here as I remove those. It did take a little bit to get them going. They were a little bit stuck. Maybe the taillights hadn't ever been apart on this car. Now you can pull the light out.
The larger sockets have little tabs that you press with your thumb. Press the tab down, twist counterclockwise, and they come out. Then the small side marker just twists and comes out. All the bulbs, small bulb pulls out right out and pushes right in to replace. It's the same thing with the larger bulbs; they pull out and push in to replace. Again, just pull straight out and a replacement would just push right in.
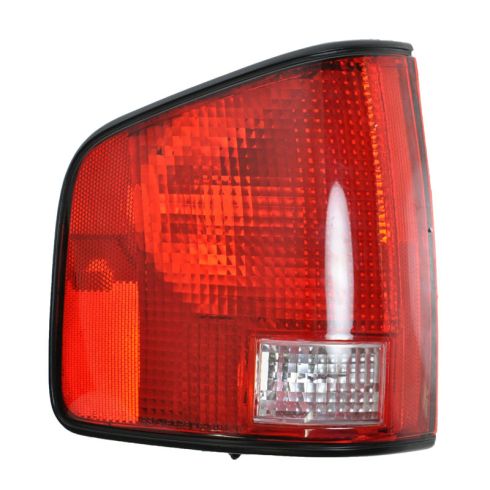
Here's a new taillight from 1A Auto. If you've broken your light . I've been guilty of hitting my light on my truck with a piece of wood before and smashing it, but they can be broken for any number of reasons. The new ones from 1A Auto are going to go right in. All the sockets will fit right in place, lock in place. That side marker goes in, and locks in place. Then you basically put it down into the well. On the light there are two locating pins that go in the holes in the quarter panel of the truck. Just peek in there, make sure those pins go into the right place, and then slide your light right in.
You didn't see it but I tried putting the screws in and they didn't quite fit. I found out that the little clips that hold the screws on the light, they'll just slide up a little bit so I just used the screwdriver, slid those clips up just a little bit, and now I'm putting the light back in place. Now I put the top screw kind of on my screwdriver, then carefully feed it right through the latch there, start it in, and tighten it up; and then take the bottom one, start it, and then tighten it up.
We hope this video helps you out. Brought to you by www.1AAuto.com, your source for quality replacement parts and the best service on the Internet. Please feel free to call us toll-free, 888-844-3393. We're the company that's here for you on the Internet and in person.
