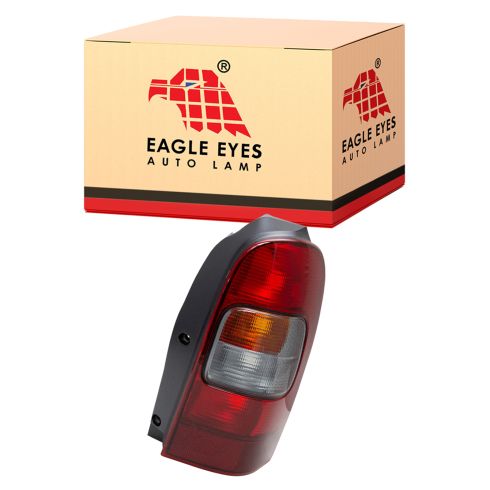
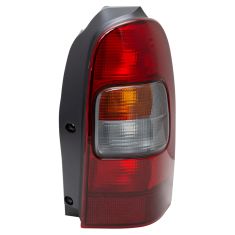
Assemblies may include halogen or incandescent test bulbs that should be replaced before installation.
Features and Benefits
Direct Fit - No vehicle or wiring modification necessary
DOT, SAE, and FMVSS Compliant - Meets on-road use regulations
Matching set for a restored look
Item Condition:New
Attention California Customers:
WARNING: This product can expose you to chemicals including Chromium (Hexavalent Compounds), which is known to the State of California to cause cancer, and birth defects or other reproductive harm. For more information, go to www.P65Warnings.ca.gov
This item is backed by our limited lifetime warranty. In the event this item should fail due to manufacturing defects during intended use, we will replace the part free of charge. This warranty covers the cost of the part only.
The bulbs are for testing and not covered under our warranty. Our warranty applies to the light assembly only.
FREE Shipping is standard on Orders shipped to the lower 48 States (Contiguous United States). Standard shipping charges apply to Hawaii, Alaska and US Territories. Shipping is not available to Canada.
Expedited is available on checkout to the United States, excluding Alaska, Hawaii and US Territories as well as P.O. Boxes and APO/FPO/DPO addresses. Final shipping costs are available at checkout.
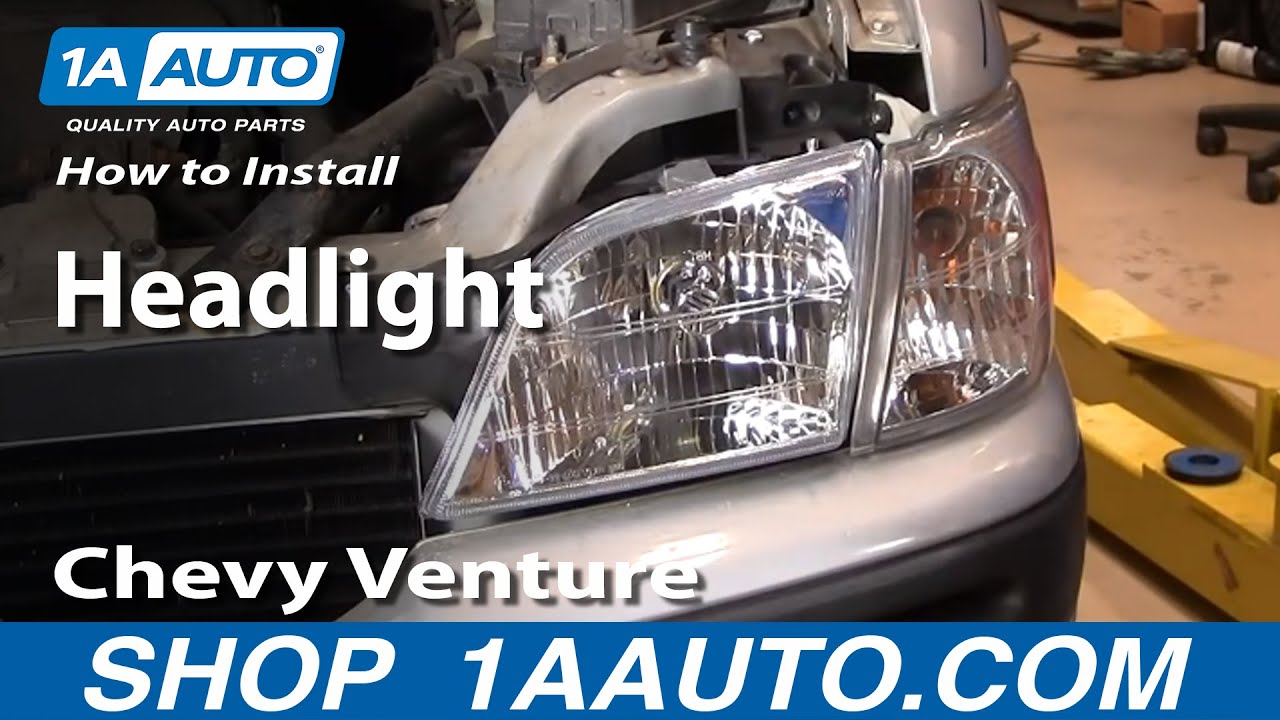
How to Replace Headlight 1997-2005 Chevy Venture
How to Replace Tail Light 1997-2005 Chevy Venture
Created on:
Tools used
No Tools Needed
1. Handling the Bulbs
Note: DO NOT TOUCH the bulbs- the oil from your fingers will burn into the light and foul your bulb.
Clean with rubbing alcohol and a soft cloth if the bulbs do get touched.
2. Remove the parking light assembly
Lift the hood.
Remove the thumb screw securing the parking light assembly
Pry out the parking light assembly
3. Remove the head light assembly
Unscrew the two thumb screws securing the headlight assembly.
Unclip the harness.
4. Install the new head light assembly
Plug the harness into the new head light assembly.
Line up the headlight assembly.
Screw in the two thumb screws.
5. Install new parking light assembly
Plug in bulbs and harness.
Line up and clip in parking light assembly.
Screw in the thumb screw.
Close hood.
Brought to you by 1AAuto.com. Your source for quality replacement parts and the best service on the internet. Hi I'm Mike Green. I'm one of the owners of 1AAuto. I want to help you save time and money repairing or maintaining your vehicle. I'm going to use my 20 plus years experience restoring and repairing cars and trucks like this to show you the correct way to install parts from 1AAuto.com. The right parts installed correctly, that's going to save you time and money. Thank you and enjoy the video.
In this video we are going to show you how to replace the headlights on this '99 Venture. Same is '97-'05 Venture also the Transport in Montana and Silhouette. You can see I'm flipping back and forth between before and after. You can see how much nice those lights look and obviously how much better they will shine for you. Now GM intended these to be able to be changed without tools, but you probably will need a pair of pliers and a screwdriver especially if your truck's from the rustbelt as ours is.
Headlight replacement, there's the easy way which is the way it should be, which if you have a southern vehicle, it's not rusty. Your headlights will probably come out easy. This is a northeastern vehicle. I've already taken it apart and when I try to take it apart, this is a thumbscrew right here that you should be able to undo which I can undo now easily. When I first took it apart, I couldn't get it apart. I'll show you both ways. First let's show you the way a headlight should come out. You remove this thumbscrew. All right and then you pull your parking light out. You let it hang or you can replace it. I recommend if you're going to put a new headlight on, might as well put a new parking light. You'd want to remove the bulbs.
If you're not going to replace your headlight or if you're not going to replace your parking light, there's a little clip that usually stays behind right here. That's really the only reason you'd have to use the screwdriver. Just push that clip. You just want to push that clip back through so you can grab it out the backside. Okay and then that clip again if you want to use your old parking light, that clip would just press right back on right there. Now again if everything comes apart correctly, you'll be able to remove these two thumbscrews on the top of your headlight. You can see they're not quite coming off exactly on this and the headlight comes up off.
Here's your headlight bulb. If you're just looking to change your headlight bulb, it's a lot easier to take it apart like this than having to take apart everything that's in here. You'd remove this and then if you're just going to change your headlight bulb, you untwist this ring, pull it off and then your headlight pulls out, put your new one in, put the ring back on then the ring goes over some slots here. We'll close up here. We just want to make sure that you get all the teeth through the ring and then basically press on it while you're turning it clockwise. Now let me put this back here real quick here because I want to show you what happens when you have a Northeastern Vehicle like this like a lot of you probably will. If you have Northeastern vehicle like this one, I couldn't get this thumbscrew up first. I tried with my pliers and that's how I broke off one of the ears and I just couldn't get the thing. I couldn't get a good enough leverage on it. Okay, so what I end up doing is using my pliers and pulling up the headlight facets first and then after you do that, you can actually just you then pull the headlight up and you can pull everything out. You can pull the parking light, the assembly out. Then what I was able to do is used pliers. I turned this and I actually used pliers on the non-threaded end of this thumbscrew and that's how I was able to get it out. With that said, what you're really looking to do is put on a nice new headlight from 1AAuto. You can see a lot nicer, a lot clearer. Basically just hook up the bolts, pop over the bolt if you have to. There are two tabs here that go down into little slots here. You put those down into there. Let it straight down since this vehicle, like I said if you have a southern vehicle you won't have a problem but this vehicle again from the northeast. The studs actually unscrewed from the car. I'm just going to use a couple generic coarse thread screws. You can pick it up something like this at a hardware store, no problem. Let me start that one in. Start this one in. Let it tighten a bit.
Okay, so with the headlight looking this nice, are we really going to want to put this old parking light back on there? I don't think so. I'd just recommend getting our set which includes the new parking light as well. Now we're going to put it in and there's two lineup tabs back here. You put it in, you can look back there and see them easily enough and you look down between the parking light and the headlight and you can see that other clip go in. Okay, it's nudged in. Now we grab my original thumb screw from the part. Start that in. Get that part two screws. We take our pliers up and we're all set.
We hope this helps you out. Brought to you by www.1AAuto.com- your source for quality replacement parts and the best service on the internet. Please feel free to call us toll-free 888-844-3393. We're the company that's here for you on the internet and in person.
Tools used
T30 Driver
1. Removing the Taillight
Remove the T30 bolts from the taillight.
Pull the taillight out.
Pull the clip on the harness free from the assembly.
Pry back the four tabs and pop the plate out.
Disconnect the harness.
2. Replacing the Bulbs
Pull the bulb straight out.
Push a new bulb into place.
3. Replacing the Taillight
Push the connector plate back into the taillight.
Connect the harness.
Clip the harness back to the assembly.
Push the taillight into place.
Replace the T30 bolts.
Brought to you by 1AAuto.com, your source for quality replacement parts and the best service on the Internet.
Hi, I'm Mike Green. I'm one of the owners of 1A Auto. I want to help you save time and money repairing and maintaining your vehicle. I'm going to use my 20 plus years' experience restoring and repairing cars and trucks like this to show you the correct way to install parts from 1AAuto.com. The right parts installed correctly. That's going to save you time and money. Thank you, and enjoy the video.
In this video we'll be replacing the taillight on this 1999 Chevy Venture, same as a 1997-2005 Venture also the Pontiac Montana and Olds Silhouette. The only tool you'll need is a T30 torx driver or a bit with a driver.
Starting with your tailgate open there are two T30 screws right there and there that you need to remove. Here a close up on the T30 torx Bit. That's what you need. You can either use one of those or there's a screwdriver style torx driver. You can see I loosen up the screws with the wrench and then use my hand to loosen up the other way, and usually these don't fall out of the lens so you then have to pull the taillight and they'll come out.
Once you know those are loosened up, there're actually pins that hold the taillight, you just need to give them a good tug here. Watch that your bolts don't go flying, as they both did. Now on the back side you've got this, a connector plate that has your bulbs in it, and what you want to do is there're four tabs that you just pull out on, two on the bottom, two at the top. You pull this right up and out and obviously you can get to your bulbs now. All these bulbs just pull out and push back in. If you need to replace your taillight because it's been broken, you're going to just want to remove the harness from your taillight. This is our original new one from 1A Auto. You can see it's all the same. Obviously, this one's fine, but if you did break your taillight the part you get from 1A Auto is going to be an exact replacement and we'll install it here for you, so just take your connector plate. It helps if you put it on the correct way here, deep down in and the stud does come up through. Push it down and in. Make sure it goes all the way and then you want to run this harness straight down and clip it on to the bottom here.
Re-installation are these two pins go into holes in the body so you look down and get those lined up and re-install our screws. We'll speed it up again here as I thread those screws in and then tighten them up with a wrench and you want to tighten them up nice and firm. They don't have to be incredibly tight.
We hope this helps you out, brought to you by www.1AAuto.com, your source for quality replacement parts and the best service on the internet. Please feel free to call us toll free 888-844-3393. We're the company that's here for you on the Internet and in person.
GM259-U000R
In Stock
Product Reviews
Loading reviews
There are no reviews for this item.
Customer Q&A
No questions have been asked about this item.
Customer service
877-844-3393
Monday - Friday 8:00am - 9:30pm ET Saturday - Sunday 8:00am - 4:30pm ET
Oldsmobile is a registered trademark of General Motors Company. 1A Auto is not affiliated with or sponsored by Oldsmobile or General Motors Company.See all trademarks.
Enter Vehicle Year Make Model
Specify your vehicle's year, make and model to guarantee fit.
Year
Make
Model
Options
Drivetrain
This part doesn’t fit a . Select from parts that fit.