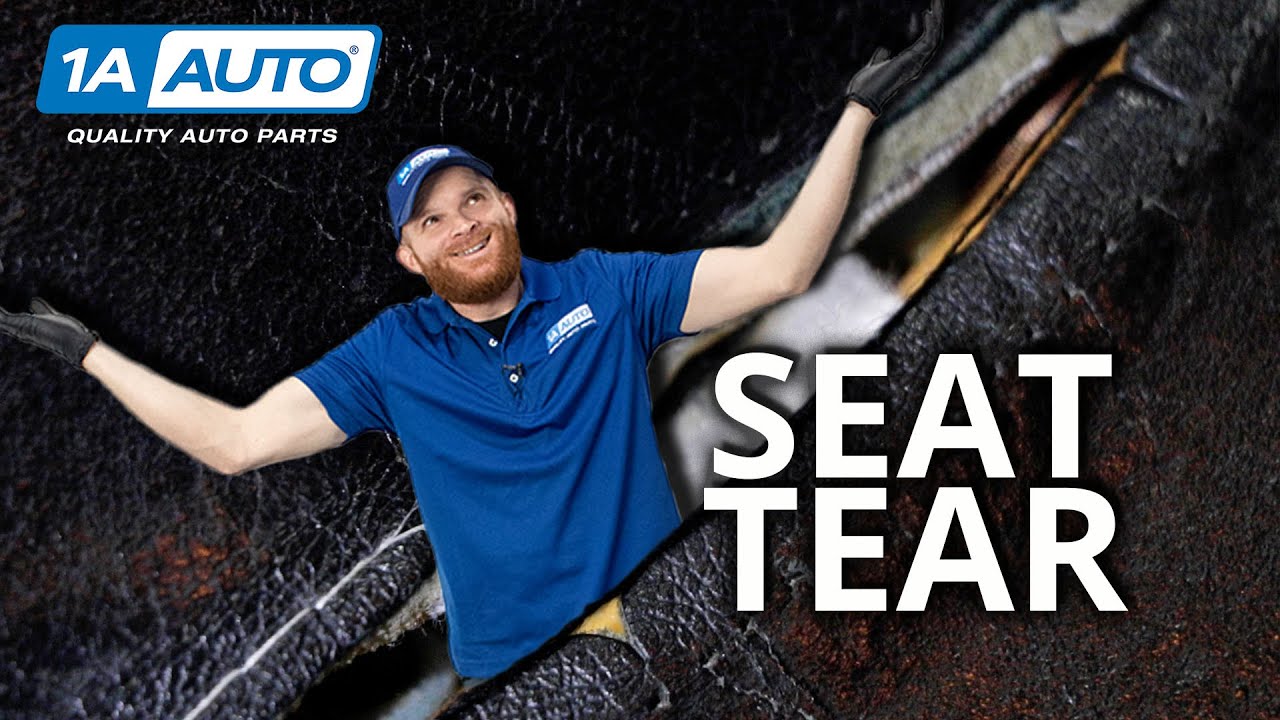
Cracked Torn Leather Car Seats Before Expensive Repair Try a Patch
Created on: 2021-01-28
In this video, Len shows you just how easy and clean looking a leather seat patch repair can work in your car, truck, or SUV!
All right. Oh, what the...
Hey, friends. So we all have automobiles that we know and love. Some of these automobiles even come with leather seats. That's great. Unfortunately, leather seats come with their own problems. A lot of times you're gonna find some fading or discoloring and in worst-case scenarios, you're gonna find stuff like this where you have tearing typically along the seam of some sort.
Other leather seats are gonna have it in other areas such as maybe here. Generally some sort of a wear-and-tear type of place. So if you're rubbing your shoulders around while you're moving around and of course if you're sitting down it's gonna put a lot of pressure in certain areas, and it's gonna put a lot of tug on these little itty-bitty strings.
Now there's a few different ways you can go about fixing something like this. You can go ahead and pay a whole bunch of money to get your seat either replaced or even reupholstered by a professional. You could try to fix it on your own if you've got a nice sewing kit and you're handy like that. You could of course get one of those kits that's gonna help you repair the leather issue.
A lot of times with that it's not necessarily gonna be for something that's this large of a crack so that's something to think about. Otherwise, what I'm gonna do is I'm gonna use this little leather repair kit here. This is really nice. And basically what we're gonna do is we're just gonna go ahead and clean down the infected area on the seat. So essentially any place that it's shiny around this area. I wanna make sure that it's nice and clean, dry to the touch, and then we're gonna go ahead and put on this adhesive patch.
All right, so now that I have the exterior portion of the seat cleaned out and of course the inside crack of this cleaned out of any debris that might be inside there, we're gonna continue on with our patch. Before I go ahead and stick it on here, I just wanna match it up to the infected area and make sure that it's gonna cover where I need it to go.
For my circumstance, this is pretty much gonna cover the exact area that I need it to go so I don't necessarily need to cut this too much. I like to leave a little bit on both sides where the tear is gonna be just for extra protection and of course it's gonna help hold it even longer.
Now, let's just go ahead and pinch this together and start laying down our patch. So I'm just gonna start up by peeling half of this away. I'm gonna essentially line it up with exactly where I want it to be essentially putting the crack so it's down the middle of my patch. Line that up. Now, we'll just continue on by pushing this down as we continue pulling the backing away. This is gonna help ensure that we get it on there nice and evenly, and it's also gonna make sure that there isn't any creases or bumps.
Okay, so now that we got the patch on here, we wanna continue by letting this sit for approximately 24 hours so it can completely adhere to the leather seat. After that point, you can continue on by conditioning the rest of the leather. That's gonna make everything look amazing. And if you ask me, this looks great already. It's way cheaper than buying a new seat, and it was easy as pie.
I hope this video helped you out along the way. If you learned something or you've got something to say, leave it in the comment section below because I love to hear from you. If you like the video, smash on the like button for me. It would mean the world. While you're at it, go ahead and subscribe and ring the bell. That way there, you, can be kept up with all of our latest content. Thanks.

