Hit a Lug Stud by Mistake How to Repair or Replace Damaged Wheel Studs
Created on: 2021-08-07
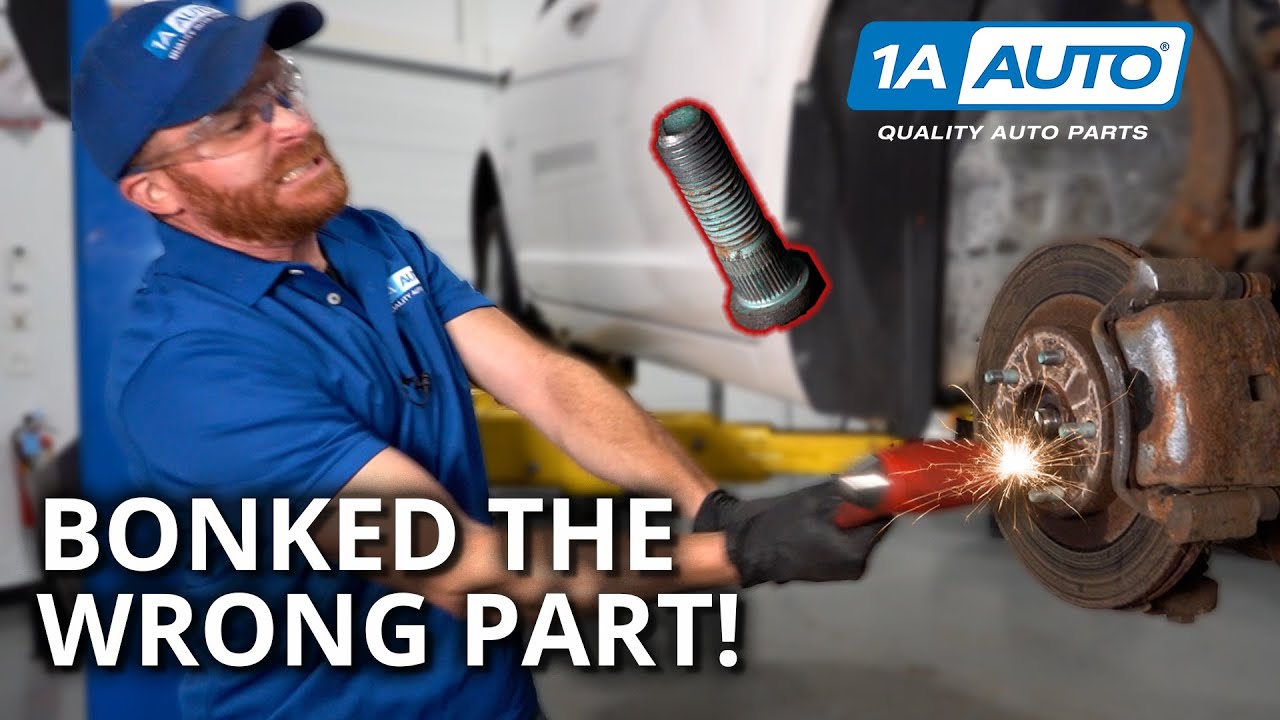
Len shows you how to repair or replace damaged lug studs
Come on. Oh, nothing's ever easy.
Hey, friends. It's Len here from 1A Auto. So there I was innocent as can be as usual, and I was trying to do an axle on this. I was using my air chisel coming right in through the center. It didn't want to press out of the bearing for me. So, of course, I moved on to something a little bit more heavy-duty, something that I can swing around a little bit. I love to give things a bonk, and essentially, I'm going to be replacing the axle anyway, so I wasn't worried about damaging it. Something that happened though is, of course, while I was bonking along swinging as hard as I could, I went ahead and I nicked one of these right here and it pushed it right in. Something else I noticed when I was looking a little closer, I nicked this one right down here too. I'm gonna turn this so you can have a look at it. And as you can tell, the threading on it is just minorly damaged. It's not chiseled over too much and, of course, the stud isn't damaged to the point where it's bent over in any way. Let's go ahead and take one of these lug nuts, and we're just gonna start it on just to see how far it threads on.
It starts threading on and then it gets very stiff. At this point, you want to make sure that you don't go ahead and tighten up this lug nut the way that it is because, of course, it's going to cross-thread the lug nut and you're going to have a major issue down the road. We need to go ahead and get this right off of here. And then the next thing that I would want to do for this is either use a re-threader, which, of course, the kit can be a little costly and not necessarily everybody has those laying around, or you can just use a little file that looks like this. And we're going to take it right along the threading and then we're going to try to straighten it out. If you look very closely, you can see that some of them are kind of peened over for me hitting it with the hammer. Essentially, I don't want to change the thread pitch of any of this threading because, of course, I need the lug nut to fit on. But I do need to kind of get rid of those peened over areas. I'm just gonna take this and I'm going to gently go across, and we'll get rid of those peened over areas.
Getting to the next one here. And then, of course, we'll just do the same to all. All right. This looks pretty great. Let's try our lug nut on there. Wow, that's perfect. Okay. So as you can tell by filing down the area that I only damaged minorly, I was able to screw on this lug nut by hand. Of course, if I tried getting it on there, it went on a little bit, but then it felt as though it stopped. I would need to just go ahead and remove this lug nut and then continue with my file. This one looks really good. I'm inspecting it, it doesn't look like it's bent in any way. This one is good to go. But unfortunately, sometimes this happens. And if this happens, it's not necessarily something that you can just go ahead and file down. For me personally, I'm going to take the breaks completely apart so I can analyze the situation better.
All right. Now we can have a closer look at our lug stud. As you can tell, it popped out of the wheel bearing hub itself. Now I went ahead and I pushed back this backing plate right here, so we can access this and we can pull it right out. Now we can take a closer look. Now over the bench, I want to give this a quick inspection. Overall, what I'm trying to see is if this is still reusable. Generally, you want to make sure you check the threaded area. If the thread is slightly damaged like this one right here, it's really not too big of a deal. You saw what I did on the other one, it's really not going to be very hard to fix. You would just kind of wiggle it around, and then just check all of that threading and make sure it's good.
Another thing you want to pay attention to is whether or not the stud itself is straight. If it goes straight up like this, it's probably in pretty good condition. But of course, if you gave it a couple of loving bonks and you may be bent it a little bit, well, then it's going to be an issue. This one right here like I said, a little bit of damage, but it's not too bad. Now I have another one. Well, this one kind of took a little bit more abuse in a different way. Now, this one right here, you can tell it's not in very good condition at all. The threaded area right here, it's damaged. I fixed some damaged threading already. You saw that. This right here, I would consider unfixable. Something else you want to pay attention to is how straight it is, like I said before. The other one that I had was pretty straight still. It didn't look like it was very damaged.
This one right here, well, it took a little bit more abuse, like I said, and, of course, it's completely bent. Something like this, you definitely don't want to reuse. Sometimes when you look at the studs, it might appear that it's straight. So you just want to go ahead and give it the roll test. Put it on something nice and flat, and just give it a little roll. Kind of like a pool stick when you're checking those before you play. This one looks pretty good. I'm not super worried about it. This one on the other hand, not so good. All right. So I cleaned up the threads a little bit here. I'm just gonna double-check, make sure our lug nut threads right on there nice and easy.
Now, at this point, I'm just going to take this to the wire, we'll get it all cleaned up, and then we can reinstall it. Now I cleaned up the stud as good as I can. Yes, it's the original as you can tell, and it's got the little mark on there. But something else that we want to pay attention to is the hub area itself that this is actually going to be going into. Obviously, while this is out, it really only makes sense to go ahead and clean up the area of the mating surface where the rotor is gonna sit. But also, you have this area of the stud right along where my thumb is kind of near those splines, that's going to be pressed directly up against the backside of the hub. If you were to look from the backside, you might happen to see that there's debris back there, you want to make sure that you get it all off of there.
At this point, we're ready to reinstall this. I like to use a little bit of red thread locker along all of these areas right here. Essentially, that's the area that's gonna go right into the bearing and it's just kind of hold it in there for me. The next thing that I want to do is have a spacer of some sort because I'm going to be using the lug nut to try to draw this through. I have this right here, and essentially it has a washer already mounted to it, so that way there I don't damage my bearing. If you're going to use a spacer that doesn't have a washer of some sort, you want to make sure that you coat this with some sort of grease so you don't necessarily damage the bearing. Now I can take my lug nut. And now we're going to continue on by snugging this up, at the same time, we want to be paying attention to the backside right here and ensuring that this lays all the way up against the hub of the bearing itself. Just inspect it as you go. Make sure it's going as straight as possible. All right. It looks like it's bottomed out. Now we can reverse this.
All right. So now that we have it in there and, of course, we took off our tool, we can look at this. And as you can tell, it looks perfect. I'm not worried about it falling out of there. It's nice and firm. This looks great. The next thing that I would want to do is go ahead and put my brakes back together and, of course, get my wheel back on there. But as you can tell, I still have some work to do. I have to finish getting this axle out of here and complete the rest of my job. So here's where I'm going to leave you. But as you can tell, with this lug stud right here, it had minimal damage but it was knocked out. So I showed you how to go ahead and clean it up, inspect it, and then reinsert it. Other than that, we had the other lug stud. That one just had a couple of chiseled up threads on it. We used the file, it came out perfectly. I think everything's gonna work out as it should as I put things back together and it didn't cost me any money at all.
Okay, friends, so I hope you liked the video. I hope you learned a little something. If you did and you want to talk about it, leave it in the comment section below because I always love to hear from you. If you learned something or you thought it was interesting or maybe something that somebody else want to know, please feel free to share it with your friends. I'd appreciate it. Aside from that, make sure you subscribe and ring the bell that way that you can be kept up with all of our latest content.
Oh, before you go, if your stud happen to look like this one right here, this isn't something that you can go ahead and fix. This is something that you're going to need to replace. It's going to cost you a couple of bucks at your local parts store but, of course, you're going to want to be as safe as possible because these lug studs right here are what hold your wheel onto the vehicle itself.

Lights Fans Radio Not Working in Your Car How Electric Circuits Work
In this video, Andy shows you the basics of using a test light, and how to diagnose a basic switched circuit!
