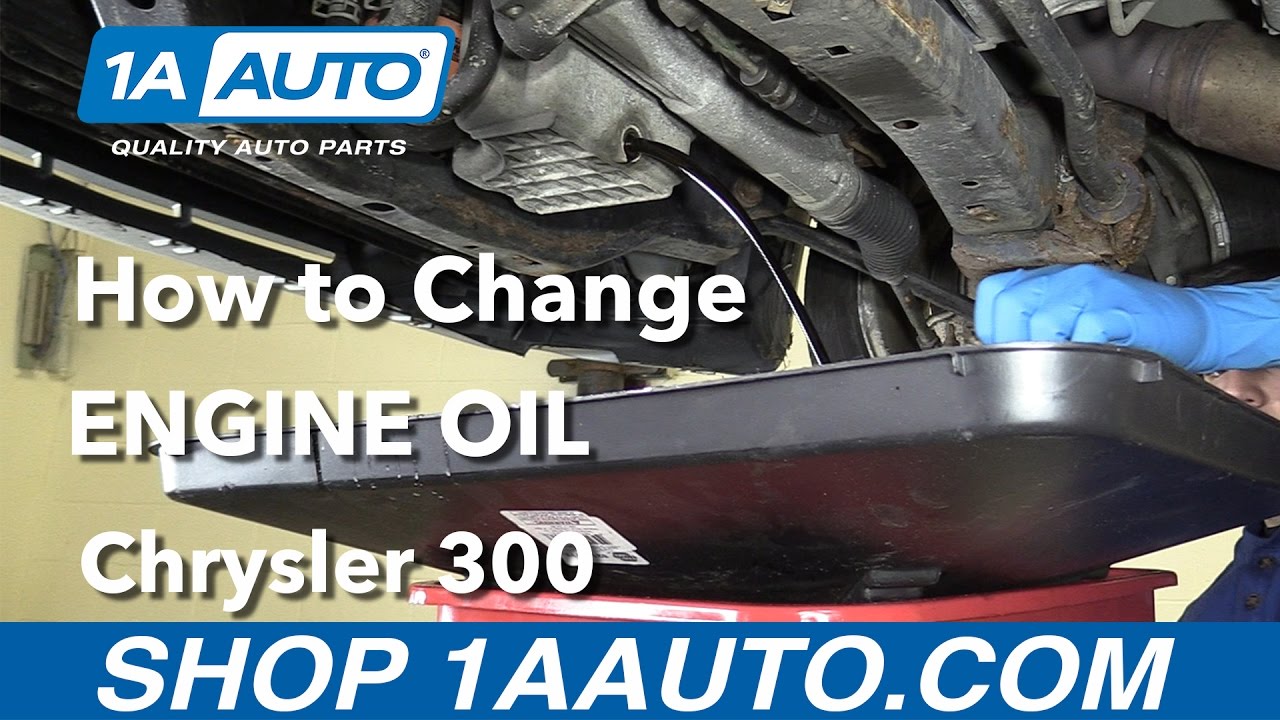
How to Change Engine Oil 2005-10 Chrysler 300
Created on: 2016-12-16
Learn how to change the oil yourself with the instructions from our experts in this video
-
step 1 :Draining the Oil
- Remove the oil cap
- Raise the vehicle on jack stands
- Have a drain pan ready
- Remove the 13mm bolt from the drain
- Twist on the 13mm drain bolt
- Tighten the bolt with a 13mm wrench or socket and ratchet
-
step 2 :Removing the Oil Filter
- Remove the oil filter with an oil filter wrench
- Clean the area with a rag
-
step 3 :Installing the Oil Filter
- Place a layer of oil around the rim of the oil filter
- Twist the oil filter into place
-
step 4 :Servicing the Oil
- Remove the oil cap
- Place a funnel into the oil fill
- Replace the oil to the recommended amount
- Replace the oil cap
- Start the vehicle
- Let the engine run for a few seconds
- Turn the vehicle off
- Check the oil level with the dipstick
Tools needed
-
Funnel
13mm Socket
Gloves
Socket Extensions
Torque Wrench
Jack Stands
Drain Pan
Ratchet
Floor Jack
Hi, I'm Mike from 1AAuto. We've been selling auto parts for over 30 years! We're dedicated to delivering quality auto parts, expert customer service, and fast and free shipping, all backed by our 100% satisfaction guarantee. We've created thousands of videos to help you install our parts with confidence. That saves you time and money, so visit us at 1AAuto.com, your trusted source for quality auto parts.
In this video we're going to be working with our 2006 Chrysler 300 3.5-liter. We're going to show you how to drain and refill the oil, as well as change the oil filter. Your oil should be changed on a regular basis according to your manufacturer's specifications.
If you like this video, please click Subscribe. We have a ton more information on this vehicle, as well as many other makes and models. And if you need parts for your car, you can follow the link down in the description over to 1AAuto.com.
Here are the items you'll need for this repair: 13mm socket, ratchet, socket extension, torque wrench, gloves, drain pan, funnel, jack and jack stands
Remove the oil cap on your vehicle and place it somewhere safe. Raise and support your vehicle. We're using a lift to make it easier to show you what's going on, but this can easily be done at home on a jack and jack stands. Loosen the drain plug with a 13mm socket and ratchet. This is located just in front of your steering rack here in the sub-frame. Now this one is on there really tight; this is why we like to give you torque specs when reinstalling your drain plug. Granted, most people may just be able to feel when the bolt is tight, but a lot of times people will over-tighten these which can cause difficulty and damage, especially in an aluminum pan like this where putting it in there way too tight could cause something to break, crack, or create a leak.
Once you've got it loose, make sure your drain bucket is underneath the vehicle. Loosen the drain plug and place the drain plug somewhere clean and dry while your oil drains. Reinstall your engine oil drain plug into the bottom of the oil pan. Torque the drain plug with a 13 mm socket to 20 foot-pounds. Wipe off any excess oil from the drain plug to make sure it's easy to spot leaks, and we'll pull our drain bucket forward just a little to get it over our oil filter.
Install a filter wrench onto your oil filter. Break it loose. Once it's loose, you should be able to remove the rest of it by hand. Again, make sure the drain bucket is under here. Just start by loosening it up; seeing if anything drains out. There we go. Now once it's just about drained down, go ahead and finish spinning that off. Place it upside down in your drain bucket, and let it finish draining off of the spindle here. You always want to check that the gasket is still on the old oil filter and not stuck up to the surface here. Put some clean oil onto the gasket surface of your oil filter. This will lubricate it, make sure you get a nice seal, and also prevent it from getting stuck on there next time. All you got to do is get that oil filter on as tight as you can by hand. There's no need to put a wrench on here and tighten it up anything more than that.
Place an oil funnel into the fill hole on the top of your engine and fill it with six quarts of your favorite motor oil. Once you've put the oil in the motor, grab the funnel with a rag just to keep that oil from getting everywhere. Reinstall the oil cap.
Start the vehicle; let it run up to oil pressure, which usually only takes about 10 to 15 seconds. Shut it off. Allow the oil to run back into the drain pan and check your level.
Thanks for watching. Visit us at 1AAuto.com for quality auto parts, fast and free shipping, and the best customer service in the industry.

Cmo diagnosticar un Eje Delantero Subttulos
1a auto videos, 1a auto parts review, 1aauto, diy, car repair, diagnosticar eje delantero, reparar carros, como reparar eje delantero, eje delantero, eje, hazlo tu mismo, como cambiar rodamiento de rueda, como cambiar cojinete de rueda delantero, como cambiar, mecanica automotriz, car repair videos, cambiar, reparar, clicks debajo del carro, sonidos debajo del carro, porque suena cuando giro el volante, porque suena el timon cuando giro, porque suena el carro cuando giro el volante
