How to Change Oil 2008-12 Ford Escape
Created on: 2019-04-25
Learn how to change your own oil, and save time and money. The 1A mechanics use a 08-12 Ford escape, but the process is similar for many cars.
-
step 1 :Draining the Oil
- Run the vehicle to warm the oil
- Raise and Support the vehicle
- Place a drain pan under the oil drain
- Remove the 15 mm drain plug
- Drain oil fully into drain pan
- Inspect drain plug threads and seal
- Reinstall the 15 mm drain plug
- Place drain pan under oil filter
- Remove the oil filter using an oil filter wrench to loosen it
- Coat the new oil filter gasket with a thin layer of oil
- Install the new oil filter by hand
- Clean the area as necessary
-
step 2 :Filling the Oil
- Locate the Oil filler cap on the passenger side of the engine
- Refer to the cap or the owner's manual to confirm the correct oil type and amount
- Remove the oil fill cap by twisting counter clockwise
- Fill the oil using a funnel
- Replace the oil filler cap
- Run the engine for several minutes to cycle the oil
- Remove and clean the dipstick
- Reinsert and remove the dipstick to check oil level
- Top off oil as necessary
Tools needed
-
Funnel
15mm Wrench
Oil Filter Wrench
Jack Stands
Drain Pan
Floor Jack
What's up, guys? I'm Andy from 1A Auto. In this video I'm going to show you how to change the oil on this 2012 Ford Escape. If you need parts for your vehicle click the link in the description and head over to 1aauto.com.
Alright. So I want to make sure I have a drain pan underneath here, and I will take a 15 millimeter wrench. Take the drain plug out. Going to crack it free first, and get the drain bucket underneath, and drain the oil out.
Once the oil is drained out, check your drain plug and make sure the threads look good and then also the seal, this happens to be a rubber seal, and it still looks like it's not ripped or torn, or anything. And it's still raised up a little bit, so this seal is okay. We don't have to replace it.
If it was a metal seal, you'd want to replace it. Reinstall that, and take the 15 millimeter wrench. Once it's snug then just give it a little more--that's good. You don't want to over tighten the oil pan.
All right. So I got all the bolts loose. I ended up just using a bungee cord to just hold the exhaust up so it didn't fall as I got those bolts out. Just slide that out of your way. Then I can slide this exhaust down. I'm going to remove the oil filter, I'm going to use this strap wrench just to loosen it up. Sometimes it's hard to get it in there right. There we go.
Once it's loose, you can do it by hand. Make sure you still have your drain bucket underneath. I always check the filter when I take it off--just make sure the gasket is on the filter. If not, check up here. If there's any dirt you can use a rag and wipe the dirt away.
Then we take a little bit of fresh oil. Put it on the new filter. Just on the seal. This way it's going to seal a little bit better, and it'll be easier to take off next time you go to take the filter off. So, install the filter. Get that started. Once it's snug you want to go another quarter turn. And that's good.
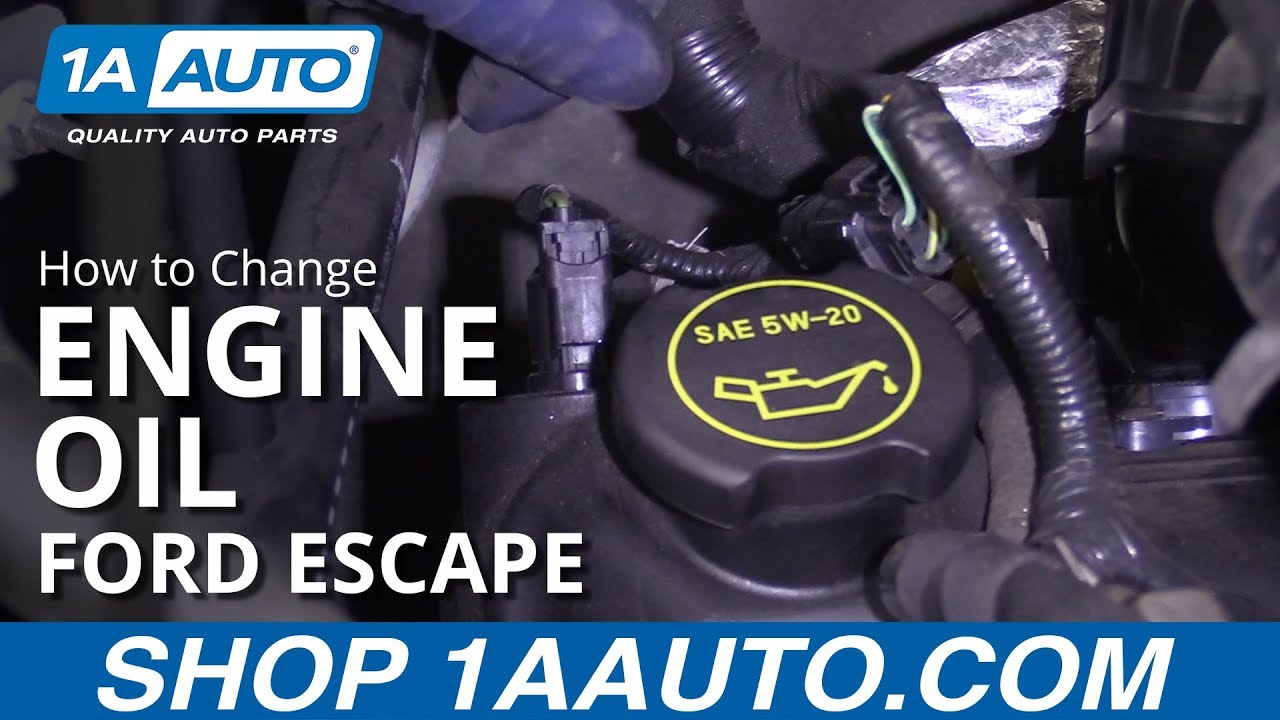
Just take a little brake parts cleaner. Just clean that front of the engine where the oil came down from the filter. Let that dry, and you'll be good. Alright, the oil fill cap is right here. It actually says what kind of oil to use. You can double check your owners manual for the amount and just to make sure it's the right kind. Take that off. We're going to use a funnel. Take the oil and just pour it in.
Now I'm going to put the oil fill cap back on. Now I'm going to start the vehicle for about 15 seconds so that the oil goes throughout the engine. Now we want to check the dipstick, it's right over here. Pull it out. I'm going to wipe it with a rag first. Reinsert the dipstick. Wait two seconds then pull it out again, and we want the oil to be In between these hash marks. And it looks like the oil level is right there, and that's perfect. So, we're good to go.
If you were on the lower end you'd want to add a little bit of oil. Reinsert the dipstick.
Thanks for watching. Visit 1aauto.com, your place for DIY auto repairs, for great parts, great service and more content.

How to Replace Hood Struts 2010-13 Cadillac SRX
How to repair, install, fix, change or replace a weak or sagging hood or hatch strut on 13 Cadillac SRX
