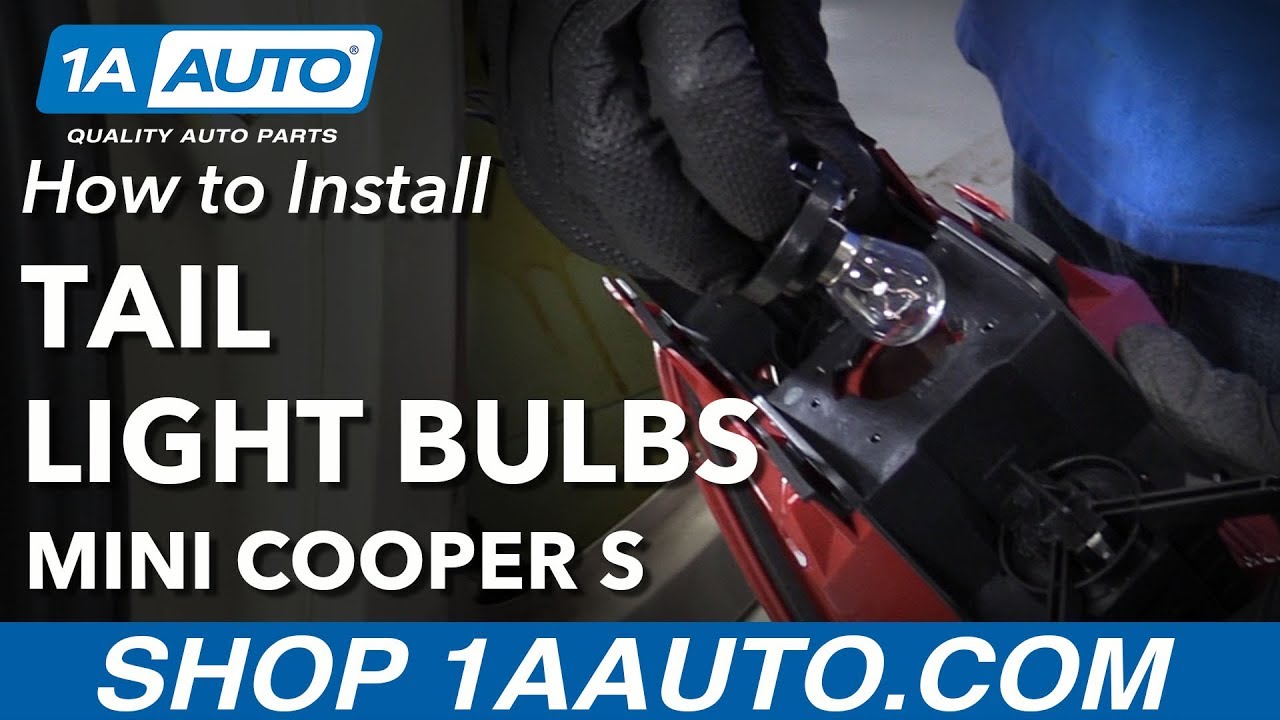
How to Change Tail Light Bulbs 2007-13 Mini Cooper S
Created on: 2018-09-26
How to replace a broken, damaged or burnt out tail light bulb to the 07 Mini Cooper S
-
step 1 :Removing the Tail Light
- Pry out the trim around the tail light with a trim tool
- Remove the T20 Torx bolts from the tail light
- Remove the trim square in the trunk liner with a flat blade screwdriver
- Press the clip on the bottom of the tail light with a pick
- Pull the tail light out
-
step 2 :Servicing the Bulbs
- Turn the socket counterclockwise
- Push on the bulb and twist it to the left
- Remove the bulb
- Press the new bulb on the twist it to the right
-
step 3 :Installing the Tail Light
- Insert the tail light by sliding the top and then the bottom
- Tighten the T20 Torx bolts to the tail light
- Press the trim on around the tail light
- Press the trim square into the trunk liner
Tools needed
-
Socket Extensions
T20 Driver
Ratchet
Trim Tool Set
Pick
Hi, I’m Mike from 1A Auto. We’ve been selling auto parts for over 30 years!
What's up, guys? I'm Andy from 1A Auto. Today, I'm going to show you how to replace these tail light bulbs in this 2007 Mini Cooper S. If there's any parts you need for your vehicle, click the link in the description and head over to 1AAuto.com.
We're going to open the hatch right under this Mini sign. There's a little button. And take a trim tool underneath this light molding. Just go like this. We release all these clips. Release all these clips that hold them in. We're going to remove these three Torx screws. They're T20, so I'll use a T20 socket and extension in a ratchet. This light is clipped in from the inside. There's a clip on the bottom and a clip on the top, so we need to go into the compartment and remove this door. Just pull this off. There's two clips on this side that hold that in. Now we're inside the opening.
I'm going to take a right-angle pick tool, and we're going to feed it underneath here to try to release that clip on the bottom of the light. Now I'm in position, and I'm going to push up on the clip and try to pull out on the light from the outside. Then we release the bottom clip, and then we can slide it out and maneuver it out a little bit. This is the clip that we just pushed on. Pushing the bottom clip up works better than if you try to release the top clip.
With this out, we can get to the bulbs easier. We're going to do the reverse light bulb. Pull that off. Let's pull the bulb out. Just push it down, twist it to the left, and pull it out. This is a P21W bulb. Just slide it back in. You're going to line the little tabs up with the grooves. Push it down. Turn it to the right. Make sure it's locked in place. Take it and put it back in the light assembly. Just slide it in there and turn it to the right.
I'm going to take one of the brake light bulbs out. Just slide it to the left. Let's take the bulb out of this socket. Just going to push down. Twist it to the left. This is a P21W bulb. You're going to push these little tabs into the slots and then turn to the right. We're going to line this up. There's actually a little tab right here. This little tab goes in this wider area. Push that it. Turn it to the right. Take this brake light bulb out. Turn it to the left. Pull the socket out with the bulb.
To take the bulb out, we're just going to push down on the bulb. Twist it to the left. Slide it out. This is a P21W bulb. These little tabs, you're going to line up with these grooves, and push those. Push those back in and twist to the right. Now, align this little tab right here. It's going to to where the wider slot is. Line that up, and then twist it to the right.
Next, we're going to slide this into the vehicle. We want this to go into the vehicle first. We'll slide the top in like that, and we'll push in the bottom. Lock it in place. I'm going to use these Torx screws. Get these all started. Now, I can snug them down with my T20 Torx bit and my extension and my ratchet. I'm going to repeat this for all of them.
Now, we're going to install this trim piece. Just line it up. Gently push it on. Make sure it's secure all the way around. We're going to slide this interior trim cover on, and just get these two slots to go into the holes and go there. There. Lock it in place.
Thanks for watching. Visit us at 1AAuto.com for quality auto parts, fast and free shipping, and the best customer service in the industry.

Why You Should Rotate Your Car Truck or SUV Tires
This video shows you why you should rotate your tires on a regular basis.
