How to Check and Fill Fluids 2010-17 GMC Terrain
Created on: 2017-07-12
This video will show how to check the engine oil, power steering fluid, washer fluid, coolant fluid, and brake fluid, and also how to refill them if needed
-
step 1 :Checking the Oil
- Pull out the oil dipstick
- Clean off the oil dipstick
- Insert the oil dipstick
- Pull out the oil dipstick
- Check that the oil level is between the low and full marks
- Insert the oil dipstick
- Twist the oil fill cap off counterclockwise, to add oil
- Add oil as necessary
- Twist the oil cap on clockwise
-
step 2 :Checking the Washer Fluid
- Pull off the washer fluid reservoir cap
- Fill the reservoir with washer fluid
- Snap on the washer fluid reservoir cap
-
step 3 :Checking the Coolant
- Wait for the engine to cool
- Twist the coolant reservoir cap off counterclockwise
- Check the coolant level, using a flashlight if necessary
- Add Dex-Cool to the reservoir up to the cold fill line
- Twist the coolant reservoir cap on tight clockwise
-
step 4 :Checking the Brake Fluid
- Twist the brake fluid reservoir cap off counterclockwise
- Check the brake fluid level, using a flashlight if necessary
- Check that the brake fluid is between the minimum and maximum lines
- Check that the brake fluid is clear or an almost yellow color
- If the brake fluid is murky or dark, drain and refill it
- Twist the brake fluid reservoir cap on clockwise
-
step 5 :Checking the Power Steering
- Remove the T27 bolt from the engine cover
- Lift the engine cover
- Twist off the cap and check the level with a flashlight
- If the power steering fluid smells burnt, is murky or dark, drain and refill it
- Replace the engine cover
- Tighten the T27 bolt to the engine cover
Tools needed
-
Windshield Washer Fluid
Power Steering Fluid
T27 Torx Driver
Brake Fluid
Cloth Rags
Anti-Freeze
Engine Oil
Hi, I'm Mike from 1A Auto. We've been selling auto parts for over 30 years. We're dedicated to delivering quality auto parts, expert customer service, fast and free shipping, all backed by our 100% satisfaction guarantee. Visit us at 1AAuto.com, your trusted source for quality auto parts.
So under the hood, you have a variety of fluids that you'll want to know where they are. We'll start right here. You have your oil filler, and that's where you put your oil in. Right here is your dipstick, and that's where you check your oil level.
Up here is your power steering fluid, which we'll get to in a minute. It's under this cover. Right here is your brake fluid. Up here, you have your antifreeze or coolant, engine coolant. Here is your washer fluid. If you're going to be filling up your oil, this is where you do it. You just turn it counterclockwise and you can pull it right out. Always want to be careful around here. There's usually dirt and leaves and stuff that will build up, so you want to make sure none of it goes down your oil filler cap. It might be a good idea to kind of blow it out or wipe it out before you pull the cap off, and that way you don't get any debris down there.
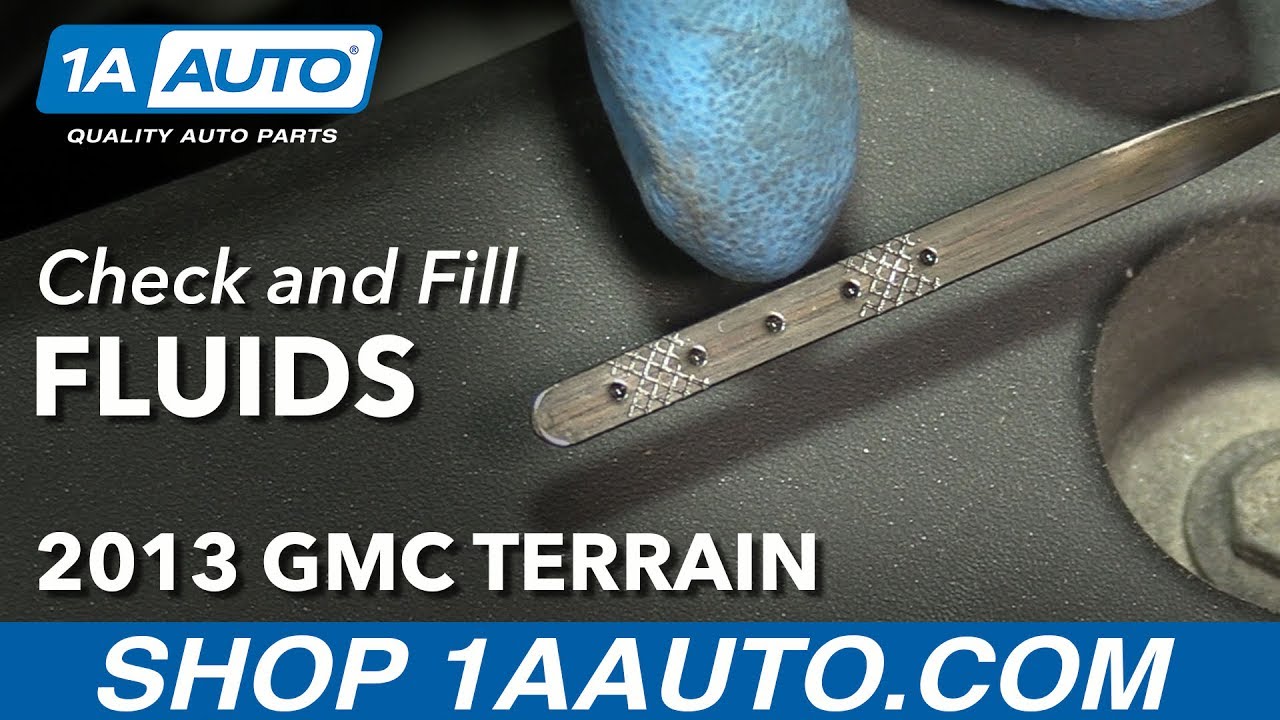
Right here with the yellow handle is your oil dipstick. And when you're checking your oil, you always want to wipe it off with a clean rag. In the middle is right about the perfect oil level, but you can actually be as high as the top dot or as low as the bottom dot within the safe zone. Usually, if you're down at the bottom, you can add about a quarter oil, and you'll get up to the top mark. So you always want to be within the zone. If you're any lower or anymore above, you want to adjust your oil level to get it within the appropriate mark. So to test it, once you wipe it off, you put it back in and you pull it right back out again. And you can see we are just above or just at the top circle. So that means it's absolutely full. We wouldn't want to put any more in there than that. It's fully topped off. You can put it right back in soon as you're done.
Right here is your washer fluid reservoir. It'll usually hold between a half gallon and a full gallon of washer fluid. You never want to put water in here if you live in any sort of climate where there's freezing temperatures, because it will actually crack the washer fluid reservoir. So you always want to use the real washer fluid because it's good to below freezing temperatures. It's as simple as pouring it in. Usually, you want to use a funnel or something like that so you don't accidentally spill it all over your battery. But that's where your washer fluid goes.
Right here is your coolant overflow bottle. If you turn the cap counterclockwise you can remove it. You never, ever, ever want to do this when the engine is hot. You always want to open it when the engine is cold. You can see that the cap tells you that this engine takes Dex-Cool. That's a specific kind of red antifreeze or coolant depending on what kind of lingo you want to use. So you always want to use Dex-Cool when you're filling up this 2013 Terrain. If you mix other antifreezes with it, it can sometimes cause clogging in the radiator, and it'll just generally cause your cooling system to be unhappy. It won't cool the engine as well, so you always want to use Dex-Cool in systems that use Dex-Cool. Some people will actually remove all the Dex-Cool from the engine and replace it with green fluid or something similar, but that's a pretty uncommon thing to do. Usually only done by technicians, not really do-it-yourselfers. So yeah, stick with Dex-Cool for the vehicles that it belongs in.
You'll also notice that surge tank is 15 Psi. That's how much pressure is in this when the engine's hot, well, maximum pressure. So if you were to open this with the engine being hot, the coolant will actually explode out of this cap because it is at a high pressure. So you always want to be really careful of that. You never want to open this when it's warm. Only when it's cold. You can top it off, right here on the side, there's a level for the overflow bottle so you can see when it's at their appropriate level. There's usually a hot and a cold fill line. You can see this one says cold fill, so when the engine is cold, it should be at this level. A lot of cars will actually have a hot fill line, too, so if the engine was warm, you wouldn't have to open anything up. You could just look on the level on the side and it'll tell you. This particular one only has a cold-level line. You can see ours is right at the cold level, so we are in good shape.
Right here is your brake master cylinder reservoir. By turning this counterclockwise you can pull the cap off. And this is where you put brake fluid. There is a fill line on the driver's side right at the top. It's really tough to see. It's right here, though, right where the top of the bottle starts to curve. And you can actually fill it up to that level. This particular car takes Dot 3 brake fluid, it's probably the most common brake fluid out there, and they say that you should change your brake fluid every 30,000 miles or three years. A lot of people don't do that, and it causes kind of a spongy brake pedal because brake fluid is hygroscopic which means it takes water out of the air and absorbs it. When that happens, your brakes get hot, and then it causes your brake fluid to feel spongy because it actually boils inside the brake lines. It's generally just not a good situation, so if you have the opportunity to change your brake fluid every couple of years or every three years, it's money well-invested.
General Motors likes to put a cover on the engine so that it looks really pretty under the hood. Unfortunately, we have to remove this to get to the power steering fluid reservoir. So to do that, we need to take the oil filler cap off like that, and then there's a T27 Torx bit or a Torx screwdriver that you use to take this screw out. So you spin it counterclockwise and you can pull the screw out. At that point, you can lift the cover straight up.
You can see on this side, there's some rubber grommets that are what's holding on, so we'll get that out of the way. Right here is your power steering fluid reservoir. You can remove the cap just like this, and if you pull it out, you'll notice there's actually a dipstick on it with a max and a min fill line. As you might expect, you want to be right in between the max and the min in an ideal situation, so we'll check this. Now, we've wiped it off with a clean rag, and you can actually see that we're a little bit low. So it may be worth investigating a possible power steering leak on this vehicle.
So what we're going to do is we're going to get a funnel, a clean one, obviously. You always want to use clean funnels when you're adding fluids to the vehicle. We'll get some power steering fluid, and we'll add a little bit to the reservoir. These things, these pumps, they don't hold a ton, so you don't have to add a whole lot to get it to show up on the dipstick. Yep, it looks like now we're within the right zone, so we're good to go now. And you can put the cap right back on.
All right. To put the cover back on, you want to once again remove the oil cap, and then you place the cover right on top of the engine, lining up the oil cap. Put the oil cap on, and then you can push down all of the rubber grommets. There's three of them that need to lock down in place, and then you have your T27 Torx bolt that goes right in there. Here we go.
Thanks for watching. Visit us at 1AAuto.com for quality auto parts, fast and free shipping, and the best customer service in the industry.

How to Change Engine Oil ANY Vehicle By Yourself BEST GUIDE
1A Auto shows the basic procedure for changing the oil on any vehicle.
