How to Check Front Differential Fluid 1994-2002 Dodge Ram 1500
Created on: 2019-08-29
This video shows how to check and refill the differential fluid if it needs to be replaced on the 94-02 Dodge Ram 1500
-
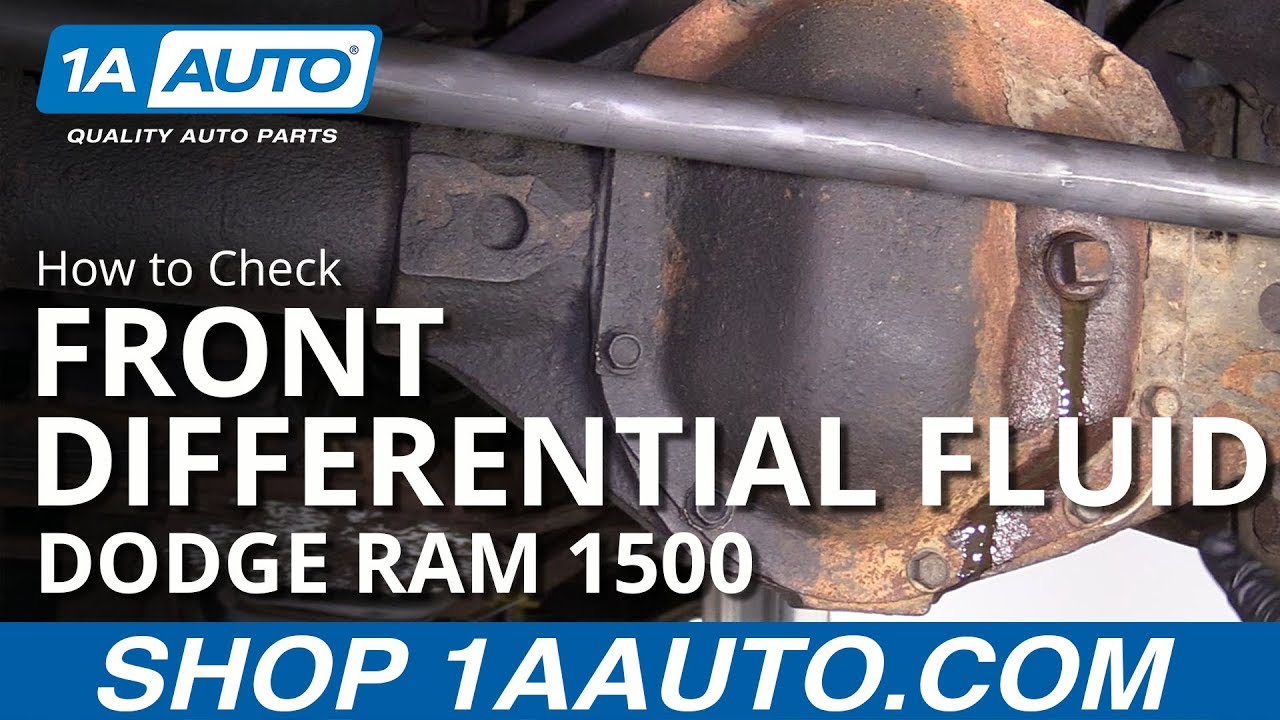
step 1 :Checking the Front Differential Fluid Level
- Raise and support the vehicle if necessary, and make sure it is level
- Have a piece of cloth
- Remove the plug from the differential with an 18mm wrench
- Let fluid drip onto the cloth
- Inspect the differential fill plug for wear and metal deposits
- Inspect the fluid for murkiness
- Measure the level with a pinky and check if it is at the base of the fill hole
-
step 2 :Refilling the Front Differential Fluid
- Have a drain pan ready
- Insert gear oil into the front differential until the oil drains out
- Tighten the drain plug with an 18mm wrench
Tools needed
-
Gear Oil
18mm Wrench
Hey friends, it's Lenny here at 1A Auto. Today we're going to be working on our 1996 Dodge Ram 1500. I want to show you something very basic. We're going to be checking the front differential fluid. It's super easy. I can do it and you can do it too. As always, if you need any parts, you can check us at 1aauto.com, thanks.
So we'll come right over here. You have your front differential plug. All right, it's a square. I'm going to use an 18 millimeter wrench and I can go right over the top of it. Use my rag, give it a little tug that breaks it free, nice. There we are. We'll try to get off some of this crude that's coming along there, just so it doesn't fall in. I sprayed it all down with a little bit of penetrant. This has been in here, by the look of it, for a long, long time, so I figured I'd spray it.
Here's our plug. Your inside of your differential. Just go like this with your pinky, just give it a little dip. It doesn't look like there's much on my finger there, at all. So I'm going to get a little bit of fluid. I'll show you how to top it off. We've got our catch bucket down there, so we can collect any fluid that may escape. We're going to use 80W-90 gear old oil. Right here, 80W-90. I'm just going to put it up like this, go up and over this bar, and I'm going to squirt it right in. This is hanging on the lift, so the differential is tilted a little bit forward. So if we fill this up and you have the TTS bit coming off and over the top right here, like along the bottom and start coming out, that should be just fine once it's on the ground. So I'm just going to keep squeezing until I can get the majority of this out and fill up this differential.
There it comes, and there it is. Cool. Take our plug, put it right in there. Now, if you were going to do a differential fluid change, that's a completely different story. You would want to take this pan down, in which case you'd take out all these bolts. Generally speaking, there'll be RTV behind here, or gasket maker, so you'll probably have to give your pan a couple bonks with a rubber mallet, bonk, bonk, bonk, to get it to break free, or you can even use a small pry bar, get it in there and break it off. Then you clean it up, clean out the inside the best you could, add a new layer of a gasket maker, and then, of course, fill it up right here.
Use our 18, I'm just going to bring this until it feels like it bottoms out, right about there. Just give it a teeny bit more, perfect. You can see all the threads are not going into the pan. They don't need to go all the way into the cover there. They just go about that far. Take a rag, whatever you happen to have, wipe down any mess you have so it won't get into the ground, contaminate the soil. There we are. If you wanted to, you could use a little bit of parts cleaner and clean us up the rest of the way. I would say, for me personally, this looks fairly decent, but, yeah, a little bit of parts cleaner will clean it up real nice.
So that's how you top off and check your front differential fluid. Easy peasy.
Thanks for watching. Visit 1aauto.com, your place for DIY auto repairs for great parts, great service, and more content.

How to Feed Wire Through a Rubber Grommet the Easy Way
1A Auto reveals a useful tip on how to feed a wire through a rubber grommet.
