How to Check Power Steering Fluid 2003-12 Volvo XC90
Created on: 2019-08-01
This video will show how to check the power steering fluid level with a hot or cold engine and what the steps are for adding more if needed
-
step 1 :Checking the Power Steering Fluid
- Twist off the cap and check the level is near the MAX hot/cold line depending on how warm the engine is
- If the power steering fluid is low, add fluid just below the MAX line
- Replace the cap
Tools needed
-
Funnel
Power Steering Fluid
Hey friends, it's Len here at 1A Auto. Today we're working on our 2004 Volvo XC90. And I want to show you something very basic, we're going to be checking and adding to our power steering fluid. It's going to be super easy, I can do it, you can do it too.
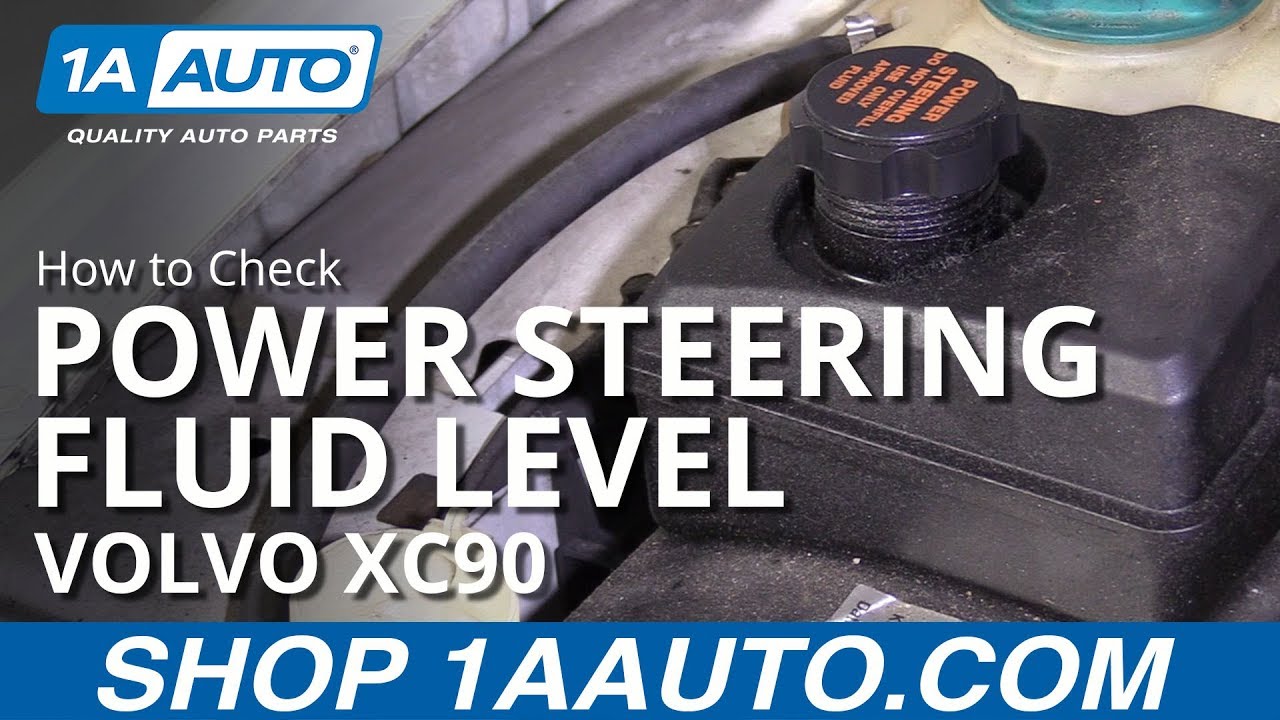
We'll come right over here. Here's where our power steering fluid reservoir is. It's a fairly large reservoir. The caps right here, power steering fluid, do not overfill, use only approved fluid. You don't want to just go ahead and put any old thing in there. We'll take our cap off turning it counter clockwise, take a look under the cap, make sure it's not dry or cracked or anything like that, it's not swollen. This looks like it's in good condition and it'll make a good seal up along here, so we're going to reuse this. If it was cracked or anything, swollen, whatever it might be, or even the seal was missing, you'd want to replace this. We'll set that aside.
Right in here is where we would add. Okay? So you'd just go directly right into here, you can use something as simple as a funnel to make sure you don't spill all over the place. Let's just check the fluid level real quick. On the dipstick, which is this right here, we've got a little thing that says full cold, so that means if the vehicle hasn't been running for a long time, the engines nice and cool, everything's nice and cool around here, it's been parked for awhile. Or if the engine's hot, you just came back from the beach or getting ice cream or whatever it was you did, that would be the maximum line where it says hot, and then the add line way down here. Turn that, same thing here, if it was cold, that be the maximum. And then of course the add would be pretty much down there.
So we'll line up our little prongs with the slots, turn it in, turn it out, take a peak. I've got nothing on my dipstick, maybe a teeny bit on the tip, so that means we're going to add. I'm going to use a small funnel. Make sure it's clean, especially the inside. Stains aren't that bad, it's just debris and everything you don't want getting in. I'm going to grab my specialty power steering fluid, this is meant for Volvos. I'm just going to add a little bit at a time here, just because it's easier to add a little bit than it is to go ahead and try to remove a little bit. Whether I have to do this a couple times, I don't know. It looks like we came up quite a bit. This vehicle right now is cold, so I don't want to go anywhere above that full cold range.
I might just add a teeny scoach to this just because I like to see at least a little bit on that dipstick, because once this fluid gets low and even if this gets empty, the power steering pump will try to suck fluid from inside here as it circulates, and if it sucks air through, you're going to get a power steering whine noise. So if you're driving and you hear a whine as you're turning your wheel driving, that means your power steering pump is sucking air down into it. And that whining noise is the air bubbles just getting shredded up into a whole bunch of tiny air bubbles. Mixed in with your fluid, that's going through your power steering system into your power steering rack, and you might even notice a shutter when you're trying to steer. Okay?
So we'll just add a little bit more. Like I said before, I really don't want to go above the maximum line there. We'll take this, put it back on, take it back off once more. That's perfect. I'm not above the line, but I'm very close. I like it there, I'm going to leave it there. Take this, tighten it back up as far as it can go clockwise or to the right. We'll grab our mess, take it out of the way and down the road we go. Easy peasy.
Thanks for watching. Visit 1aauto.com, your place for DIY auto repairs, for great parts, great service and more content.

How to Repair a Cracked Bumper
Be your own auto body! Learn how to repair a cracked bumper cover with fiberglass and then repaint it yourself! Watch this video to see how to do it.
