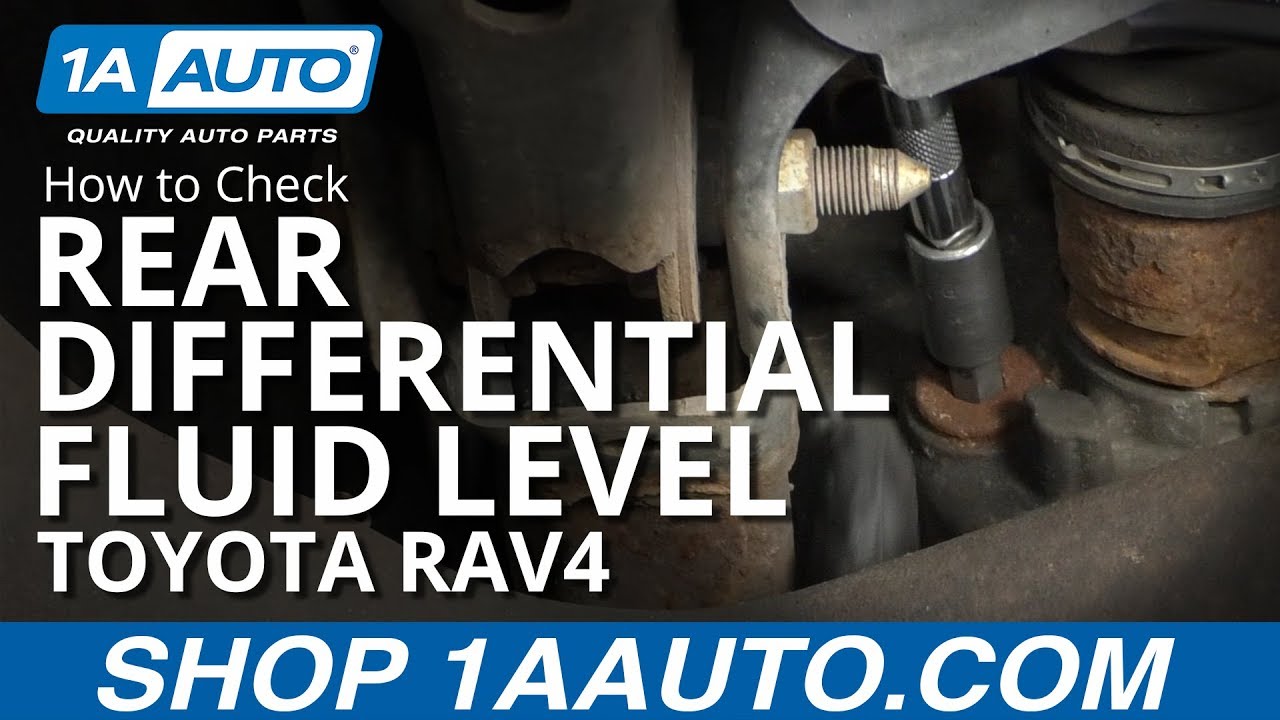
How to Check Rear Differential Fluid Level 2005-16 Toyota RAV4
Created on: 2019-08-29
Learn how to inspect the rear differential fluid yourself with this how-to video
-
step 1 :Checking the Rear Differential Fluid Level
- Raise and support the vehicle if necessary, and make sure it is level
- Have a piece of cloth
- Remove the differential fill plug using a 10mm hex socket and ratchet
- Let fluid drip onto the cloth
- Inspect the differential fill plug for wear and metal deposits
- Inspect the fluid for murkiness
- Measure the level with a pinky and check if it is at the base of the fill hole
- If the fluid level is low, add fluid as necessary
What's up guys? I'm Andy from 1A Auto. In this video I'm going to show you how to check the rear differential fluid level on this 2010 Toyota Rav4. If you need parts for your vehicle, click the link in the description and head over to 1aauto.com.
So with the vehicle raised and make sure the vehicle's level. On the passenger side of the differential, there's a fill plug right there and that's how you check the level. We're going to use a 10 millimeter hex bit and then you use a ratchet. Loosen this up. It's on there pretty tight.
It shouldn't be that tight, but it's probably because this one's been on there for a long time. This may never, may never have come out before. All right, so what you want is a good steady stream. It looks like it might be a little bit on the over full side. So we can let that drain out a little bit, but you want the fluid level to be right up to the base of the fill hole.
So that's at the proper level. If you wanted to add some, you can check your owner's manual and get the appropriate type of fluid. It is a good idea to replace this gasket. I don't have a new gasket, so I'm just going to reuse the old one. Insert the fill plug and take the 10 millimeter hex socket and the ratchet and tighten it up. Just want to snug it up, not too tight.
That's good. Now I'll take a little brake parts cleaner and just clean it off. And take a rag, wipe it off, and you're good to go.
Thanks for watching. If you want the parts to do it yourself, check out 1aauto.Com, the place for DIY auto repair.

Broken Springs Leaking Struts Always Replace These Car and Truck Parts in Pairs
Andy explains why it's always better to replace parts in pairs, on both sides of your car or truck, for better and safer driving performance!
