How to Clean and Adjust Rear Drum Brakes
Created on: 2019-04-24
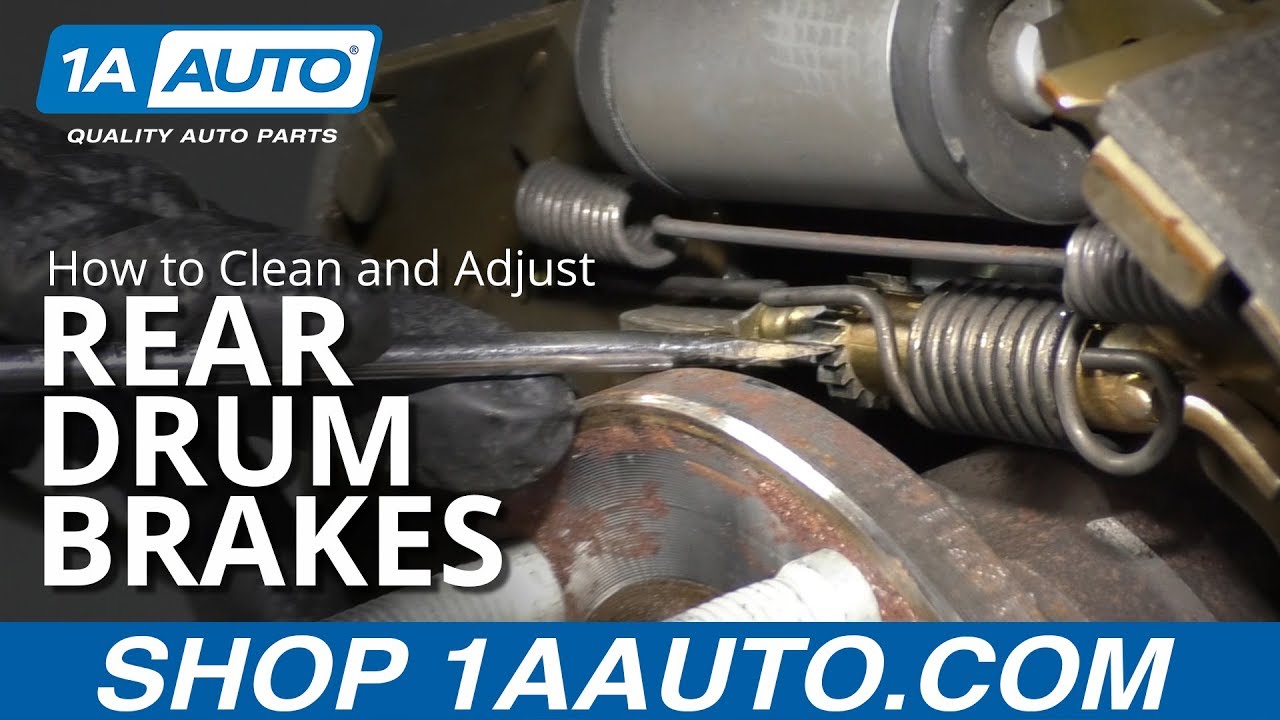
Watch this video to learn how to clean and adjust rear drum brakes. The experts at 1A Auto show how to clean and adjust rear drum brakes on your vehicle with rear drum brakes.
-
step 1 :Cleaning Rear Drum Brakes
- Lift and support the vehicle
- Remove the wheel
- Wear a dust mask to prevent inhaling brake dust
- Remove the brake drum, tapping with a hammer to loosen as necessary
- Inspect the brake shoes for wear and thickness, following your manufacturer's specifications
- Gently pry each brake cylinder boot to one side to inspect for fluid leaks
- Spray the entire brake area with brake parts cleaner to remove dust
- Spray the inside of the drum with brake parts area to remove dust
- Allow parts to dry before replacing drum
-
step 2 :Adjusting Rear Drum Brakes
- Make sure parking brake is off
- Use a flat blade screwdriver to rotate the adjuster
- Replace the brake drum to test fitment. There should be slight drag from the shoes.
- For best results remove the opposite brake drum also.
- Repeat to adjust as necessary
Tools needed
-
Hammer
Flat Blade Screwdriver
Jack Stands
Straight Cutters
Floor Jack
Dust Mask
Brake Parts Cleaner
What's up, guys? I'm Andy from 1A Auto. In this video, I'm going to show you how to clean and adjust rear drum brakes. This procedure is going to be very similar on most vehicles. If you're driving down the road and you have drum brakes on your vehicle, over time you're going to feel that the pedal is softer and sometimes it's because the self adjuster is not doing its job and you have to actually go in there, clean the brakes out, and adjust them out and make sure you get a better pedal. If you need any parts for your vehicle, click the link in the description and head over to 1aauto.com.
All right, before I go to pull this drum off, there's these clips that are on there. They're held on by the factory so that they don't fall off while they're going down the assembly line. I'm just going to take those off. Don't need those. Just take some straight cutters and grab right there. Just break them off. Same with this side. Break those off and throw those away.
At this point, you can try to grab the drum and see if you can pull it off. It's not coming off. There's some corrosion right there, so what I'm going to do is take a hammer. I'm just going to hit right around these areas right there. Try not to hit the stunts. Just trying to break up some of the corrosion and rust, get it off. There we go. Just grab the drum and slide it off.
Now there is going to be a lot of brake dust in there. You don't want to breathe any of that in. It would be a good idea to wear a mask if you're doing this. We want to check these brake shoes but make sure they're okay. We can take a tool to measure the thickness of the brake shoe themselves. These are about four millimeters, which is actually pretty good as far as shoes go because shoes last a lot longer than brake pads do. Those are good all the way around. Make sure none of the lining is separating right here. Everything looks pretty good on these. You can grab it and pull it a little bit, just... yep, these look good.
With a mask on, I'm just going to make sure that the wheel cylinders aren't leaking. You can just take a little screwdriver and get underneath this little dust boot. Take a look in there, see if it's dry. It looks pretty dry, so good. You can do the same for the other side. Be careful with the dust boot. You don't want to rip it or distort it. At this point, these brakes look pretty good. All we're going to have to do is clean and adjust them.
I'm just going to make sure I wear my mask. I'm just going to take some brake parts cleaner and just go all around. Make sure you don't breathe any of this in. I'm going to start from the top and work my way down. See some of that dust is going airborne. It's a good idea to have a catch pan or some cloths to catch the brake parts cleaner. All right, we want to also clean the surface of the drum. Spray it down with brake parts cleaner. Make sure you do this in a well-ventilated area, and then just take a rag and wipe it off. Now, we don't want to put this back on right away. We're going to want to let it dry.
Our adjuster on this vehicle is right here. You're going to want to see where the adjuster is. This actually has an automatic adjuster so that when you go in reverse and you step on the brakes real hard, this automatic adjuster should spin this wheel to tighten these up. Sometimes it works, sometimes it doesn't. You can always try that. Before you even take these drums off, one thing you want to keep in mind, make sure you didn't have your parking brake on because otherwise that's going to mess up the adjustment or mess up trying to get the drum off.
To adjust this adjuster, all I got to do is take a straight blade screwdriver and just count the clicks. If you go and do this three times, just remember you did it three times, and then we're going to put the shoe up. Check and make sure you have a little bit of drag. Make sure these shoes are nice and dry when you do this. Just take the drum and slide it on. You want to slide it all the way on and then just check and see if there's any drag. It's a good idea to have the other side drum off because sometimes that can fool you. You could feel like you have some drag, but it's really coming from the other side. That's pretty tight, but I'm going to just tighten it up a little bit more. Just do it a little bit more. Just got a little bit of drag. It actually feels pretty good. Might be just a bit too tight.
There is also a door on the back of here. You can always take a little screwdriver. Pop this door off if they end up being too tight. Pop that little grommet off, and then you can take a screwdriver. You're probably going to need something that's bent. They actually make special what they call them is spoons to go in there so you can actually adjust that adjuster wheel. If you adjust it too tight, it's easiest if you take two screwdrivers. One I'm going to push on that little lever in the back. That's for the automatic adjuster, and then I'm going to spin the wheel the opposite direction. Three turns was too much, so I'm just going to go back about three turns. It should be good now. Going to wiggle the shoes back and forth a little bit just to center them.
That has just enough drag on it. You don't want it to have too much. Now, I'm good to do the exact same procedure on the other side.
Thanks for watching. Visit 1aauto.com for quality auto parts shipped to your door. The place for DIY auto repair, and if you enjoyed this video, please click the subscribe button.

How To Replace Rear Brake Drum Backing Plate 1992-99 GMC K1500
Watch this video to learn how to install a new drum brake backing plate on your 1988 to 2002 GMC Sierra K1500.
