How to Clean and Remove a Mouse Nest Inside Air Box in your Car
Created on: 2017-06-19
Sometimes mice find places inside your car or engine bay to make a home for the winter. How to clean an airbox that has a mouse nest in it.
-
step 1 :Removing the Air Filter
- Pull the hood latch inside the cabin
- Open the hood
- Pop off the air filter box clips
- Separate the two parts of the air box
- Remove the air filter
-
step 2 :Removing the Air Intake Duct
- Remove the two plastic clips from the air intake duct with a flat blade screwdriver
- Pull the intake duct off the air box
- Make sure the intake duct is clear
-
step 3 :Cleaning the Air Box
- Remove the two 10mm nuts from the air box
- Pull the air box up and out
- Remove any debris from the air box
- Clean the air box with a hose
- Dry the air box with paper towels
-
step 4 :Installing the Air Box
- Put the air box into place
- Fasten the two 10mm nuts onto the air box
-
step 5 :Installing the Air Filter
- Put the air filter into the air box
- Line up the two parts of the air box
- Snap on the air box clips
-
step 6 :Installing the Air Intake Duct
- Connect the intake duct to the air box
- Snap the two plastic clips into the intake duct
Tools needed
-
Gloves
Flat Blade Screwdriver
Paper Towels
Hi, I'm Mike from 1A Auto. We've been selling auto parts for over 30 years. We're dedicated to delivering quality auto parts, expert customer service, fast and free shipping, all backed by our 100% satisfaction guarantee. Visit us at 1AAuto.com, your trusted source for quality auto parts.
You'll start by finding the hood latch right under the dash on the left side. At the front of the car, right in the center, on the bottom side behind the grille, there's the latch right here which will release the hood.
The engine air filter is located right here. We'll remove it popping these clips loose. Then you pull this section up and away to get the filter out.
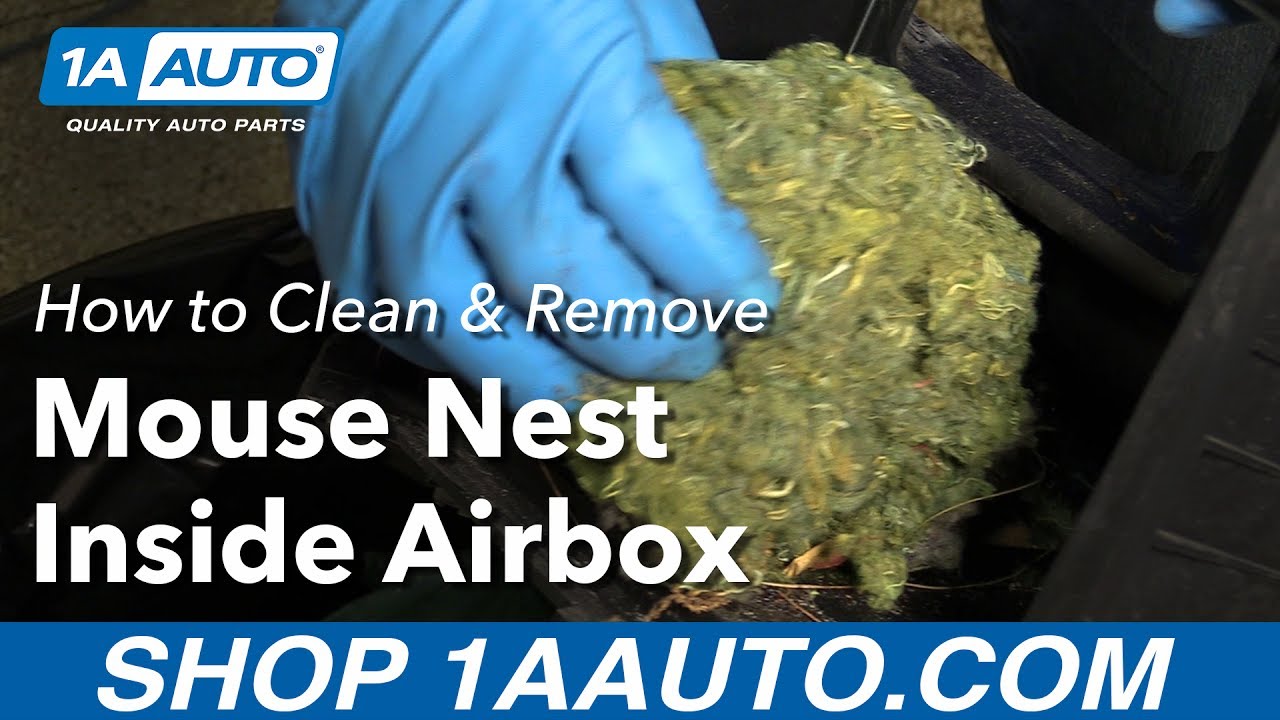
With the filter out, we were lucky enough to find a giant mouse nest in the air intake box. We're going to go ahead and remove that next. With a car sitting in a driveway, the mice and chipmunks like to move into the air box because it's a nice warm spot for them to live.
We need to take this air intake off to get to the air intake box, so we're going to start by removing these two clips with a flat-tip screwdriver. If you turn it about 90 degrees and then pull up, they usually pop right out like that. Now we can pull this towards the front of the vehicle and pop it right off. Be sure to check inside the air intake duct work to make sure that there's no animals or nests living in there. This one seems clean.
Right down here is a 10mm that we'll remove with a 10mm socket and extension and a ratchet. Once you crack it loose, you should be able to spin it out by hand pretty easily. The next bolt is right here. It's actually a 10mm nut. You just need a socket and a ratchet. With those two nuts removed, I'm hoping that we can pull this right out.
There's our mouse nest. At this point you're going to want to wear gloves, and you can remove the mouse nest. You definitely don't want to be breathing this stuff in or getting it on your skin because it's pretty gross. Now we're going to spray it out with a hose to get all of the rest of the debris out.
Now that we've washed it out with some water and dried it with some paper towels for the most part, we can tuck it back into its home. We'll start by sliding this one and do it in the reverse order that we took it out. Now we're going to take this lower 10mm and slide it down right into its home. With the bolts in place, you can tighten them down. You don't have to get too crazy with them. Just tighten them with your wrist. As soon as you start moving your elbow, you're probably putting too much force into it. Then we'll tighten up the upper one. You can see the old one here has the mouse nest still in it and the new one does not. They look the same, they fit the same, and now we're going to put the new one in.
With the new one in your right hand, you should be able to pull this intake side up with your left hand and slide the new one into place.
At the bottom there's a couple of slots that you have to put this thing into so that it lines up with this. It's tough to see on camera, but there's one large slot at the bottom that we need to line up. There we go. Then you just hold it in place and snap both clips back into place.
To get the duct back in you want to slide this section right into this hole in the air box just like that. Then you're going to line up these two holes right here and take your clips. Make sure they're pulled out. Then you can slide each one into the hole and push it right down.
Thanks for watching. Visit us at 1AAuto.com for quality auto parts, fast and free shipping, and the best customer service in the industry.

