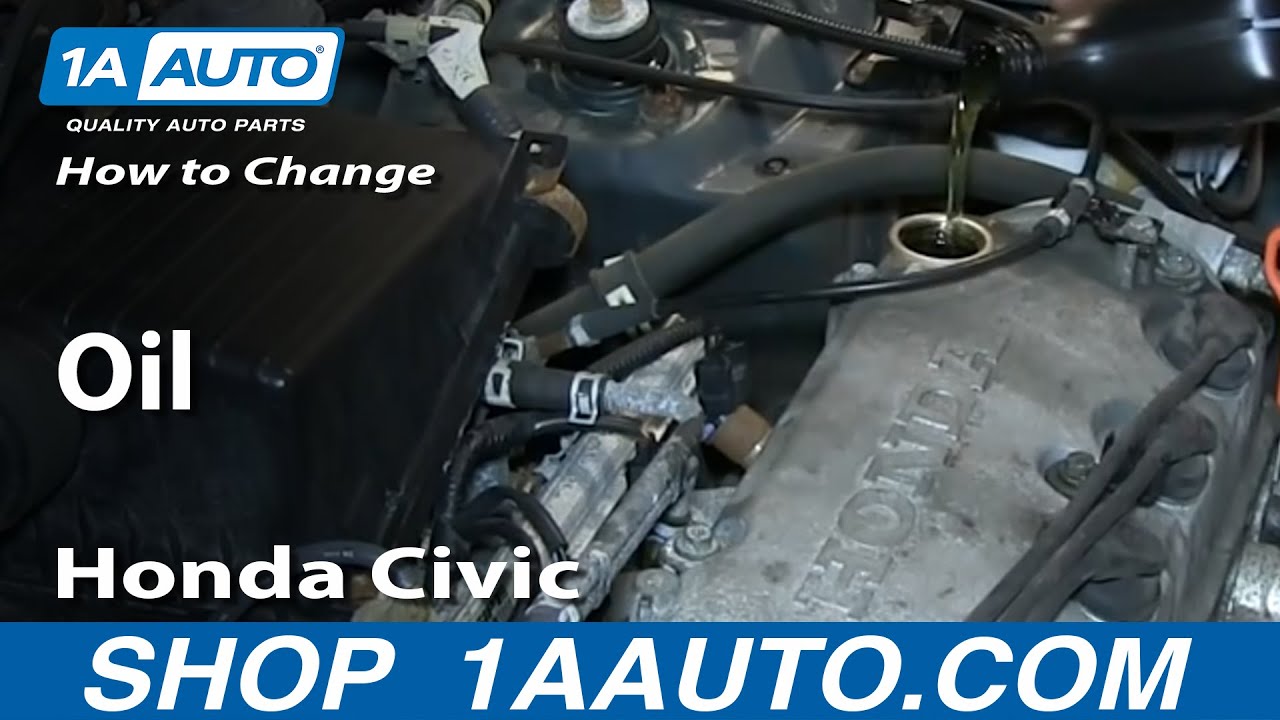
How To Do an Oil Change 1-6L 1992-2000 Honda Civic
Created on: 2013-12-19
Learn how to change the oil in your 1.6L 92-00 Honda Civic by watching this helpful video!
-
step 1 :Draining the Oil
- Have a drain pan ready
- Remove the 17mm drain plug
- Allow the oil to drain
- Put the drain plug into place
- Tighten the drain plug
-
step 2 :Removing the Oil Filter
- Have a drain pan ready
- Loosen the oil filter with an oil filter wrench
- Twist off the oil filter by hand
- Clean the oil filter mounting area with a rag
-
step 3 :Installing the Oil Filter
- Put motor oil onto the oil filter gasket
- Twist the new filter into place by hand
- Tighten the filter 1/4 turn with an oil filter wrench
-
step 4 :Refilling the Oil
- Twist off the oil cap
- Add oil
- Twist the oil cap
- Run the engine briefly
- Pull out the oil dipstick
- Wipe off the dipstick
- Reinsert the dipstick
- Pull out the dipstick
- Check the oil level
- Add oil as necessary
Tools needed
-
17mm Socket
Jack Stands
Ratchet
Cloth Rags
Floor Jack
Engine Oil
Brought to you by 1AAuto.com, your source for quality replacement parts and the best service on the Internet.
Hi, I'm Don from 1A Auto. I hope this how-to video helps you out, and next time you need parts for your vehicle, think of 1AAuto.com. Thanks.
In this video, we show you how to do an oil change on this 1998 Honda Civic with the 1.6 liter 4 cylinder engine. You'll need a 17mm socket and ratchet or wrench, a drip pan, oil filter wrench, oil filter, oil, and jack and jack stands.
From under the front of your car right here is your oil pan. The 17mm bolt right here is the drain plug. Just go ahead and remove that, and you want to make sure that you have a drip pan underneath it, and just remove that bolt, and let all that oil drain out. Once it stops draining out, put that bolt back in and just tighten it up.
Now, just above your oil pan right there, is your oil filter. Ours is white; yours might not be. You just want to put an oil filter wrench around it to break it loose. Then you can just remove it by hand. Again, you want to make sure that you have a drip pan underneath this because sometimes some oil can be trapped in behind here. Use a rag to clean the area where the oil filter came from.
Then, using some fresh oil, just put a little around the gasket on the filter. Put your new filter in place and screw it on by hand first. Then we tighten it about another quarter of a turn with the oil filter wrench.
Remove the oil cap and replace the oil. You can refer to your vehicle's user manual to see how much oil your vehicle needs. Then you want to just replace your oil cap and start your vehicle for a little. Turn off the vehicle, pull out the dipstick and wipe it off the first time. Push it back in and pull it out again. You want it to be just over that second dot. You can see ours is all set.
We hope this video helps you out. Brought to you by www.1AAuto.com, your source for quality replacement parts and the best service on the Internet. Please feel free to call us toll-free, 888-844-3393. We're the company that's here for you on the Internet and in person.

Power Seat Not Moving How to Diagnose Power Seat Motors Switches and Wires
Andy shows you how to diagnose power seats that don't work, from the switches, to the motors!
