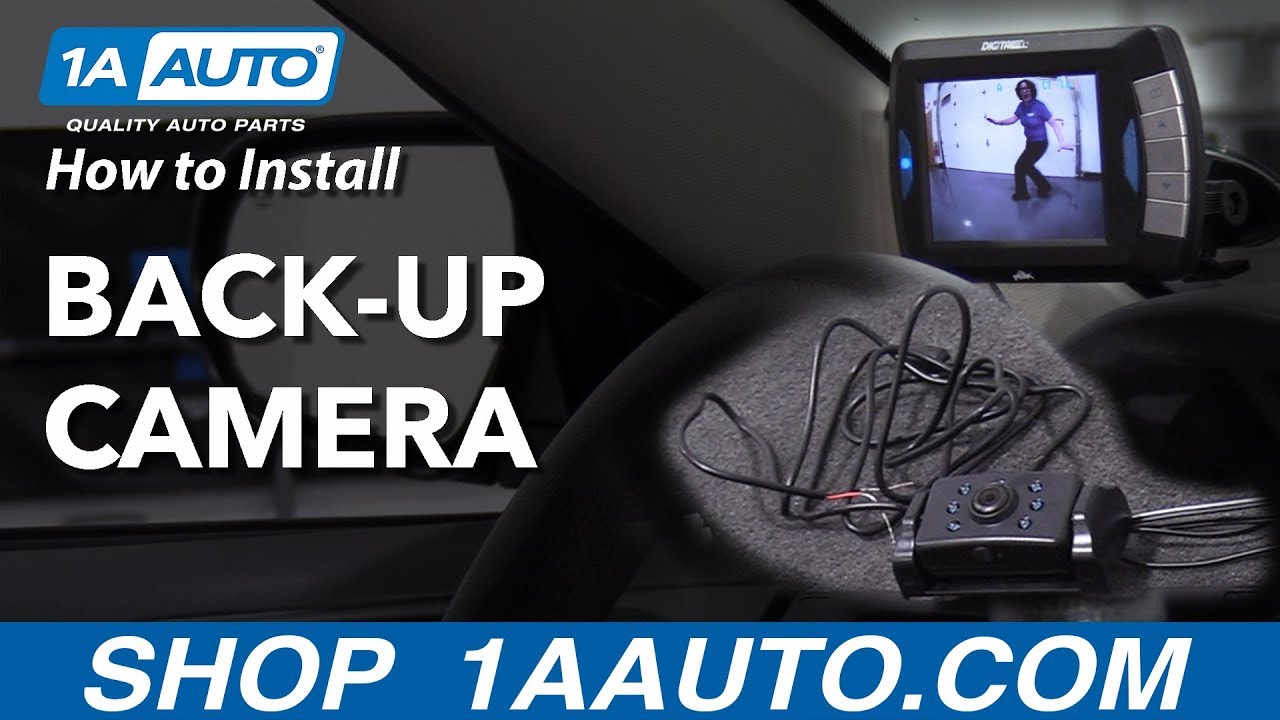
How to Install a Back-Up Camera on Your Car
Created on: 2018-12-14
In the video, 1A Auto shows how to install a back-up camera. The video is a general install.
-
step 1 :Installing the Backup Camera
- Access the reverse light wiring for your vehicle
- Route the back-up camera wiring from the rear of the vehicle to the wiring location
- Splice the positive camera wire into the positive reverse light wire using the splice clips
- Splice the ground camera wire to the reverse light ground using the splice clips
- Test the camera with the screen unit
- Tie up excess wire and replace any trim that was removed
- Mount the camera at the top license plate screw location
- Mount the screen unit in desired location inside the vehicle
- Route the power wire as necessary
Tools needed
-
Electrical Tape
Socket Extensions
Phillips Head Screwdriver
8mm Socket
Ratchet
Needle nose pliers
Trim Tool Set
Hi. I'm Mike from 1 Auto. We've been selling auto parts for over 30 years.
Hi, everyone. Sue here from 1A Auto. Today, we're going to be hooking up a back-up camera on a Subaru that we have in the shop here. This back-up camera comes from 1A Auto. It's a three-and-a-half-inch monitor screen. It's wireless, comes with the backup camera, the monitor, wire ties, mounting hardware, AC adapter, and the bracket to hook up the monitor on the windshield, and the manual. It also comes with these two wire connectors for your camera hook-up. If you need this part or any other part for your car, click on the link below and head on over to 1AAuto.com.
First thing I'm going to do is open the tailgate. I'm going to end up fishing the wire through the plate light assembly, so I'm going to take a Phillips and remove this plate light assembly. It's got two Phillips screws. Once you take them out, you can remove the lens assembly. Okay. Now we'll pull this down and out of the way.
Now I'm going to take this whole panel off because I want to fish the wire through and hook it up to the back-up reverse light. First thing is I got to take this little clip down, this little cover, to access the ... I guess two screws are behind here or one. Nope, two, two Phillips screws. I'll take my Phillips. I'm going to take the two pillars that come down off first. I'm taking my body clip. Now, there are plastic clips in here, and it can get kind of noisy. Just pull it out like that. Repeat the process on the other side. I'll take my body tool and undo these two clips. There's one on each side. If you pull down the seal here, you'll see the body clips that hold the back panel on. If you can get in there with your body tool, you're going to try to pop this clip off, there we go, and work my way down to see where the next clip is. Now I think I can just grab this, pull it right down. I'll put it right inside.
I'm going to remove the bezel. Now that the panel's off, pull it out so that I could put the harness up through into the door and into the back-up switch. I mean back-up light. There seems to be six bolts on this that are holding that little bezel on. I'm going to remove all six of these nuts that are on the studs then see if I can pull that bezel out so that I can fish my wiring harness through. Obviously, this is the way I choose to do it on this '08 Subaru. On your car, your license plate lens might go right into the back trunk area or access area at the hood, so you're just going to adapt to whatever your car calls for. It's really a simple process. It's not really that difficult. You're just running that wire into the trunk area to get to the reverse backup light.
Wonderful. There it is. Gonna pinch the connectors. There we go. We run the wire through the top here. It should go right about there. I can fish that wire right through, bring this up, hopefully find it. Yeah. There you go. I'm going to push this harness back in. I don't like to bolt anything down until I know for a fact that everything's working.
This is the reverse light. It's a two-wire system, and that's what we're doing is we're attaching this to the two-wire system. Now, with my reverse back-up harness exposed, I'm going to take these Scotchloks, and I'm going to ... you just fish it right into the wire, right into that open piece. There's three holes on it. There's two on this side and one on that side. The one on the top, the whole wire runs right through the center of it like that. Then you take the wire that you're splicing in, I'm folding it up just to make it thicker, and you splice it right inside there so it goes all the way into the center. Then you take a pair of pliers and you squeeze this connector down, and it mates all of them together. Take the pliers, click that together. Do the same on the other side.
Now I'm going to take some electrical tape, and I'm going to cover up my harness. I'm going to cut the excess of this off because it's more in the way. I want to cover that system from, hopefully, any water getting in there. It shouldn't get in there because it's inside the car, but moisture travels. Okay, now I'm going to plug it in. Before we do all the magic, let's go see if the camera comes on.
Now, with the ignition on, I plug my camera into my accessory AC power, and I've got the foot on the brake. I'm going to put it in reverse, and there's my camera. It's looking at the ground because I haven't had it set up yet, but now I can button everything up, and then I will adjust my camera back there for the proper distance.
Now with all the excess wire here, I'm just going to wire tie it to the existing harness and make sure it's out of my way. There we go. Cut the excess off. Now I know everything works, I'm ready to mount this plastic apron all the way across. Okay, so I'm going to line up all the body clips. I'm going to go under the rubber damper, bring this up. Okay, now I'm going to put these plastic clips on. Put those screws in. Come over on this side. Okay. Put this last clip on here. Now we can put the pillar on this side then repeat the process on the other side.
Now we're getting ready to mount the camera on the license plate area, so I'm going to bring it down, grab the plate and the mounting screws. In this particular design, they recommend putting it on the top mounting holes, so the plate goes in between the bracket like this. So the bracket doesn't mark up the plate on the outside, we're going to ... There we go. Okay. Perfect.
Now with the camera mounted in the back and hooked up, this was going to be ... Oh, it's Wi-Fi, so find a adapter, plug it in. Turn the key in the on position.It comes up, tells you about what's going on. Now all is you got to do is put your foot on the brake, put it in reverse, and there is the back of the shop. You have controls here of whether you want the lines or not the lines. If you hit that book thing, the book indicator, sorry, you hit that arrow, it brings you to each thing for setup. Camera rotation, we can rotate it. Hey, look at that. It's that button. Color, black and white. I'm going to bring that contrast down like that right there. I'm going to go back. I'm going to bring the color down, I think, a little bit. Let's see what it does if I bring it up. Oh, look at the floor. It turns green. Bring that color down to more realistic.
I'm going to take the suction cup, and I'm going to mount it over here out of the way. It has a nice little tab. You push down on it, mounts it nice and firm. Now I can grab the actual camera and slide it on. See, it has that square box. This is how it slides on, locks in. Then I'll bring it up. We're going to tighten down this arm. Now I have the backup camera mounted right there.
Then I can run that wire, plug it in, run it down over here. I'm going to open the door. I'm going to run it down through the panel work on the outside here. I'm just going to get a body trim tool. With the trim tool, I'm going to take this side panel off. It's where the fuse box is on some cars. This particular car, it is not. Now I can hide the wire down in here. That's perfect.
I'm going to pop this center piece out, use my body trim tool. It's got the vents. It's got some wires for the clock. Let's see if I can't get up in here and disconnect those wires, give myself a little bit more ... There we go. There, so now we could set that aside. Let's see if I can get down below again here. I'm going to run this up from underneath and, hopefully, come out here. Okay, so I'm going to bring my arm straight across, see if I can bring it out to a clearing spot over here, enough to grab it from there. I can see it right down here. I'll lock the steering wheel down. There we go. There we go, finally. Okay, beautiful.
Now that's all we're going to see is this little cord sticking out right there. That shouldn't be in the way. That's kind of nice. All right, so now I'm ready to put the vent and extra pocket back up. I'm going to plug the clock back in. There we go. Line up the vents, make sure ... Now I'm going to put the side panel on. There's a tab down here and two up there, so I'm going to line the bottom one up first and then the top two. Just give it a quick snap in. There we go.
Okay, now I'm going to put the key in reverse again. Let's see how the camera looks. There it is. If I was to go out back, let's see what you see.
Thanks for watching. Visit us at 1AAuto.com for quality auto parts, fast and free shipping, and the best customer service in the industry.

How to Replace Driver Seat Switch 2007-16 Ford Escape
How to repair, install, fix, change or replace a damaged, worn out, faulty or shorted power mirror switch on 07, 08, 09, 10, 11, 12, 13, 14, 15, 16 Ford Escape
