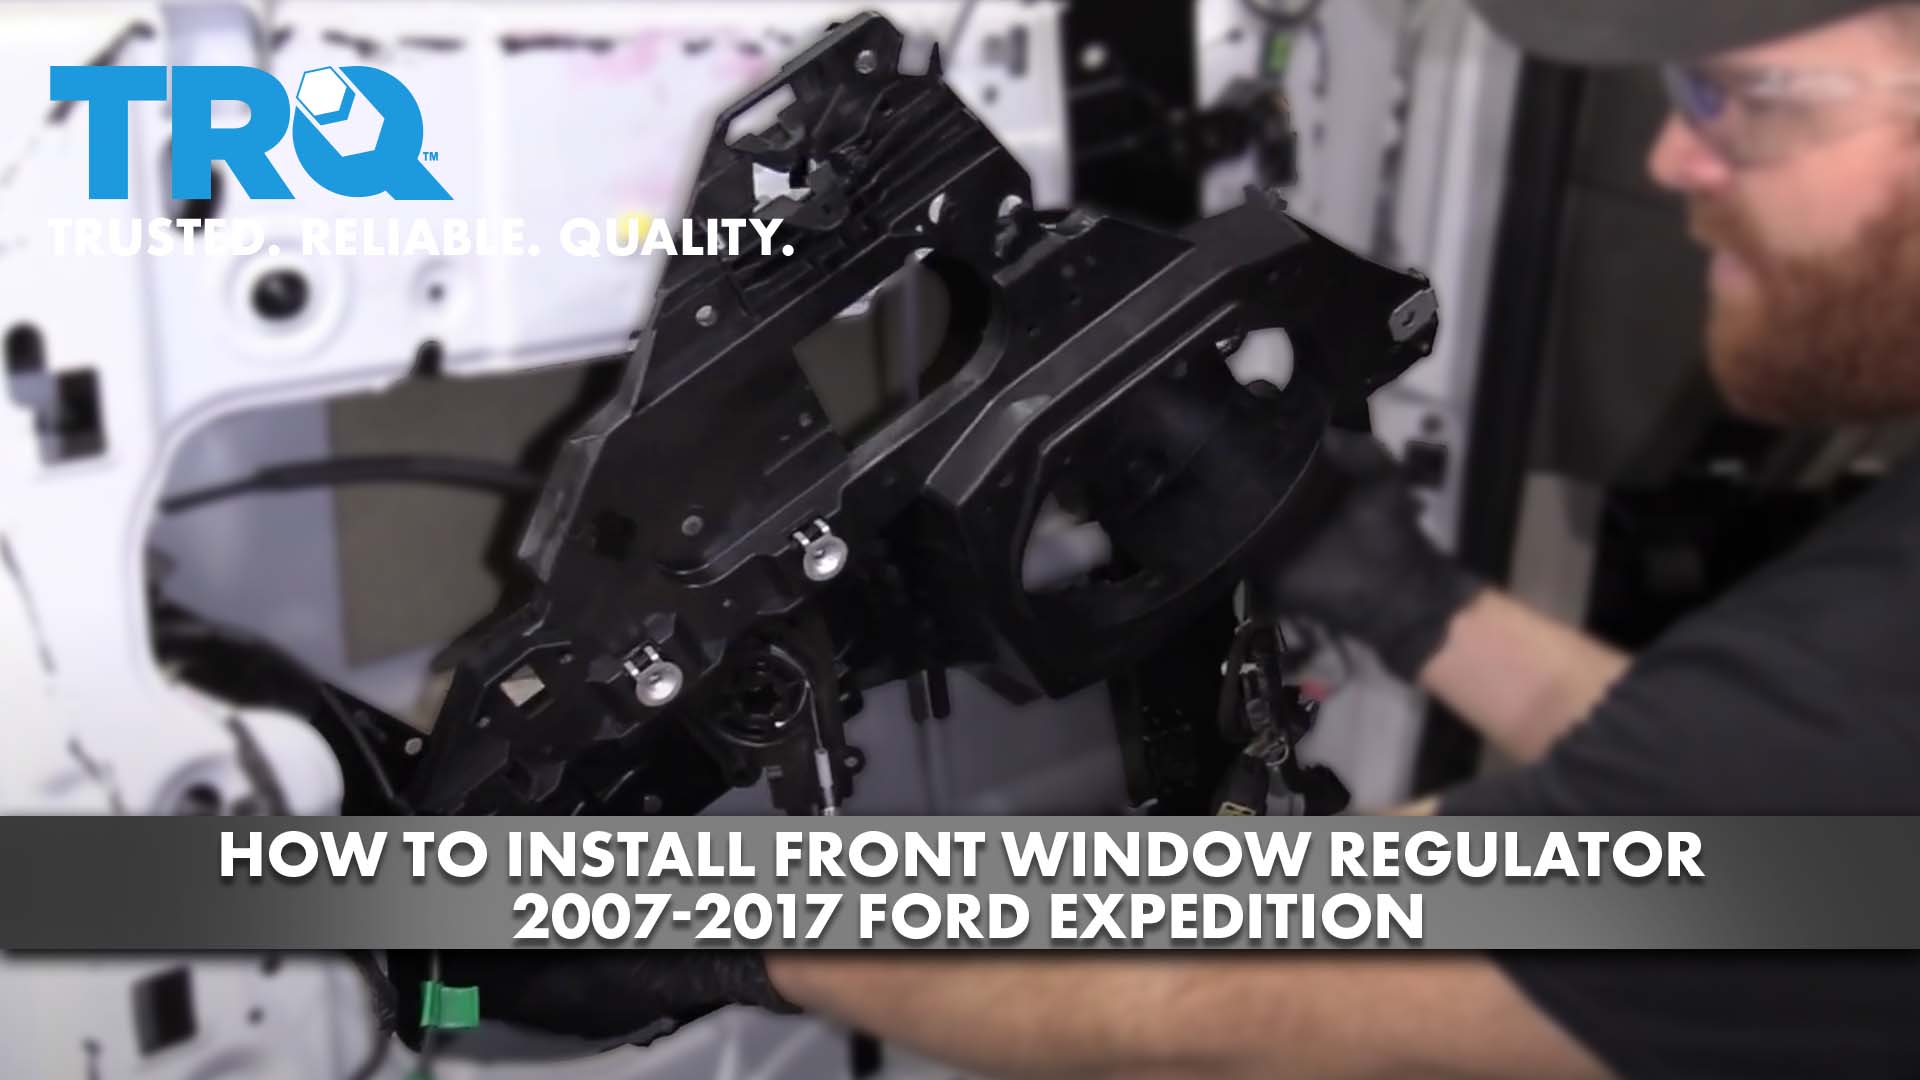
How to install Front Window Regulator 2007-17 Ford Expedition
Created on: 2020-12-10
This video shows you how to replace both the window regulator and the motor on your 2007-2017 Ford Expedition.
Tools needed
-
Gloves
Painter's Tape
Ratchet
Complete Torx Bit Set
Safety Glasses
Pocket Screwdriver
Okay, friends. So one of the first things we need to do is get under the hood and we're gonna disconnect the negative battery terminal. This is what you're gonna wanna do after you make sure that you have your window in the fully upward position. Just loosen this nut right here, then you should be able to twist and lift this right up. We'll set it aside so it's disconnected from the battery. All right. So the next thing we're gonna do is go ahead and remove this weather barrier right here. As you pull it away, you're gonna see a whole bunch of this black stuff right here. This is called butyl tape and it's very sticky. It can ruin your clothes. I'm just gonna pull this right off the door panel, and then we'll set it aside.
The next thing we're gonna do is move the wiring out of the way, and we're gonna remove our speaker.
Disconnect your speaker, set it aside. Now, the next thing that we're gonna wanna do is remove our door handle from the window regulator itself. To do that, use a nice pry tool or a small screwdriver. We're just gonna lift up on this tab and carefully pull this out like this. After you've done that, go ahead and grab your cable and draw it out of the little slot. Next, we're gonna move along to this area here. If you pry in between, this should pop right out. This can stay right where it is for now. Looks pretty good. The next thing we're gonna do is remove this sensor, remove your two mounting bolts, but be careful not to drop it. It's very sensitive. Set this aside. The next thing we need to do is tape our window so it's in the fully up position. This is gonna help make sure that it can't come down as we're working.
The next thing we're gonna do is remove our three mounting bolts for our window motor to the regulator. Remove your window motor. All right. So let's go ahead and grab onto this wiring. I've got another anchor point. Let's put this out of the way. At this point, all of our wiring is nice and clear. The next thing we wanna do is go ahead and remove the bolts that hold the window regulator to the actual glass itself. If you were to look through this piton right here and then this whole right here, you're gonna be able to find two 10-millimeter headed bolts. Go ahead and loosen those up. Let's go ahead and remove our nine mounting bolts.
Leave that one in just a couple of threads. Now, with all the bolts out of here, what we can do is we can just wiggle this around a little bit and we're gonna break it free. Once we've done that, we'll just maneuver it around until it comes out of the door. Okay. There it is, friends. Now, using a nice, clean rag with some window cleaner, let's go ahead and clean down the lower aspect of the window from inside, especially the areas where those little clips are gonna grab onto it. Okay, friends, now it's gonna be time to get our brand new window regulator in there. Before you can go ahead and do that, you wanna make sure you remove the screws that were on either end of this. It's just gonna make it easier to fit into the door. Once you do, go ahead and install it in the opposite direction that you remove the old one from. Essentially, coming in from an angle is gonna be the easiest way. All right. Now, let's go ahead and start in all of our mounting bolts.
Now, for the guide rod that goes up and down along the backside of the window regulator, you wanna pay a special attention to the top that has the clasp. You wanna make sure that the glass is gonna be sitting down inside that clasp. And then, of course, we'll go ahead and tighten up that bolt after we get everything situated. I'm just gonna reach up in here. Make sure the clasp is going around the glass like I said. This feels good, we'll do the same over there. And then, of course, we'll start snugging everything up. Here's a picture of what the clasp looks like. The glass is gonna come in in between like that. Okay. Get that clasp on there. Once we have that, we can start the bolt here. My ripped glove. All right. Now that we have them all started, let's go ahead and snug them up.
Now we just wanna make sure that we push these clasps all the way up so they're touching against the bottom of the window and then snug those up. Okay. So that bottomed out, I'm just gonna go a teeny bit more, and then we'll do the same to the other. The next thing we're gonna wanna do is secure this. What you're gonna notice is it has two clasps. One here and one up along the top. We're gonna want those to match up with their corresponding holes on the window regulator assembly. There we are. Now it's gonna be time to install the window motor. We'll set this just like that, give it a little twist, start in all three of your bolts, and then snug them up. All right. Now let's just go ahead and snug them all up. Now it's gonna be time to install our sensor. Start in both of your bolts before you snug either of them up. Now, let's go ahead and connect in some of our wiring. We, of course, have our big connector. It's gonna go to the window motor. Click it in, listen for a click, give it a tug. Do aim to all. Make sure this is locked.
We get this piece right here and squeeze that into there. Now let's go ahead and bring our wiring up here. You're gonna notice you have your little connection points. Put that right in there. There should be another one right back here. Go ahead and push that in there, assuming you have it. This one's gonna go right along here. And now let's grab our plate and mount that on. When you install the plate, you wanna make sure that this area is facing up. That's gonna be the mounting screws for the door panel. Snug them up.
Okay, friends, now it's time to install our inside door handle. Take it like this and hold the spring. Now, we're gonna take our cable, slide it down and inside this groove, and then bring it just like that. This looks great. At this point, we're gonna start the lower piton into this area, just like this. And then we're gonna line up the top. Don't go ahead and force this in because you don't wanna break the handle. Make sure you go ahead and separate these two pieces a little bit so it can go right in. This looks good. At this point, we're gonna push this into its latching point. That looks good. Give this a little test real quick. Make sure that it is spring-loaded, the spring's in the right spot. And then, of course, we'll resecure it down the line.
Now, let's grab onto our other wiring harness here. We're gonna take these two wires, the ones for the speaker, put them down and behind, and then, of course, we'll grab them through that speaker hole. After that, go ahead and connect in this main harness. Make sure you listen for a click, of course. Resecure it into the window regulator. Set all this stuff aside. Let's grab our speaker. Now it's gonna be time to install our speaker. Let's go ahead and connect in the wiring. Got a little click. There we are. Line this up. Start in all four of your mounting bolts and then snug them up. Now it's gonna be time to install our vapor barrier. We wanna go ahead and grab these two wires. We're gonna put them through this slot right here. Let's grab the remaining three wires and put them through this slot. Looks pretty good. Of course, we'll get this up and around the handle here. And then we'll just line it up with all the existing lines where it originally was. Perfect.
Now it's time to get our door panel back on. Let's connect in the wiring first, of course. As we go, we're just gonna make sure everything completely latches in. Listen click and then give it a tug. You put the blue connector in the forward one. And then, of course, the green in the rearward. This is all connected in. At this point, we're gonna lift this up high so we can go over this. We want that to go right inside. Now, before we go ahead and slide it down, you wanna press it all the way up against the door so the panel's completely against the door, and then you'd wanna slide it down. If it doesn't feel like it's going all the way against, just lift up, wiggle it until it does. There we are. Feel around the entire door panel just to make sure it's completely secured. This looks great. Now, before we go ahead and put in all of our mounting bolts that hold the panel to the door itself, let's go ahead and reconnect the battery and then test to make sure the window works.
Now, with the key in the on position, let's test the window. You can tell that it's going up nice and straight, perfectly level, and it works perfectly. Turn off the key and let's continue. Now it's time to get this piece back on. Let's go ahead and lift this up. We're gonna line up all the little pitons with their holes. Give it a nice, little push. That sits flush, looks amazing. Let's install that bolt. And, of course, our little cover. If you look at the back, you're gonna see you have a little flippy-do here. You want the flippy-do facing towards the back. Slide that in. Now, let's get these bolts that are inside the handle. Let's put in our two lower bolts. Now we'll finish with this one right here. Let's go ahead and pop that in there. Now, with the key in our hand, let's make sure the door works from inside and out. Perfect.

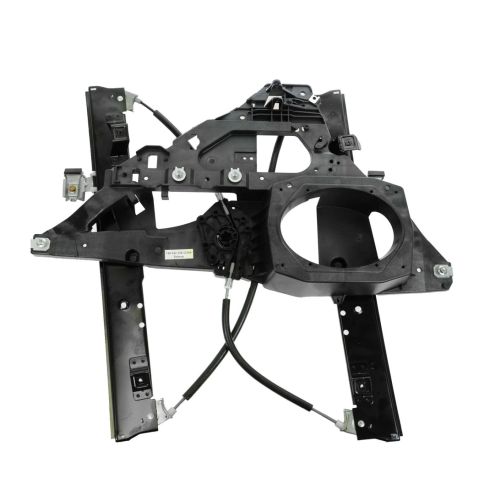
2007-17 Ford Expedition Lincoln Navigator Front Driver Side Power Window Regulator Dorman OE Solutions 749-542
Part Details:
- Power
- without Motor
- Features and Benefits

How to Replace Front Window Regulator 1999-2007 Chevy Silverado
This video shows you how to install a new window regulator on your 1999-07 Chevy Silverado.
