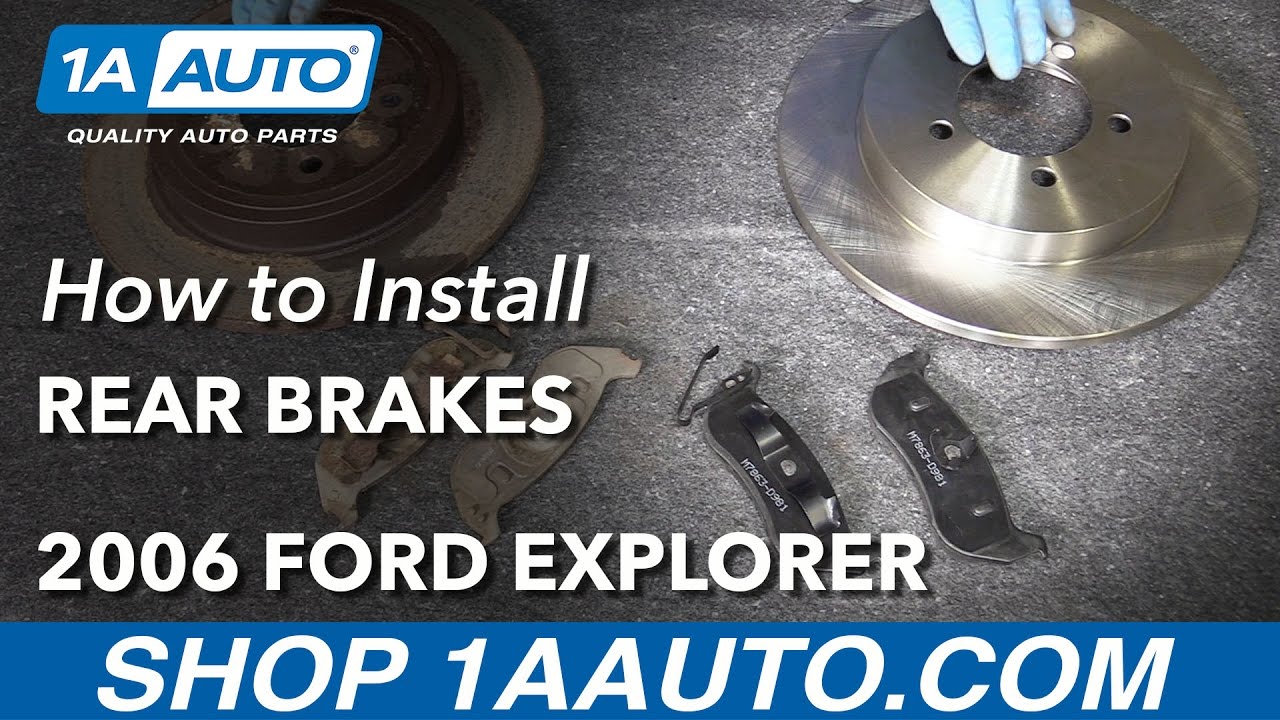
How to Install Rear Brake Pads Rotors Adjust Parking Brake 2006-10 Ford Explorer
Created on: 2017-05-12
How to repair, install, fix, change or replace your own worn, squeaky, fading old brakeson 06, 07, 08, 09, 10 Ford Explorer
-
step 1 :Removing the Wheel
- Loosen the 19mm lug nuts with the vehicle on the ground
- Raise the vehicle with a floor jack
- Secure the vehicle on jack stands
- Remove the lug nuts
- Pull off the wheel
-
step 2 :Removing the Brake Pads
- Pry the brake pads into the caliper with a flat blade screwdriver to push in the pistons
- Remove 10mm bolts from the brake caliper
- Pull the caliper aside
- Pry the brake pads off with a flat blade screwdriver
- Remove the brake pad slides
- Secure the caliper with a bungee cord without stressing the brake hose
- Pull the rotor off
- If the rotor will not come off, thread the lug nuts and strike behind the rotor with the ball end of a ball peen hammer
-
step 3 :Preparing the New Brake Pads and Rotors
- Adjust the brake shoes
- Slide the rotor on to test
- Remove the rotor
- Clean the brake shoes with brake parts cleaner
- Clean the rotor with brake parts cleaner
- Clean the brake pad slides with a wire brush
- Apply anti-seize fluid or white grease to the slides
-
step 4 :Installing the New Brake Pads
- Put an old pad in the caliper
- Use a large C-clamp and the old pad to push the pistons back
- Apply brake grease to the back of the pads
- Install the new brake pads into the caliper
- Put the caliper on
- Thread 10mm bolts by hand
- Tighten bolts to 24 foot-pounds
-
step 5 :Reattaching the Wheel
- Slide the wheel into place
- Start the lug nuts by hand
- Tighten the lug nuts preliminarily
- Lower the vehicle to the ground
- Tighten the lug nuts to 100 foot-pounds in a crossing or star pattern
-
step 6 :Testing the Brakes
- Pump your brakes repeatedly until they feel firm
- Test your brakes at 5 miles per hour and then 10 miles per hour
- Road test the vehicle
Tools needed
-
Large C-Clamp
Torque Wrench
Hammer
Jack Stands
19mm Socket
Brake Parts Cleaner
Flat Blade Screwdriver
Paper Towels
Anti-Seize Grease
10mm Socket
Ratchet
Wire Brush
Floor Jack
1/2 Inch Breaker Bar
Hi, I'm Mike from 1AAuto. We've been selling auto parts for over 30 years! We're dedicated to delivering quality auto parts, expert customer service, and fast and free shipping, all backed by our 100% satisfaction guarantee. We've created thousands of videos to help you install our parts with confidence. That saves you time and money, so visit us at 1AAuto.com, your trusted source for quality auto parts.
In this video, we're going to show you how to replace the rear brakes. This is a 2006 Ford Explorer and I hope you like this video.
If you do, click the subscribe button, and also check out our channel for lots of other videos for this Explorer, as well as a bunch of other vehicles. You can also buy the parts in this video by clicking the link down below and visit 1AAuto.com.
Here are the items you'll need for this repair: 10-19mm sockets, ratchet, breaker bar, large flat blade screwdriver, hammer, wire brush, paper towels, brake cleaner, brake grease, large c-clamp, torque wrench, jack, jack stands
With the vehicle on the ground, 19 millimeter socket or your tire iron and loosen up your lug nuts. Raise and support the vehicle. You can use a jack and jack stands. We are using a lift. Remove the lug nuts the rest of the way, and remove the wheel and tire.
Use a large screwdriver, insert it here, and pry out to push the piston back into caliper. This'll help you get it apart easier. There's two 10 millimeter bolts to remove: one down here and one up here. Use a wrench or socket and ratchet to remove those. Once those bolts are out, use your wrench or your screwdriver and pry the caliper out. Set these bolts aside and then the outer pad, you have to push it out and then pry up. I'm pushing this way and then prying up and the pad comes out and the inner pad just pulls right out. You can either secure your caliper with a bungee or just make sure that you don't stress the brake hose.
Remove the disc. It should just pull off. There’s a lot of corrosion, so we're expecting a little bit of a fight. I'll put a lug nut on just to make sure it doesn't fly too far. If you're going to reuse your disc, you don't want to hit it with a hammer. We're going to be replacing this one, so we're not that worried about it.
You've got your original brake shoes and new ones from 1A Auto—they're all the same. They’re going to install exactly the same. If you're inspecting your old ones, this little mark here is a wear mark, so if it's gone, as it is on these pads, you know you need to replace your pad. See the new ones, nice large wear mark, so you know that they're in good shape. Rotors here: the original one and new one from 1A Auto. It’s exactly the same, has the provision on the back for the emergency brake, and will install just like the original. We're going to just preliminarily install our rotor.
Okay, and then we want to adjust our brake shoes so that there's some tension between the brake shoes and the rotor. Right now, it's very loose. So the best way to adjust is just use something, push up on the spring a little bit, and then you can just adjust out. Make sure as you turn it that you're expanding the gap between here and the adjuster shoe. You can feel a little bit of tension between the shoe and the disc, then I'll just do it a little bit more.
Okay, good tension, not too much movement, and now it's a little difficult to pull off, so I know I have the tension right. Brake parts cleaner clean off the surface of the shoes. Then the same thing, brake parts cleaner, clean out the surface of the rotor and install the rotor. Clean the rotor surface and the backside.
Use a wire brush and clean your slides here. If your car does have a lot of rust, you may want to pull these off and chip away at the cast iron underneath. A lot of times, what happens on these vehicles is that they rust. These expand and may cause binding in the brake shoes. If they don't look clean or if they look bowed out at all, you'll want to take them apart and make sure there's no rust built up underneath.
Use some silicone brake grease and grease these slides on the top and bottom. You want to reset the piston into your caliper so put your old shoe back in. This gives you a better point to press on. Big c-clamp and push it all the way back in. And you want to make sure that your bolt slides are in good shape and free and as long as they are you can put them back together. If not, you can pull them right out, clean them up, and use some silicone brake grease and reassemble them. We put some grease on the back of our pads, put the inner one in first and now push it into place. And then the outer one slides down and on. I need to pull those out just a little bit.
Make sure your bolt slides are all the way out, they'll get hung up otherwise. Put the top into place and put it down on and put your bolts back in. Tighten the caliper bolts to 24 foot-pounds. Reinstall your wheel and tire. Put the vehicle back on the ground, you want to tighten your lug nuts to 100 foot-pounds using a star pattern. Any time you work on your brakes, before you go out and test drive just pump them a few times, make sure you have a nice firm pedal before testing.
Thanks for watching. Visit us at 1AAuto.com for quality auto parts, fast and free shipping, and the best customer service in the industry.
Shop Products

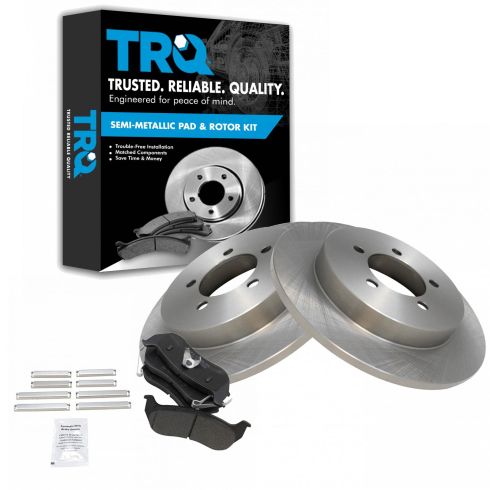
Ford Mercury Rear Semi-Metallic Brake Pad & Rotor Kit TRQ BKA10950
Part Details:
- Semi-Metallic
- Premium Posi
- (2) Rear Brake Rotors
- (1) Rear Semi-Metallic Brake Pad Set

How to Replace Front Brakes 2001-06 BMW 325Ci
How to repair, install, fix, change or replace your own worn, squeaky, fading old brakes on 06 BMW 325Ci
