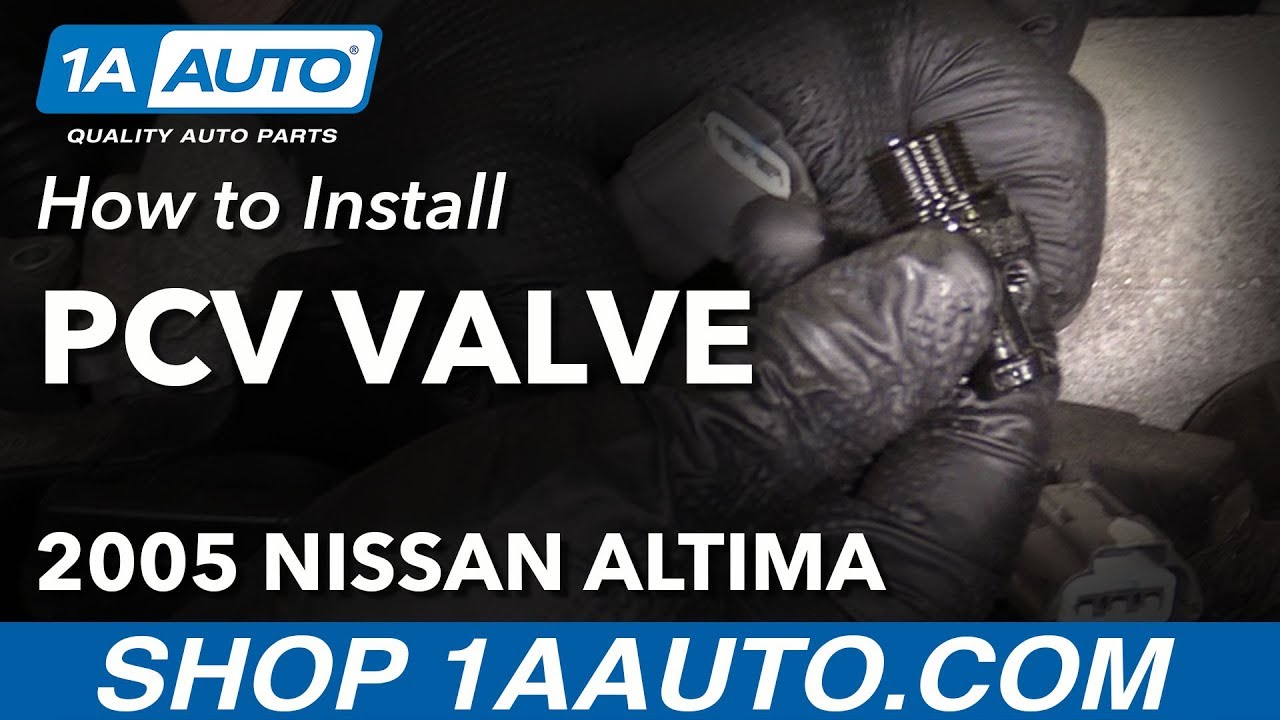
How to Install Replace PCV Valve 2002-06 Nissan Altima
Created on: 2017-09-11
If the PCV valve is failing, worn, or defective, this video will show you the steps for replacing it yourself
-
step 1 :Remove the Engine Cover
- Remove the four 5mm Allen bolts from the cover
- Remove the cover
-
step 2 :Disconnect the Ignition Coils
- Disconnect the coil wiring harnesses
-
step 3 :Remove the PCV Valve
- Remove the 10mm bolts from the harness bracket
- Pull the harness out of its clip in the valve cover
- Lift the harness to create room to work
- Loosen the hose clamp with needle nose pliers
- Work the hose off with a flat bladed screwdriver
- Fit a 23mm wrench over the valve
- Remove the valve
-
step 4 :Install the PCV Valve
- Twist in the new valve finger-tight
- Lightly tighten the valve with a 23mm wrench
- Fit the hose onto the valve
- Clamp the hose clamp with needle nose pliers
- Clip in the harness and tighten the 10mm bolts
-
step 5 :Connect the Ignition Coils
- Connect the ignition coil sensors
-
step 6 :Install the Engine Cover
- Press the cover into place
- Tighten the four 5mm Allen bolts
Tools needed
-
5mm Hex Wrench
Socket Extensions
Flat Blade Screwdriver
10mm Socket
Ratchet
Hi, I'm Mike from 1A Auto. We've been selling auto parts for over 30 years!
Use a five millimeter Allen key to remove the plastic engine cover. There are one, two, three, four bolts holding it on. With it off, we put it aside.
Unplug the coils. I'm pushing in the lock tabs and pulling off the connectors. Your PCV valve is under here. We need to move this harness out of the way so we can get to it. These are 10 millimeter bolts. Harness is clipped into the top of the valve cover here. Pull it out. Opening up the tab. Feed the harness out. That will give us a bit more space to work.
You don't want to pry this too hard, because there's wires in here you don't want to break. Get some pliers and undo that clamp there, and push the hose off before I can unscrew the PCV valve. I'm going to take some needle nose pliers, open up this clamp, and push it back on the hose. I need to get in here and work the hose off of the PCV valve. I'm going to take a flat bladed screwdriver, try to pry the hose off. The PCV valve was just plastic. Try not to break it. There it is. They can get a little cooked on there with age. Just push it off.
I'm going to lift up the wiring harness just a tiny bit. Take a 23 millimeter wrench, slide it down, it fits over the PCV valve. I'm going to twist it off. Doesn't have much tension to it. It's already loose. Loosen it with my fingers and continue to spin it out. We pull it out of the valve cover. There's our PCV valve.
Take the new PCV valve and lift up on this harness a bit if it helps. We'll just thread back in. Threaded it in finger tight. I'm going to take that 23 millimeter wrench again. Now this is a really long wrench and you can put a ton of torque on this, but you don't want to. You want to be very careful you don't break this plastic valve cover. So I'm just going to put the wrench on it and just turn it just enough to get the rubber seal that's in there to compress. It's starting to get a little bit tighter and right there.
Lift up this harness again and reinstall the PCV valve hose. Let's see if I can use this flat blade screwdriver to help wedge it on once it's started on there. Get that reseeded. Take needle nose pliers and reinstall the clamp. PCV valve was placed.
Got to reinstall the bolts that hold the top of the harness into the intake. Unfortunately, this plastic was so dried out that when we removed the bolts it just kind of cracked the harness holder, but we'll do our best to get it in there. And I'm just going to as soon as it gets tight, just stop. These are just very small bolts going into an aluminum intake. Now we need to over tighten them. Right there. Clip it back into this little harness connector that's on the valve cover. It's unbalanced but I just have to turn it up here so it faces up. Push the harness back into there.
Reconnect our coils. Reinstall the engine cover. Reinstall your four bolts. These bolts are just going into aluminum, just holding on the plastic cover. Not a lot of torque on these. Job is complete.
Thanks for watching. Visit us at 1AAuto.com for quality auto parts, fast and free shipping, and the best customer service in the industry.

How To Perform a Battery Current Draw And Locate Problems
Watch this video to learn how to detect if accessories are drawing too much power from your battery, and how to locate them if they are.
