How to Install Replace Rear Shock Absorbers 2005-16 Ford F250 Super Duty 4 Wheel Drive
Created on: 2018-08-02
How to repair, install , fix, change or replace your front shocks with their loaded struts on 05, 06, 07, 08, 09, 10, 11, 12, 13, 14, 15, 16 Ford F250
-
step 1 :Removing the Old Shock Absorber
- Raise and support the vehicle
- Support the bottom of the axle with a jack
- Use an 18mm socket and ratchet to loosen the lower nut up
- Hold the bolt with a 15mm wrench
- Remove the bolt (adjust the jack if the bolt is stuck)
- Use the 18mm socket to remove the upper nut
- Pull the shock absorber off the stud and remove it from the car
-
step 2 :Reinstalling the New Shock Absorber
- Line up the new shock
- Insert the shock into the upper stud
- Use a pry bar to compress the shock and push it into its bracket
- Insert the bolt in the bottom bracket
- Snug up the top nut with an 18mm socket
- Torque it to 52 ft-lbs
- Snug up the lower nut
- Torque it to 66 ft-lbs
- Install the cable ties to keep the boot in place
Tools needed
-
15mm Wrench
Torque Wrench
Pry Bar
Jack Stands
18mm Socket
Floor Jack
1/2 Inch Breaker Bar
Hi. I'm Mike from 1A Auto. We've been selling auto parts for over 30 years.
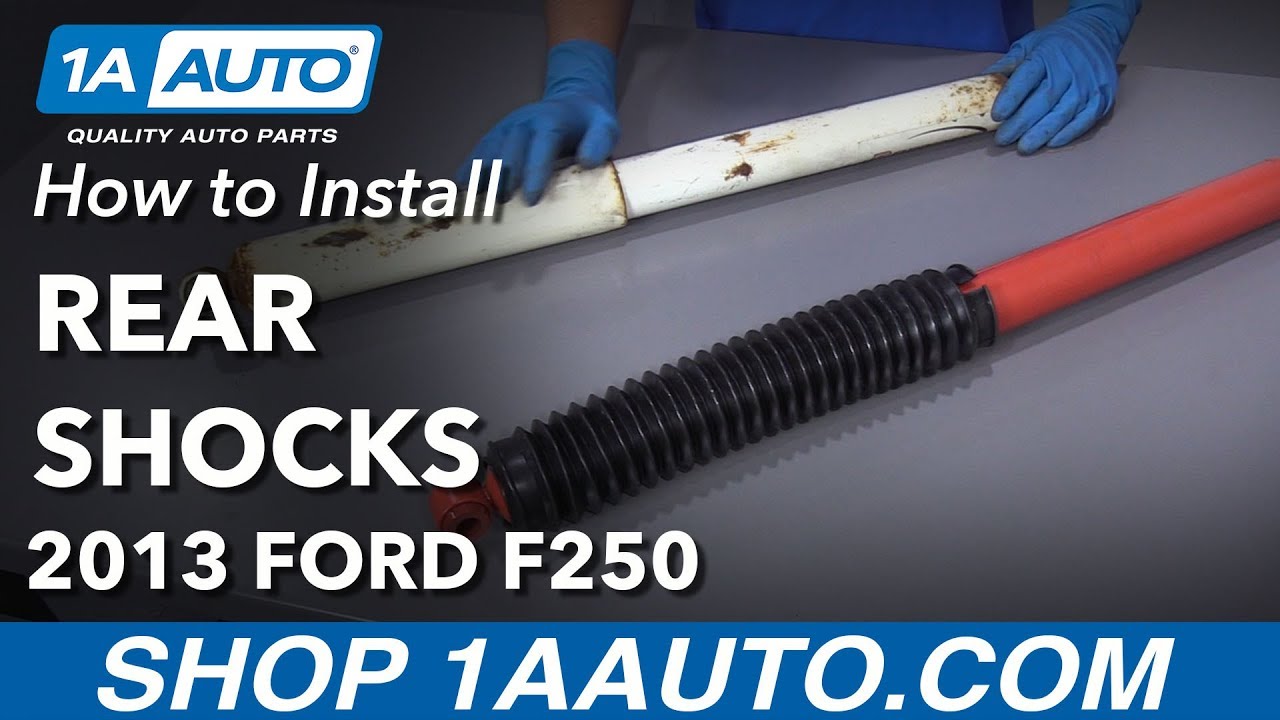
What's up guys? Here we have some KYB Shocks from 1AAuto.com. We're going to show you how to install them on this 2013 Ford F250. Some of the advantages of these shocks are these dust boots. They're going to keep the rocks and debris out of the top of the shock. These shocks are going to be more responsive. You're going to have a smoother ride on the road. You're going to have better control while towing. If you need shocks for your car or truck, check out 1AAuto.com.
We're going to raise and support the vehicle. We're going to use a two post lift. You can use a jack and jack stands.
Your rear shocks are located right here. This one's on the back side of the axle. The one on the passenger is in the front of the axle. The procedure will be the same for both sides.
So one of the things we're going to do is we're going to put a screw jack underneath here. That's going to support. It's just going to make it easier to install and remove the shock. The rear axle's not going to fall because we still have the leaf springs holding it but this will just make it easier to do the procedure. Let's just tack this up a little bit.
We're going to loosen this nut up. It's an 18 millimeter socket and a ratchet. Then we'll take a 15 millimeter wrench on this side and loosen it up. Take that nut off once it's loose. Pull that off. This bolt is pretty loose. If this was still tight, depending on which way you can move the screw jack, up or down, will make it easier to come out or more difficult. Pull that out. All right, this is loose. It's just sitting there right now which is okay.
I am going to loosen up the upper shock nut. Looks a little bit rusty so I'm going to get some rust penetrant. Spray a little bit of rust penetrant right there. Let that soak for a little bit. I'm going to use my 18 millimeter socket and my ratchet. Loosen this up. Now this is on a stud so you don't have to put a wrench on the other side. It's just taking the nut off right there. Now let's loosen the switch to a smaller ratchet with an 18 millimeter socket. Take this nut off.
Now I'm going to take like ... I can use a pry bar or a screwdriver. Take a screwdriver. Just pull this shock out here and I'm going to pull it off the top.
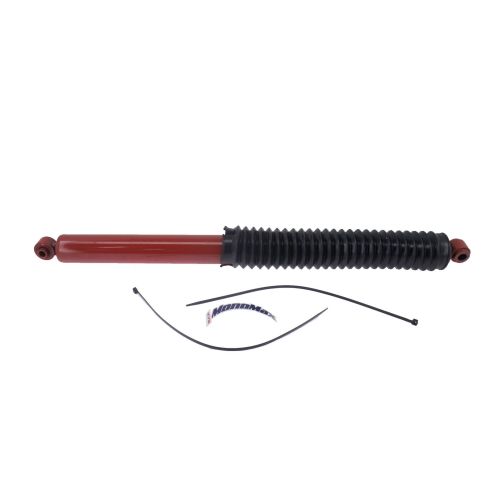
Here's our old shock. Here's our new shock from 1AAuto.com. As you can see our new one has an upgraded rubber boot, which is good. It won't rot out like the old one, which would cause premature wear of the shock itself. The mounting positions are the same. Get yours at 1AAuto.com and you'll be ready to rock and roll.
All right, we're going to install this rear shock. We're going to line it up, up top with the stud and slide it on just like that. We're going to reinstall this nut up here. Ford recommends that you replace this nut but we're going to reuse ours. We'll just get it started. We'll torque it later.
We're going to take... Obviously this isn't lined up so we're going to lower down the rear differential a little bit. And that's about as far as it'll go. We'll take a pry bar and get underneath here. Just move this up just a little bit.
Get underneath the shock with the pry bar. We're going to compress it. I'm going to push it forward, get it lined up. Take the bolt. Just line this up. Again Ford recommends using new hardware for this as well.
Install that. Install this nut. We're going to snug this nut down first with an 18 millimeter socket and a ratchet. Then we're going to torque this nut with an 18 millimeter socket and a torque wrench. We're going to torque this to 52 foot pounds on the upper nut.
Then we're going to snug up the lower nut. All right, now with my 15 millimeter wrench and my 18 millimeter socket and a torque wrench we're going to torque this nut to 66 foot pounds.
This shock comes with some new cable ties that are going to put this boot on so before we position that we're going to get this started. We'll move the boot up. You don't want to go to the tippity top but right there's pretty good. Tighten this tie down. Get that on. Tighten it up. Now the kit comes with four so I'm going to put two on each side. Stick this one below the other one. It'll just give you extra, extra grabbing force. Tighten that up pretty tight. I'll take some side cutters, cut off the excess. I'll do the same for the passenger side.
Thanks for watching. Visit us at 1AAuto.com for quality auto parts, fast and free shipping, and the best customer service in the industry.
Shop Products


How to Replace Front Strut Assembly 2007-13 Chevy Suburban
If the front strut assembly is worn or failing and needs to be replaced, check out this how-to video and follow the steps to DIY
