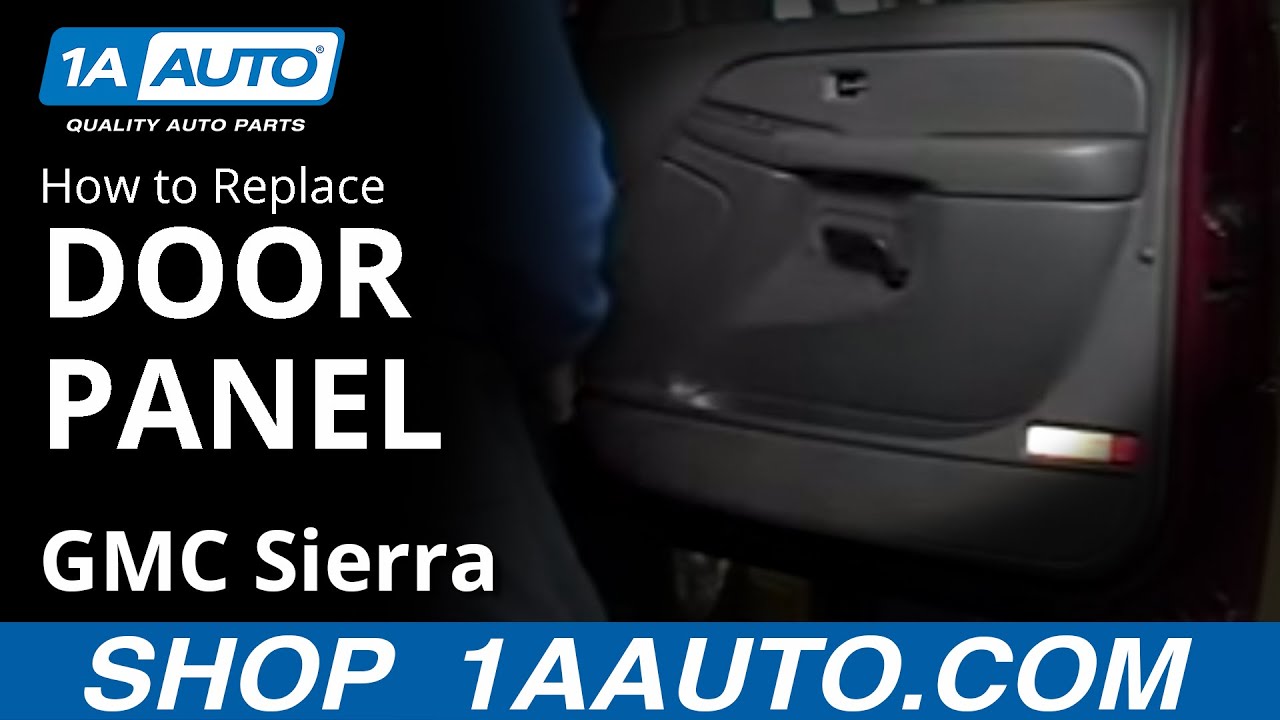
How To Remove Door Panel 1999-2006 GMC Sierra
Created on: 2010-02-01
Watch this video to learn how to replace your door panel. The experts at 1A Auto show you how to replace the inner door trim on your 03-06 Chevy Silverado or GMC Sierra.
-
step 1 :Detaching the Door Lock
- Remove the trimming around the door lock, and pull the back side of it-towards the rear of the vehicle.
- Wrap the screwdriver in a rag so as not to scratch the paint, and work it underneath. There are two clips, and they pop pretty easily. Pull on it slightly with your hand while prying with the screwdriver, and it will come out.
-
step 2 :Detaching the Door Handle
- Remove the trim plate around the door handle.
- Pull the back side of it-towards the rear of the car-and pry. It slips off around the door handle.
-
step 3 :Removing the Push Pin
- There is a little plastic push pin at the front of the door. Pry under it with a screwdriver first to get it going, and then use the needle nose pliers to pull it out.
-
step 4 :Removing the Screws
- There are three screws, the first being found flush against the rear end of the door, parallel with the window controls. Remove.
- The second is a 7 mm screw right behind the door lock. Remove.
- There is one last 7 mm screw up underneath the door pull. Remove.
-
step 5 :Detach Panel
- The panel is detached, but don't pull it far from the door as there are still wires that need to be disconnected.
-
step 6 :Removing the Courtesy Light
- Reach in behind the lower rear corner, and unplug the light.
-
step 7 :Detaching the Power Cords
- Look behind the panel directly where you're power lock and power window buttons are. You'll see the first couple of cords are connected with a little locking clasp. Push the clasp, and disconnect the plugs. The other cord to disconnect is held together by a gray lever. To separate this, push the lever down and forward and then pull the cords apart.
-
step 8 :Detach your Speakers
- Unplug the speakers by unhooking the same kind of clasp lock as above.
-
step 9 :Remove the Panel
- Pull it up and the door panel is now free.
Tools needed
-
Flat Blade Screwdriver
7mm Socket
Cloth Rags
Needle nose pliers
Complete Torx Bit Set
Brought to you by 1AAuto.com your source for quality replacement parts and the best service on the internet.
Hi, I'm Mike Green, one of the owners of 1A Auto. I want to help you save time and money repairing and maintaining your vehicle. I'm going to use my 20+ years' experience restoring and repairing cars and trucks like this to show you the correct way to install parts from 1AAuto.com. The right parts installed correctly. That's going to save you time and money. Thank you and enjoy the video.
In this video, we'll be removing a door panel from a 2004 GMC Sierra. You might want to remove the door panel if you want to replace a door handle. You'll need to do it for a mirror, window regulator, window motor, or other things like that.
For this repair, you'll need a medium size flat blade screwdriver, a pair of needle nose pliers, a 7 mm socket and driver, and a small size Torx driver. It's a fairly easy operation.
You start out by removing the little trimming around the door lock, and it's at the ejection of the lock button itself. You pull the back side out, and then it pulls right out, very lightly. Then I'm wrapping my screwdriver in a rag to make sure I don't scratch the paint, and then you just work it into that triangle, and you pull those. There's two clips, and they actually pop pretty easily. You could pull on it a little bit with your hand while you're prying with the screwdriver, and it will come out.
Next, we're going to remove the trim plate around the door handle. Again, on the back side of it, towards the rear of the car, just pry a little bit, and then it comes right up around the door handle.
Next, I'm going to remove - there's a little plastic pin at the front of the door. It's just a little push in pin. You kind of pry under it with a screwdriver first to get it going, and then I've got a pair of needle nose pliers, and I'm just kind of pulling it right out.
Then next, I think there are three screws here. That's a little trim piece. I'm just pulling it off with my fingernails, and it is a little torque screw you can see. So you need a smaller size Torx bit. We're going to probably speed up the tape a little bit while I do this. Okay, and then next there's a little screw right behind that door lock. Here it is close up. That's a 7 mm. Again, we'll speed up the tape a little bit. Then there's one last screw up underneath the door pull, and again that's a 7 mm. And we'll speed it up.
You can actually just lift up on the panel, and it comes out. And then you've got to reach in behind. This is the lower light. That's the courtesy light. That pulls out. That's in the lower rear corner. Then I'll move the camera up a little bit. And then this is the back side of your window switch and door lock switch.
This truck has power door locks, power windows, and a power mirror. So there's actually three, I believe, connectors. Actually, there are four. The first couple come. Just push your thumb towards the door panel. There's a little, just a little lock and then they'll pull out. The next one we're going to do a close up, because this is a weird. This is the bottom side. You're looking at it opposite of if you're looking over it. But there's this little gray lever. Get those wires out of the way. And there's a lock for that lever, and you press down, and then that lever rotates forward. So you can see, now I'm actually doing it on the panel. You'll see in a second, you'll see the lever kind of. I'm pressing up on there, and then the lever pulls forward, and you can see the lever right there. And then the next one also just kind of has a tooth that you push.
Then you unhook your speaker here. I actually kind of pull it off of the door panel. It just kind of slides onto the door panel. I'll get it with two hands. Again, it's just a little locking connector. Once you've got that done, you're door panels free, and you can continue on with your work.
This video is brought to you by www.1aauto.com, your source for quality replacement parts and the best service on the internet. You can call us toll free, 888-844-3393. We are the company that's there for you on the internet and in person. Thank you very much.

Why Does My Car Truck or SUVs Engine Knock Why Oil Changes Are Important
In this video, you'll learn why skipping oil and filter changes is a surefire way to destroy your engine!
