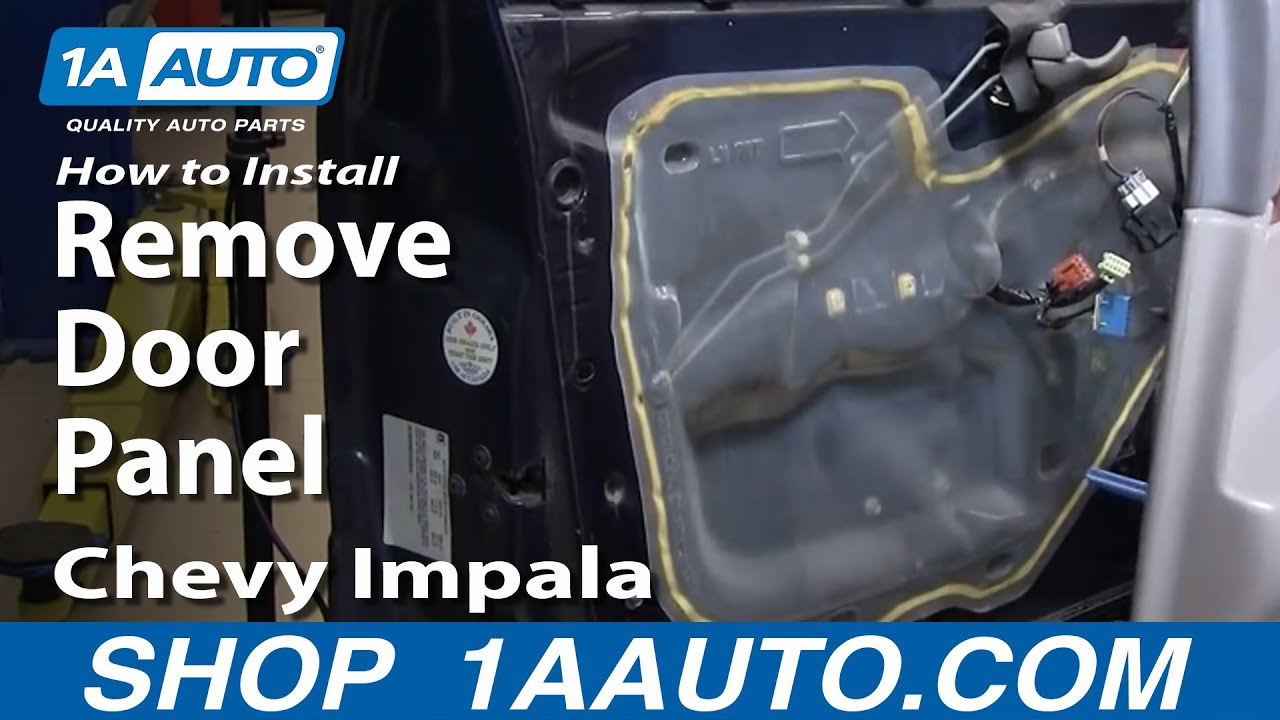
How To Remove Door Panel 2000-05 Chevy Impala
Created on: 2010-03-02
In this video, 1A Auto shows you how to remove or replace the interior door panel trim in a 00-05 Chevy Impala.
-
step 1 :Removing the Door Panel
- Remove the Phillips screw from behind the door handle
- Remove the Phillips screw up by the mirror
- Remove the T27 torx screws from the armrest
- Lift up the armrest and unplug the switches using the thumb locks
- Remove the door handle panel by removing the push pin
- Disconnect the panel
- Remove the T27 torx screws from under the armrest
- Use a rag to protect the paint. Place a putty knife or door panel clip tool in between the rag and panel and pry all of the clips free
- Lift the door panel up and off
-
step 2 :Reinstalling the Door Panel
- Line up the clips on the door panel and push into place
- Replace the Torx bit screws under the armrest
- Plug the wire harnesses back into the switches and push the panel into place
- Replace Torx screws
- Put the door handle panel back into place, connecting the wiring harness
- Reinsert the Phillips screws in behind the door handle and up by the mirror
Tools needed
-
T27 Torx Driver
Phillips Head Screwdriver
Putty Knife
Door Panel Removal Tool
Cloth Rags
Brought to you by 1AAuto.com your source for quality replacement parts and the best service on the internet.
Hi, I'm Mike Green. I'm one of the owners of 1A Auto. I want to help you save time and money repairing and maintaining your vehicle. I'm going to use my 20 plus years experience restoring and repairing cars and trucks like this to show you the correct way to install pars from 1AAuto.com. The right parts installed correctly, that's going to save you time and money. Thank you and enjoy the video.
In this video, we're going to show you door panel removal and replacement on a 2001 Chevy Impala, same as any 2000 and 2005. Pretty easy once you know how to do it and this will help you in a whole bunch of different repairs you might need to make to your door or door component.
The tools you'll need are Philips screwdriver, Torx screwdriver #27, that's the size and a door panel clip tool or a putty knife and regular screwdriver and a rag to protect your paint.
Okay, to remove the door panel, start with four screws, one here in behind your door panel. It's a regular Phillips screw. And its out. Remove this one Philips screw. Okay, and then two T27 Torx screws right to your arm rest. And once those are out, okay. You'll want to pull this up and these have little locks, that you press with your thumb then you're going to pull the connectors out. The one here. Okay. Maybe you're taking the door panel off because you need to replace your mirror or your door handle or your outside door handle, maybe the window regulator.
This panel has a little push pin that pulls out and then comes off. There's some wire for the switch. Actually, I find the easiest thing is to remove the switch from the trim panel, you can use your fingers or you can use a screw driver to help you out. Push them from behind. Okay. Then there's two more 27 Torx screws here inside the door panel. I have a household putty knife, I'm going to use a rag to protect the paint. Okay and there's a number of clips around the edge of the door panel that holds it in place. You just work this in there, block it down and find that clip. I'm probably just going to pull, okay. You want to make sure you work it in there and work it down with the clip.
I'll show you all the locations of the clips. This is the view of the back of the door panel. You can see how many clips there are. These big blue pins are just locating pins when you put it back in so that's where all your clips are. This first one is a few inches below this intersection and then another six inches, six inches, then those ones are below there. Once you got all your clips out, the door panel lifts up and off. Okay take the door panel. Okay. The door panel hangs on these clips here so you want to make sure that the harnesses come through and hang it up on the clips. Okay, and then there's these big blue pins to make sure they're going in and they're going to the area fine so we can lock all the pins in, okay.
Plug these back in. Whoops, sorry. It wasn't here. You got to put in these Torx bit screw. Now, this can go down in and these Torx screws. These two Phillips screws. We can test everything. The locks work. Oh, the window mirror doesn't work. Oh, it's fine, it's working. Everything seems to work.
Brought to you by www.1AAuto.com your source for quality replacement parts and the best service on the internet. Feel free to call us toll-free at 888-844-3393, the company that's here for you on the internet and in person. Thank you.

Diagnosing Squeaky Windows in Your Car Truck or SUV
If your vehicle is making an annoying squeaky noise with the windows, check out this video to learn how to diagnose and fix it!
