How to Remove Rear Door Panel 2014-19 Chevy Silverado
Created on: 2019-05-17
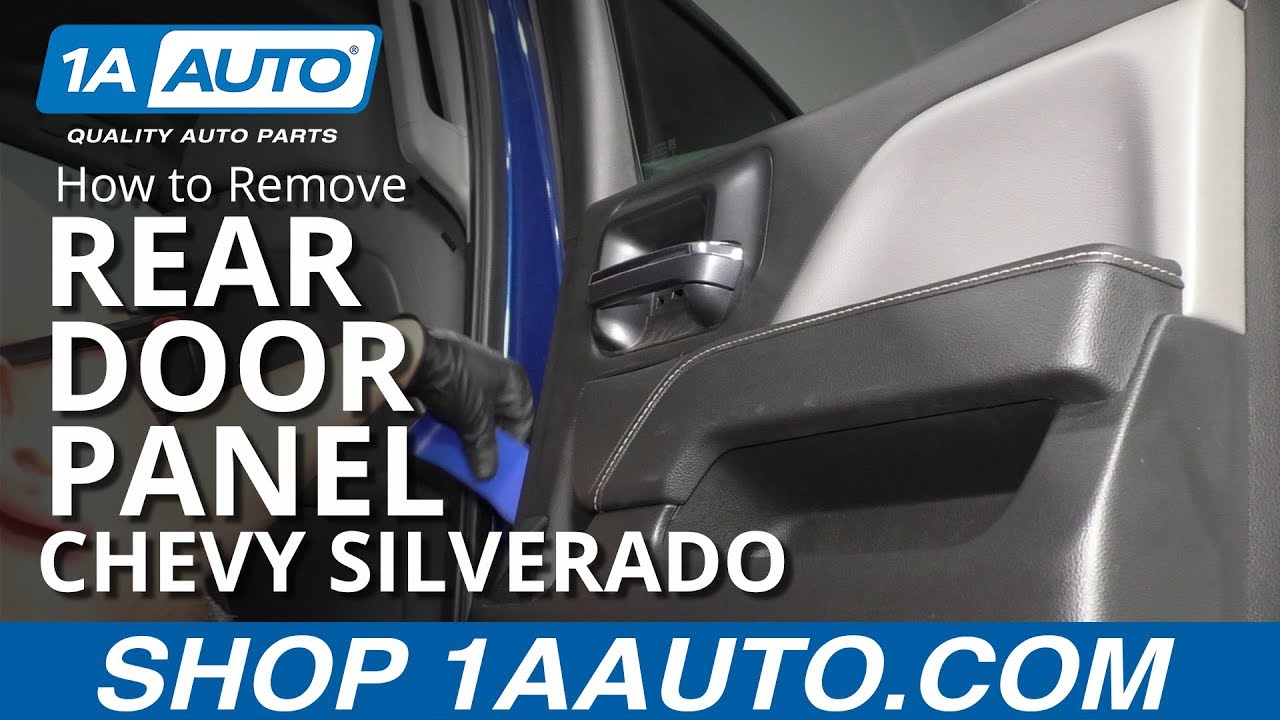
Check out this video on how to remove and replace the rear door panel of your 14-19 Chevy Silverado. 1A Auto will show you how to get it done.
-
step 1 :Removing the Rear Door Panel
- Remove the screw cover in the arm rest handle
- Remove the screw cover behind the door handle
- Remove the 7 mm screw behind the door handle
- Remove the two 7 mm screws in the arm rest handle
- Remove the 7 mm screw at the bottom of the door panel
- Pry the door panel away using trim tools
- Lift the door panel up and off
- Pull the lock rod out of the way
- Disconnect the door handle cable
- Remove the wire plastic retainer
- Disconnect the electrical connector
-
step 2 :Installing the Rear Door Panel
- Slide the window strip off the top of the door panel
- Remove the three mounting clips along the top of the door panel
- Replace those three mounting clips in their positions on the door below the base of the window
- Slide the window strip in place at the base of the window
- Reconnect the door switch electrical connector
- Replace the wire retaining clip
- Replace the door handle cable
- Pass the lock rod through the hole
- Line up the door panel with the locking clips
- Press the door panel in place
- Replace the 7 mm screw behind the door handle
- Replace the two 7 mm screws in the arm rest handle
- Replace the 7 mm screw at the bottom of the door panel
- Replace the screw cover in the arm rest handle
- Replace the screw cover in the door handle
Tools needed
-
Socket Extensions
Flat Blade Screwdriver
7mm Socket
Ratchet
Needle nose pliers
Trim Tool Set
What's up guys? I'm Andy from 1A Auto. In this video, I'm going to show you how to remove and reinstall the inside door panel on this 2015 Chevy Silverado. If you need parts for your vehicle, click the link in the description and head over to 1aauto.com.
I'm going to take a straight blade screwdriver--there's a little cover right here. Just get in under here. Pull that cover off, and then right here there's a cover. Pull that cover off. Now I'm going to take a seven millimeter socket extension and a ratchet. I'm going to take this screw out here. And there's two in there. And there's also one underneath here. Take all of those out. Now we want to take some trim tools. We want to get underneath the door panel. Just pry it out. There's a bunch of clips that hold it in. Like that. Once you get those all out then we can slide the door panel up, just like that.
Pull the lock rod out of the way. This cable--want to just push down on this button, slide the cable out and then pull the ball out. And this wiring harness, you can pull on that wire retainer. Then disconnect the connector right there. Push down and pull it up.
There's this weatherstrip piece or window strip that goes at the base of the window. You're going to slide this off the door panel and then there's these little clips. There's three of them. You need to pull those off. Going to use a trim tool to try to slide these out. Sometimes you need some, like need another pliers. Get in there. Slide that out. What you do is you just get in there and just try to squeeze this so that you can pull it off. Squeeze that. Pull those out. Now these clips are going to go right here, just like that. All three. Put the clips on first and then we'll take this weather strip or window strip, slide this in position right here and just press it down. Just like that.
All right. Now let's hook the switch up. Just push the connector on. And this wire is going to go into that. That retainer's going through that hole. Take this cable. Put the balls through there and then slide it over. Lock that in place. Take the lock rod, we need to slide it out, thread it through the hole. Once that's thread through, we get all these pins lined up.
Everything's lined up, and you can just push the door panel on. Now there's four screws we want to put in. There's one right there, two right here and then one down below. Install those four screws with a seven millimeter socket and extension. Then I'm going to take a ratchet and just tighten these down. Just snug.
Then I'll take this cover, slide that in there. Lock it in place. There's a cover right here, does the same. There you go.
Thanks for watching. Visit 1aauto.com for quality auto parts shipped to door, the place for DIY auto repair. And if you enjoyed this video, please click the subscribe button.

How to Replace Front Door Panel 2011-17 Toyota Camry
How to repair, install, fix, change or replace the front door panel on 11, 12, 13, 14, 15, 16, 17 Toyota Camry
