How to Replace 12V Auxiliary Outlet 1999-2007 Chevy Silverado
Created on: 2020-07-09
This video shows you how to install a new auxiliary power outlet in your 1999-2007 Chevy Silverado.
Tools needed
-
Trim Tool Set
Pocket Screwdriver
Pick
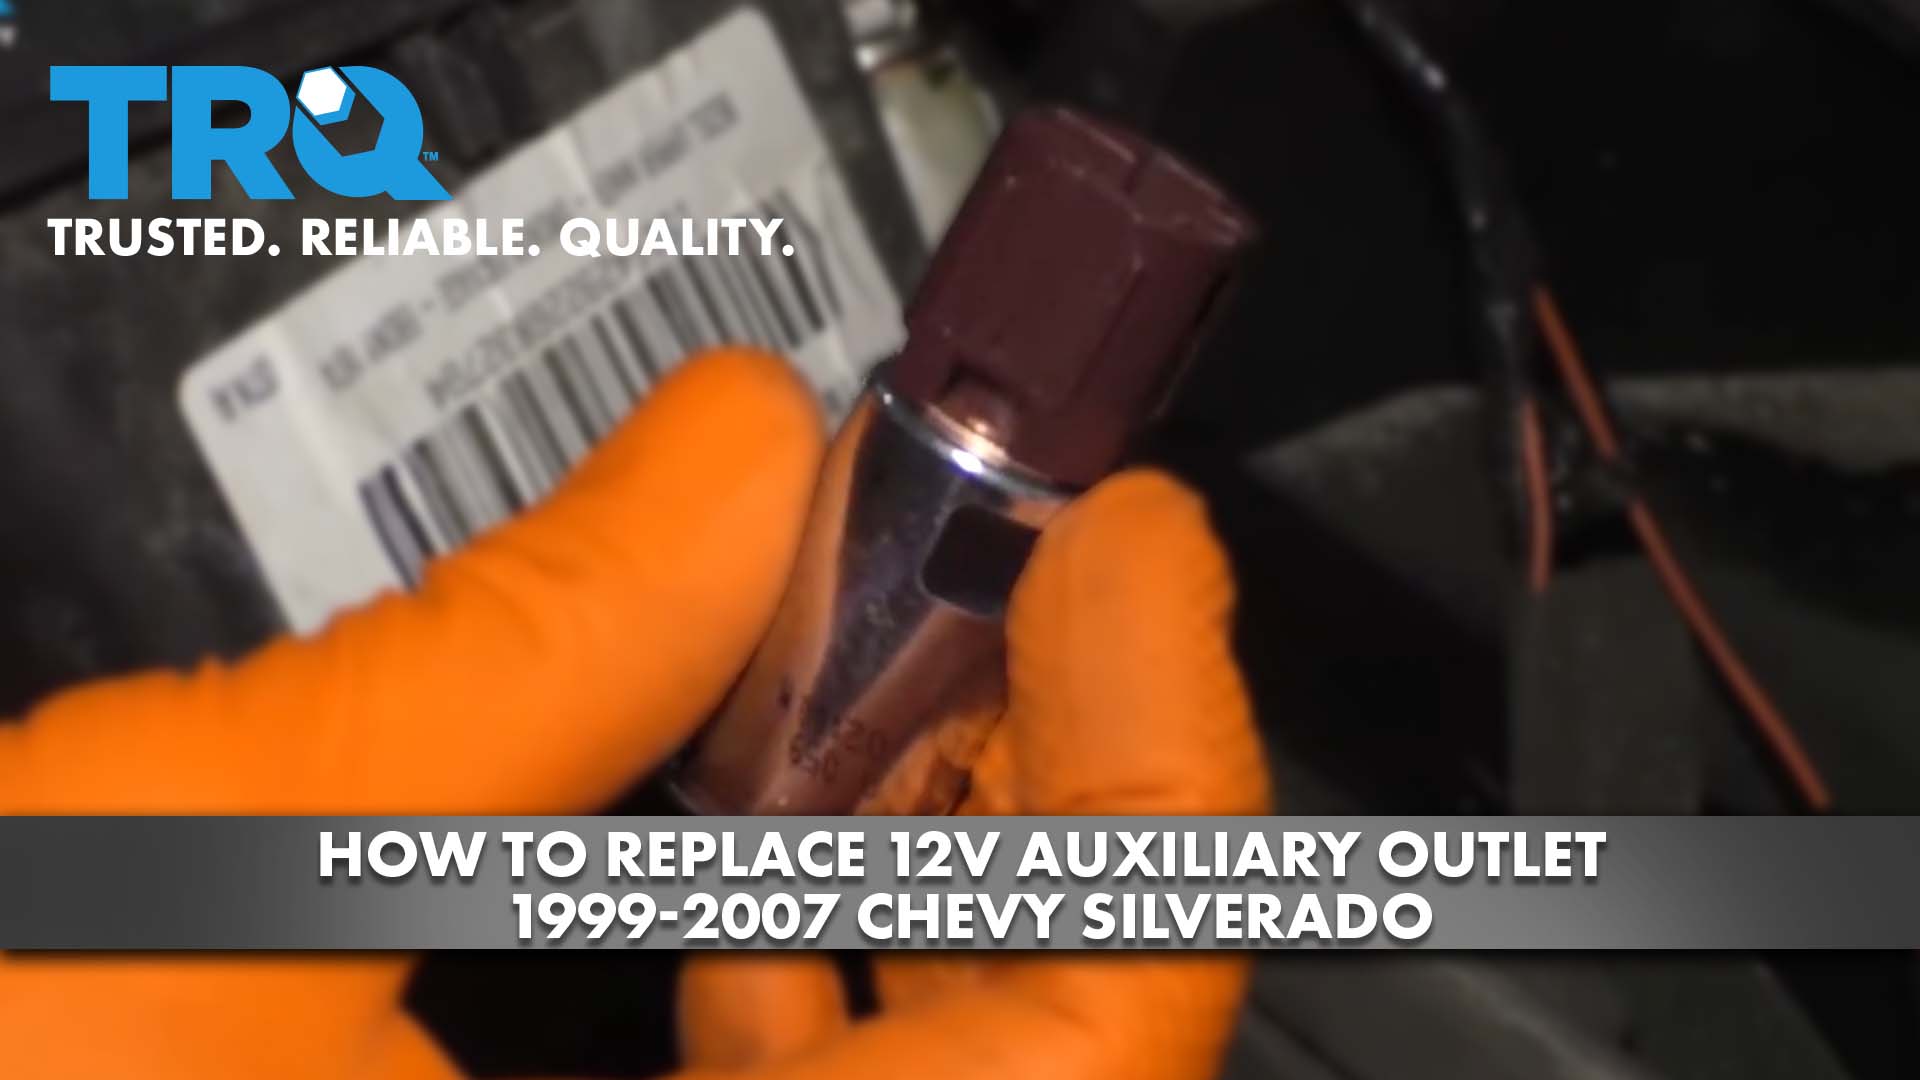
Okay, friends, it's time to get started on this 12-volt auxiliary plug. We want to first acknowledge which one we're going to be replacing here, because if you were to pull this out, look inside, it looks about the same. If you were to look at this one, all of a sudden, I'm seeing that these two aren't necessarily the same, looking on the inside. If you look deep inside, you can tell that the auxiliary plug actually has like a little grommet inside.
What we need to do now is get this plastic piece out of here. That's what's going to be housing these two areas. You can use something as simple as a plastic trim tool, or you can use a small pocket screwdriver if you don't have a plastic trim tool. I'm going to try to get right in, see if I can edge it in here, and then just try to pop it up. There we are. Let's go ahead and get the wiring off of here.
Now, if you turn this around, what you're going to notice is the ends have different colors. There's actually a reason for that. If you were to look at your new piece, you're going to see a certain color. We need to match it up. This is the one we're going to be replacing.
Taking a small pick, try to get right underneath this edge right here. There's like a little piton. You're going to get under it. Try to lift it up and away from the metal area, and at the same time, we're going to be trying to press this through, very lightly. Okay, that just started going in. Now I'm going to flip it over. I'm going to do the same to the other one, right down here. Let's see if I can get under it. There we are. Now we're just going to start pushing this. You're going to feel it. All of a sudden, it feels like it breaks free, and you can pop it right out.
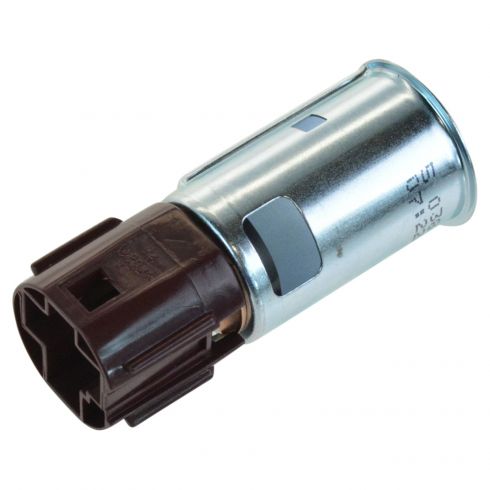
Let's just take a quick look at these and make sure we're comparing the right part. Look at the inside. This looks great. Look at the connector. Also looks great. Let's get ready for the install.
If you look at this grommet right here, you're going to see two little cut-out areas and one over on the far side. If you were to look at your new piece, you're going to see two little pitons, and then on the other side, you'll have one. Go ahead and line those up. Slide it in. Give it a nice wiggle. Awesome.
Now it's time to get these plugged back in. We're going to put the gray one over here to this little lighter thing. And then, we have our black one. We'll go ahead and plug that right into the auxiliary port. Give them both a wiggle. Let's take this, carefully press it in. There it is, friends.
Shop Products

How To Remove Front Door Panel 2005-10 Chevy Cobalt
Do it yourself and learn how to remove the front door panel and the front window regulator with the help of this how-to video
