How to Replace AC Belt Tensioner 1999-2008 Chevy Silverado
Created on: 2020-07-21
This video shows you how to install a new serpentine belt tensioner on your 1999-2008 Chevy Silverado.
Tools needed
-
15mm Wrench
Torque Wrench
Socket Extensions
15mm Socket
Jack Stands
Flat Blade Screwdriver
Socket Driver
Serpentine Belt Tensioner Tool
8mm Socket
Wheel Chocks
10mm Socket
Ratchet
Floor Jack
If you were to look right down here, you're gonna see a clamp. If you were to look at the other end where it connects onto the throttle body, you're gonna see another clamp. You'd go ahead and loosen those up. Also, if you come right up here, you're gonna see an 8-millimeter bolt. If you loosen that up, you can take this right out. Once you have that out of the way, and the clamps are loosened, you can wiggle this around.
I'm gonna draw it off of the throttle body right here. I'm gonna take them right there. Take it off of right here, remove it from the vehicle. So now that we have the intake and the little shell out of the way here, it gives us a nice, clear view. You don't necessarily need to take off the shell, but I just like to have it out of the way. Go ahead and relieve your tension like that. And then I'm just gonna take the belt off of the idler pulley here. And then I can let go of that.
We'll get our serpentine belt tool right out of the way. Let's go ahead and remove the belt. Let's remove the five bolts that hold up your skid plate. Now that that's out of the way, we have a clear view of the AC belt tensioner, right there. Go ahead and use a 3/8 ratchet with a short extension. Put it right in the slot. When you pull this down, it's gonna relieve tension and then we'll just get the belt right off of there. There we are. Get that off of there. Now it's gonna be time to go ahead and get these bolts off from the tensioner. Use a 15-millimeter. I like to use an extension. Let's get it on there. We'll get these bolts right out of here. There it is.
Second bolt is gonna be a little bit harder to get to because of course you have the idler assembly here in the way. So I like to use a nice ratchet wrench. And when I do it, I turn the steering wheel all the way to the right. That way there, it moves this idler arm a little bit out of my way. There it is. Get my bolt out of there. There's the assembly. Now it's gonna be time to install our tensioner here. Once you've double-checked to make sure that it's correct, go ahead and take it. Put it up approximately where it needs to go and then start in both of those bolts before you tighten either of them down completely.
Once you have them bolts snugged up a little bit, go ahead and torque them to 37 foot pounds. I'm gonna take it, I'm gonna go over that AC compressor. And then I'm gonna start over the top of the crank. Now that we have that up and over the crank, and then it's heading its way over to the AC pulley, I'm gonna go ahead and pull this down. Give myself a little bit of slack, put the belt up over the tensioner and then just start working it over the AC clutch itself.
When you do this, you wanna try to be as straight as possible because if you come in at an angle, it's not going to fit very well, okay? I relieve tension. Now you just wanna check that belt. Feel all the way around, make sure it's on the crank perfectly. Now, we're gonna go ahead and put our shield back up on here. [inaudible 00:03:14]. Go ahead and take one side, go down and around the passenger side of the water pump, which is this right here, and then put it over the crank, which is the main pulley over there. I'm just gonna circle it, put it on, then slide it around.
I'm gonna take one and I'm gonna come up and over the tensioner right here. And then the other side, I'm gonna bring it down and around the water pump, and then underneath the power steering pump. It's gonna fit right inside the ribs perfectly. And then we're gonna come up, make sure it's sitting in those ribs. There it is. Come up and over the alternator right here. This looks good. Make sure everything's situated approximately where it needs to be. That looks great. I'm gonna grab my tensioner tool. Put it on there. Relieve tension.
Now we'll take this, bring it right underneath the idler pulley. This is your idler pulley. Get our tool off, give it a nice tug. And then of course double-check all of your pulleys. Every one of them that has the rib side that goes up against the belt, you need to make sure it's sitting perfectly inside the ribs. If you're wondering what your belt routing should look like, you can find it right on the front. Get our air intake back on here. It's gonna go right underneath this hose here. Line it up there, grab this, slide it in, push it all the way in so it's up against the whole throttle body. Make sure your clamps are nice and tight. Your hose over here should have a little clippy-do. Ours is actually broken, but it's gonna push in right there and that'll hold it secure. This cover back on here, just slide it all the way back so it's sitting inside the pitons. Put this down and tighten up your bolts.
Shop Products
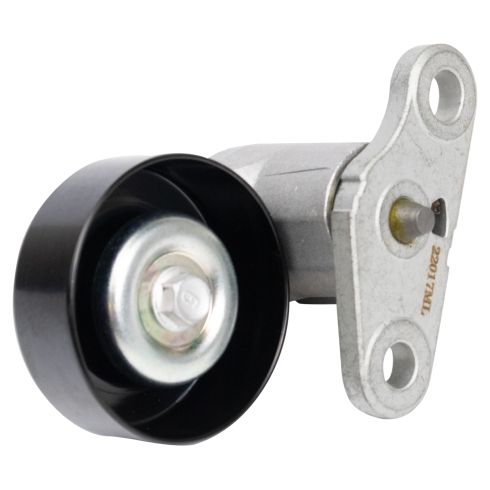
Accessory Drive Belt Tensioner TRQ BPA03809
Part Details:
- Pulley
- LS Swap
- Smooth
- 12 mm
- 12 mm
- 2.36 in
- 60 mm
- Silver; Black
- 0.47 in
- 0.47 in
- Aluminum & Steel
- 2
- 0.83 in
- 21.2 mm

How to Replace Serpentine Belt Tensioner with Pulley 1999-2004 GMC Sierra 2500
Learn how to replace the serpentine belt tensioner in a 99-04 GMC Sierra 2500 when you watch this video.
