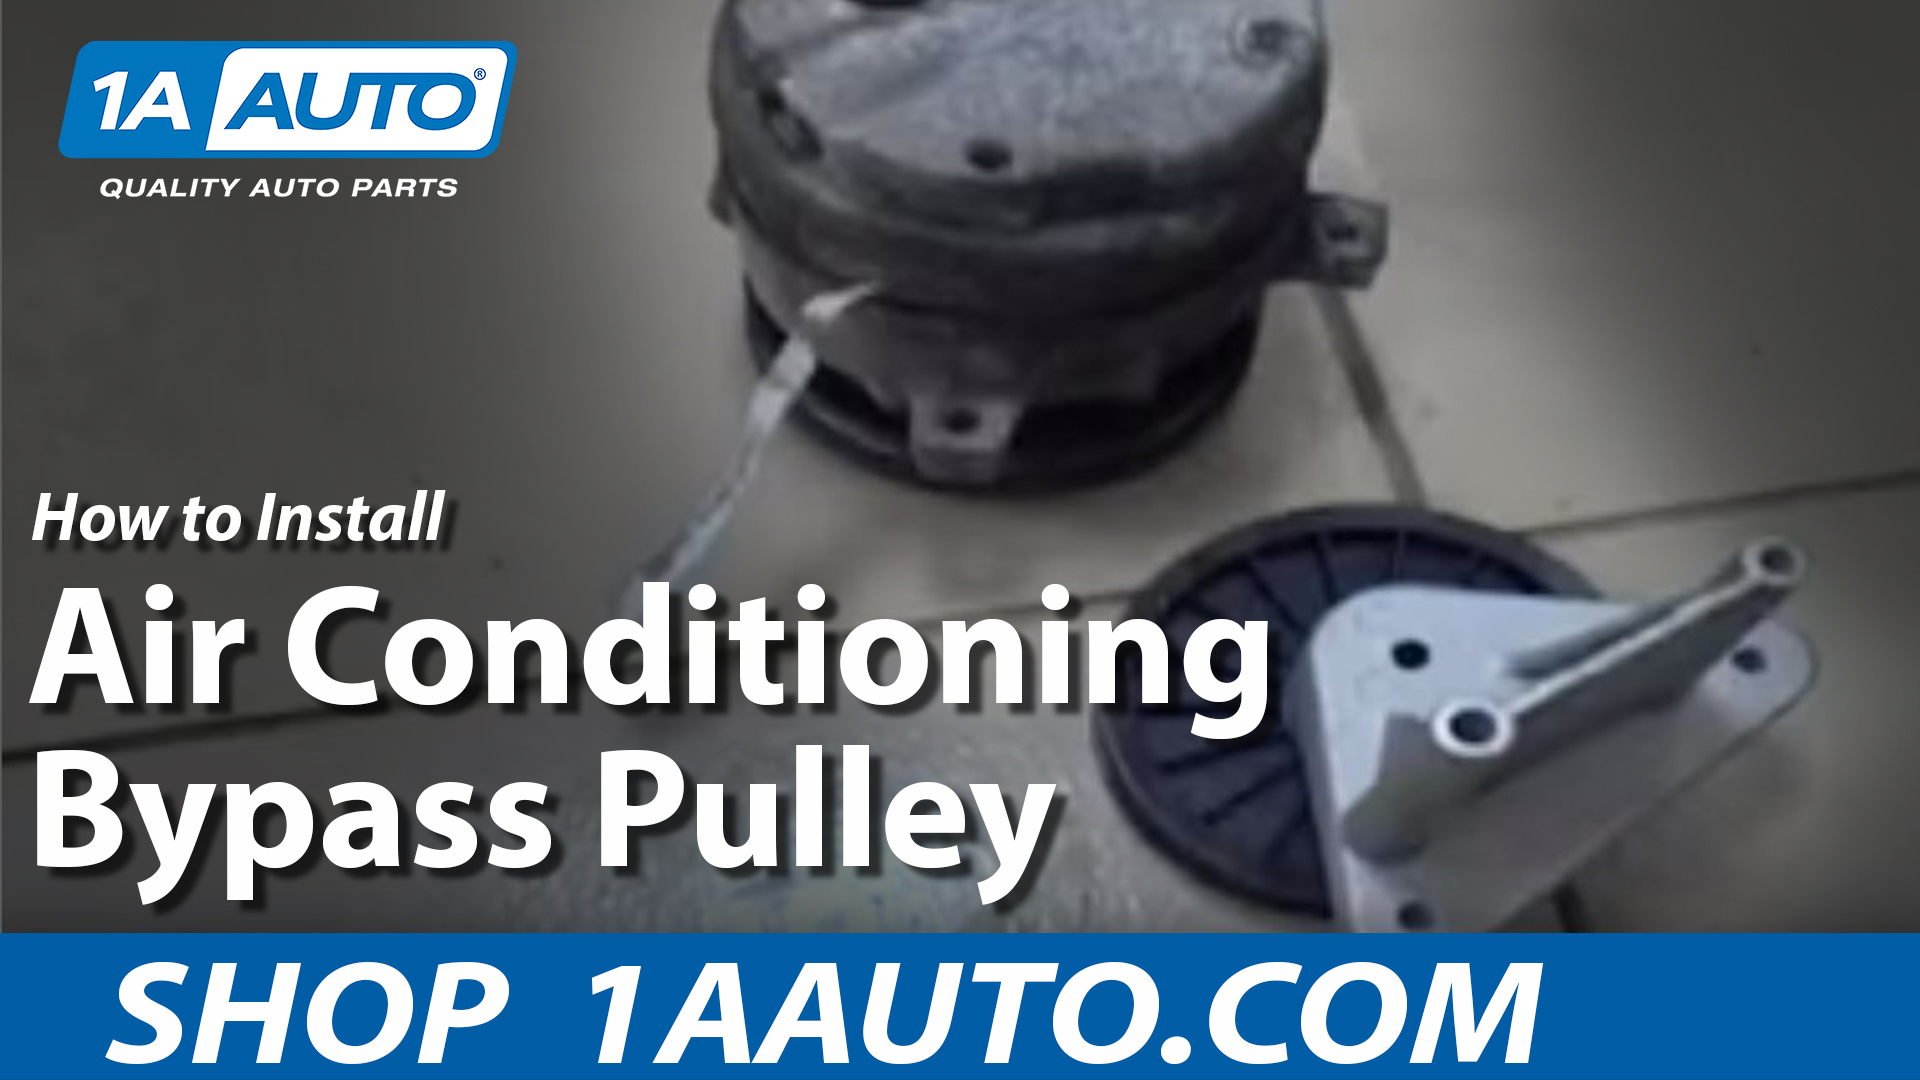
How to Replace AC Bypass Pulley 1995-2002 Pontiac Sunfire
Created on: 2010-01-22
Watch this video to learn how to replace a broken or damaged air conditioning bypass pulley in a 95-02 Pontiac Sunfire.
-
step 1 :Remove the serpentine belt
- Locate your serpentine routing diagram or draw one out.
- Use a 15 mm wrench to release the tension from the belt tensioner pulley to remove the belt
- Inspect the serpentine belt looking for flaws and cracks on the smooth side.
-
step 2 :Remove the AC compressor
- Check the pressure in the AC system.
- Take the vehicle to a certified dealer to have the pressure released from the AC lines.
- Disconnect the wiring harness from the compressor.
- Use a 15 mm wrench to disconnect the lines on the back of the AC compressor
- Unbolt the three bolts mounting the compressor using an extension, flex joint, socket and ratchet.
-
step 3 :install the bypass pulley
- Bolt in the pulley using your socket, extension, flex joint and ratchet.
- Anchor down the lines to the bypass pulley.
-
step 4 :Reinstall the serpentine belt
- Use your routing diagram to install the serpentine belt.
- Release the tension from the belt tensioner pulley with a wrench to get the belt over the last pulley.
Tools needed
-
15mm Wrench
Socket Extensions
Flat Blade Screwdriver
Ratchet
Swivel
Complete Metric Socket Set
This video is brought to you by 1AAuto.com, your source for quality replacement parts and the best service on the internet.
In this video, we're going to show you how to replace your air conditioning compressor with an A/C bypass pulley. Now, you might say why would you want to do that? This car is a good example; its 13-years-old. The A/C hasn't worked for some time. We don't want to spend a lot of money on it. We're going to replace the compressor which might cost $600 or $700 replace. We're going to put in this $45 pulley and it's going to work just like it did before. The A/C is not going to work.
First step, in any kind if you remove your serpentine belt is first you want to find this sticker on your car. This sticker shows you how your accessory drive belt is routed. Sometimes it's found top on the hood like this car, or down the radiator, or possibly on the fender.
The hardest part of this procedure is probably reinstalling the serpentine belt. If you don't have this diagram beforehand, then make sure you take a lot of pictures of how your serpentine belt is routed. Because believe me after half an hour of putting around, when you go back to put that serpentine belt on, you're going to forget exactly how it is routed and it could be very difficult if you don't have either a diagram or a lot of good pictures that help you out.
Disconnect your positive battery cable. Become familiar with the different components your serpentine belt drives and relate them back to your diagram. First, here is your alternator. They're on the engine, located there on the diagram in the red. Next, is your water pump located down below the alternator and they're in red on the diagram. Then after that, down below, those two is your A/C bypass pulley. The arrows here indicate the two front bolts. I can see it here down low on the red in the diagram. Here is your hydraulic power steering pump, noted here in red on the diagram. Number one shows you your crank pulley, located here on the diagram. Then number two shows you your tensioner pulley, located there on the diagram.
Most importantly what two shows you is the bolt that you have to connect or wrench to in full clockwise on to loosing the serpentine belt. To remove the serpentine belt, I have a wrench on the belt tensioner and I'm pulling that wrench clockwise. While I'm pulling up on that wrench, I'm reaching down and pulling the belt off the pulleys. Be careful as you're releasing the tension on the tensioner with a wrench, because the wrench could go back and pinch your hand in between something. To removing the belt, inspect it and you can see there's some cracks on the groove side. Those were okay, as long as the back side is okay as well. By here you can see as I went through the belt, there's a crack at it. Actually we're in joining it together, so this belt will need to be replaced.
Here you see the A/C charge inlet. On our car there is no pressure. If you do suspect your car may have pressure, you do need to take it to a car find dealer to have the pressure remove from the system first. Now we're going to remove the compressor. We start by locating the electrical connector into the compressor, as you can see by the arrow here. This is a view of the connector itself. You would reach down and pull on the connector and pry with a small screw driver to pull it up. Hard bit really video the actual disconnection so just to look at the connector itself.
Next use a 15mm wrench to disconnect the lines on the back of the A/C compressor, and then remove the bolt. Now remove the two front bolts. The best way to do this is a deep socket, we it together, both the socket and the small extension, as you can see here. Next we're going to remove the rear mounting bolt, number one. We're going to do this with a extension and a flex joint as you can see here. Then I'm going to route that in, in this next shot, in behind the manifold to access the bolt right there. Now, as you can see here, once the bolts are removed, the compressor drops down below the car now.
Here is the compressor and the bypass pulley. Two mounting bolts in the front, line up with those two bolts, and then the two rear holes, line up there. We're ready to go ahead and install it. It's placing is pretty much the reverse, taking it out, you get the pulley up in there, put the two front bolts in and the rear bolt, and then tighten them off. Here you can see the pulley installed. Now here's the rear view and you can see there is even a spot of a pulley to bolt the lines too, so they're not flopping around. Now we're going to install the belt. I've already routed the belt on there. What I'm putting to there is the wrench that I have on the tensioner pulley all ready.
Now I'm going to push that on that wrench, and move the tensioner pulley, so that it's applying a less tension to the belt. As you can see, as I'm pushing I down, the belt is getting less tension around the alternator. Then I'm going to reach down while applying that pressure and get the belt around the water pump which is the smooth pulley. It's always easiest to put the smooth on last. Now, I got the belt on there and I take the wrench out. We're all set.
We hope this video has helped you fixed your noisy A/C compressor. Remember this video is brought to you by 1AAuto.com, your source for quality replacement parts and the best service on the internet.

How to Replace AC Bypass Pulley 1992-2003 Ford Taurus
Watch this video to learn how to replace your 92-03 Ford Taurus's A/C bypass pulley.
