
How to Replace Air Flow Meter Sensor 2004-13 Ford Explorer 4-6L V8
Created on: 2015-06-30
This video will show you how to access and replace the mass air flow (MAF) meter on the 04-13 Ford Explorer with the 4.6L V8 engine
-
step 1 :Removing the Air Box
- Disconnect the MAF sensor wiring harness
- Loosen the air intake hose clamp with a flat blade screwdriver
- Loosen the three air box cover clamps
- Remove the air box cover
-
step 2 :Removing the Mass Air Flow (MAF) Sensor
- Remove the two T20 screws from the sensor
- Remove the MAF sensor
-
step 3 :Installing the MAF Sensor
- Insert the MAF sensor into place
- Tighten the two T20 screws to the sensor
-
step 4 :Installing the Air Box
- Insert the air box cover into place
- Clasp down the three air box cover clamps
- Insert the MAF sensor wiring harness
- Tighten the air intake hose clamp
Tools needed
-
Flat Blade Screwdriver
T20 Driver
Brought to you by 1AAuto.com, your source for quality replacement parts and the best service on the Internet.
Hi, I'm Mike from 1A Auto. I hope this how-to video helps you out, and next time you need parts for your vehicle, think of 1AAuto.com. Thanks.
In this video, we're going to show you how to replace the mass airflow sensor or airflow meter on this 2006 Ford Explorer with the 4.6-liter V8 engine. It's the same process for any 2006 to 2010 with the V8, as well as similar procedure for the V6. The only tools you'll need include a flat blade screwdriver, a T20 Torx driver, and a new airflow meter from 1A Auto.
Start out by opening the hood. Pull the opening lever inside, and then there's a little secondary latch that you lift up on and it kind of pivots out of the way. It helps if you're using two hands, but I'm using one so I can hold the camera. You can see there's the handle, and that pivots out of the way so you can lift your hood up. The air box is right over here. You want to disconnect your airflow meter by pulling back on the red tab and pushing down on the tab in the middle. When that disconnects, you'll want to loosen up the flat blade screw that holds the clamp.
There are three clamps that hold the air box cover. Undo those one's a little tricky to get to, you kind of have to reach under the tube and now you can pull the tube off and the top of the air box comes right up and out. Two T20 screws hold the airflow meter, and you can seem them, they're the silver ones right there. We'll use a T20 Torx driver and remove those screws. Then our airflow meter will come out.
Install your new airflow meter from 1A Auto. We offer both an OE replacement as well as aftermarket options. They'll fit right in place, and then replace those two T20 screws and tighten them up. You want to make sure they're both hand tight first, then get them snug and tighten them up afterwards. The air box has five tabs along the side, so make sure they go in and under the slots in the bottom of the air box, and make sure that your air filter's in place correctly. Once you get it in place, it should go right down. Put that tube in there, and now we're going to re-clamp the three clamps that hold the top of the air box to the bottom.
Just make sure our harness is up and out of the way, we'll actually connect it right now. Push the safety tab in, re-secure that third clamp, and then get that hose in place and tighten up the clamp that holds the hose onto the air box.
Thanks for tuning in. We hope this video helped you out. Next time you need parts for your car, please visit 1AAuto.com. Also check out our other helpful how-to and diagnosis videos.
Shop Products
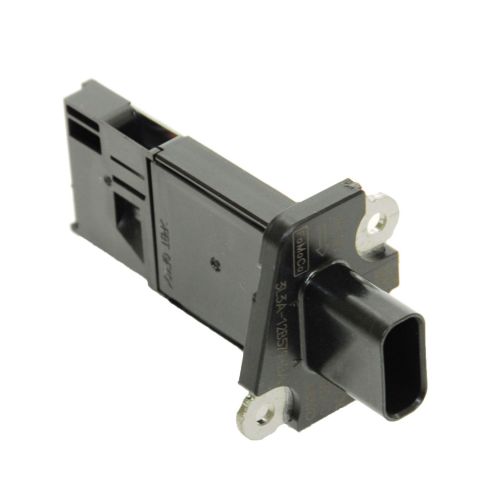
Ford Mazda Lincoln Mercury Mass Air Flow Sensor Walker Products 245-1108
Part Details:
- Direct Fit Replacement - Guaranteed to fit and function for your specific application
- Quality Tested - built to a strict level of product standards.
- 6
- Female
- No
- Yes

How to Replace Mass Airflow Sensor 2015-17 Chevy Silverado
How to remove, install, fix, change or replace a broken Mass Airflow Sensor / Meter on 15, 16, 17 Chevy Silverado
