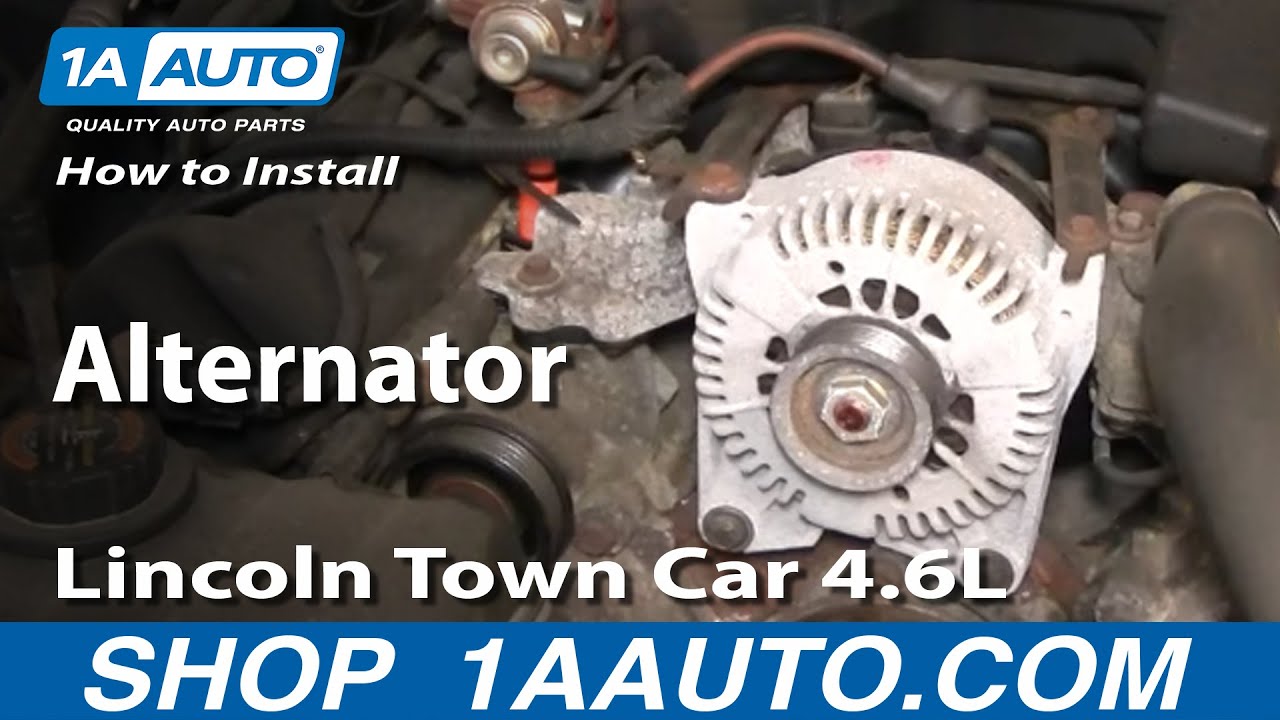
How to Replace Alternator 1998-2002 Lincoln Town Car
Created on: 2011-05-10
Watch this video to learn how to replace the alternator on your 98-02 Lincoln Town Car.
-
step 1 :Disconnecting the Battery
- Use an 8mm wrench to disconnect the negative battery cable
-
step 2 :Removing the Serpentine Belt
- Familiarize yourself with the route of the serpentine belt
- Insert the 3/8inch drive ratchet into the tensioner
- Turn the tensioner clockwise to loosen the belt
- Pull the belt off the alternator
- Release the tensioner
- Pull the belt off by hand
-
step 3 :Removing the Alternator
- Make sure the negative battery cable is disconnected
- Disconnect the battery cable from the alternator with a 10mm socket and ratchet
- Remove the two 10mm bolts from the top of the alternator
- Remove the two 10mm bolts from the front of the alternator
- Disconnect the wiring harness from the alternator
- Pull out the alternator by hand
-
step 4 :Installing the new Alternator
- Thread the 10mm bolts for the front of the alternator by hand
- Put the alternator into place
- Start threading the four 10mm bolts preliminarily
- Connect the battery cable to the alternator
- Tighten the 10mm bolts
- Reconnect the wiring harness
-
step 5 :Reinstalling the Serpentine Belt
- Loop the belt around the crank pulley
- Bring it around the power steering pulley
- Bring it around the idler pulley
- Bring it around the A/C Pulley
- Bring it around the belt tensioner
- Bring it around the water pump
- Pull the tensioner clockwise with the 3/8 inch ratchet
- Pull the belt over the alternator
- Release the tensioner
-
step 6 :Reconnecting the Battery
- Reconnect the negative battery cable
Tools needed
-
Socket Extensions
8mm Wrench
10mm Socket
Ratchet
3/8 Inch Drive Ratchet
Brought to you by 1AAuto.com, your source for quality replacement parts and the best service on the Internet.
Hi, I'm Mike Green. I'm one of the owners of 1A Auto. I want to help you save time and money repairing or maintaining your vehicle. I'm going to use my 20-plus years experience restoring and repairing cars and trucks like this to show you the correct way to install parts from 1AAuto.com. The right parts installed correctly: that's going to save you time and money. Thank you and enjoy the video.
In this video, we're going to show you how to replace the alternator on this 2000 Lincoln Town Car, same as any '98 to '02. Tools you'll need are an 8mm wrench, a 3/8 inch ratchet with a 10mm socket and probably an extension as well.
With an eight millimeter wrench, disconnect your negative battery cable. Before you remove your belt you want to make note of how it's routed. There should be, on most vehicles there's a belt routing diagram, although I don't see on this Town Car. You can see that it goes down around your crank pulley, way down there, around the power steering pulley like that, then up to the alternator around the idler pulley down to the AC pulley and then back up to the tensioner and then around the water pump and then down. Removing the belt is quite simple. Right here is your tensioner. It has a 3/8 hole in it right here where you can put a ratchet handle. Then you want to move it clockwise, you can even see the belt loosens up and take the belt off the alternator. Slowly let your handle back, pull it out.
Removing the alternator is pretty straight forward. Take a 10mm socket, and ratchet with a small extension. You want to undo this nut up here, and this is your battery wire so make sure you've disconnected your battery. Then you want to remove these 10mm bolts here. We'll just speed it up here as I remove those 10mm bolts. Then these 10mm bolts down here. We'll speed it up here again. As you can see in a little bit I put the hand tools aside and go get the air ratchet. These lower bolts, you don't have to take all the way out, but it is easier to get the alternator out. As you'll see, I put them back in when I'm reinstalling it. Now you pull this out. You can reach this connector back here a little easier. You can use a screwdriver, pry the tab up, disconnect it, and your alternator comes out.
This alternator is actually fine. You don't really have to take these all the way out. You can thread them in just a little bit. Put the alternator down on, put them in. I'll fast forward through. I'm just preliminarily tightening these up, I'm not tightening them all the way, I'm going to tighten them by hand a little bit later.
I can put my wrench on my tensioner. Pull my tensioner all the way over, the belt comes up and around my alternator. Put my tensioner off and check the belt in all the locations; it looks good. Reconnect and tighten up your negative battery cable, and you should be good to go.
We hope this helps you out. Brought to you by www.1AAuto.com, your source for quality replacement parts and the best service on the Internet. Please feel free to call us toll-free, 888-844-3393. We're the company that's here for you on the Internet and in person.
Shop Products
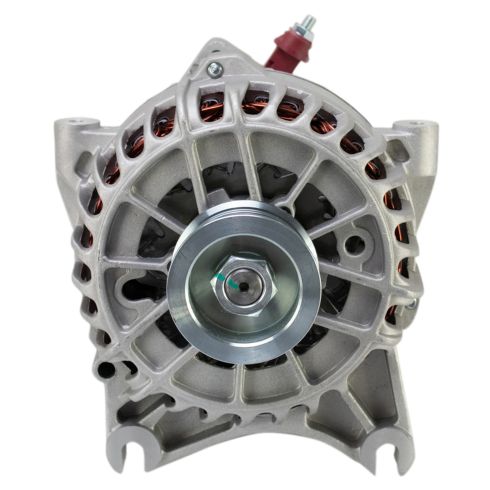
Ford Lincoln Mercury Alternator TRQ ALA94408
Part Details:
- Yes
- 12 VDC
- Serpentine
- 135 A
- FORD
- Clockwise (Right)
- No
- No
- Internal
- Yes
- 8
- No
- 25.5 mm
- 35.5 mm
- 1.42 in
- 1.02 in

How to Replace Alternator 1998-2003 Ford Escort
Learn how to replace the alternator on your 98-03 Ford Escort with detailed step-by-step instructions in this 1A video!
