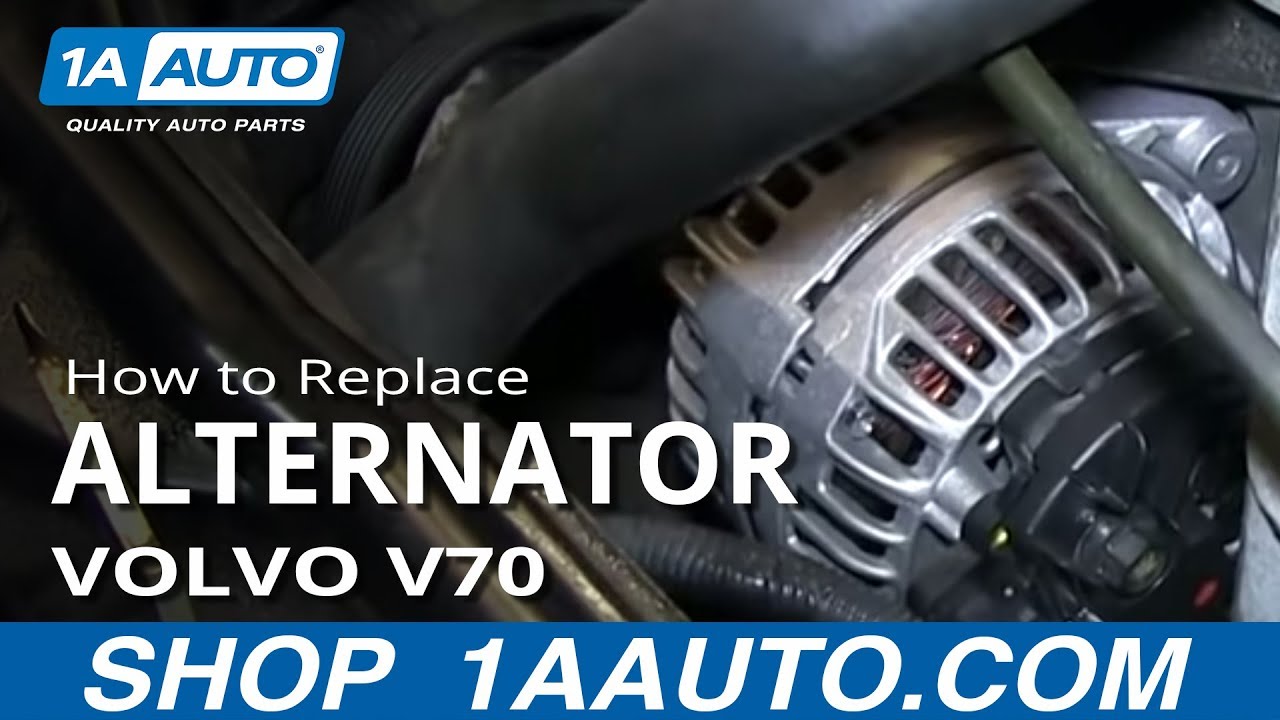
How to Replace Alternator 1999-2004 Volvo V70
Created on: 2013-07-30
If the alternator has failed, find out how to access and replace it with this video with 1A Auto's mechanics
-
step 1 :Disconnecting the Battery
- Remove the three 13mm bolts from the battery bracket
- Lift up the battery bracket
- Remove the battery cover
- Disconnect the negative battery cable with a 10mm wrench
-
step 2 :Removing the Radiator Fan
- Disconnect the air intake hose
- Remove the connector from the radiator fan control unit
- Remove the connector to the EGR purge valve
- Remove all the zip ties from those cables
- Remove the 10mm screw from the EGR purge valve
- Remove the two 10mm screws holding in the radiator
- Remove the plastic clip from the power steering line to the dipstick tube
- Pull the EGR purge hose off the top of the radiator fan
- Pull the radiator fan up and out
-
step 3 :Moving the Power Steering Reservoir
- Remove the clip from the power steering tube
- Pry the power steering reservoir up and out
-
step 4 :Removing the Serpentine Belt
- Insert a 14mm socket and ratchet into the tensioner
- Turn the tensioner clockwise to loosen the belt
- Pull the belt off the alternator
- Release the tensioner
- Pull the belt off by hand
-
step 5 :Moving the Power Steering Pulley
- Remove the three 12mm bolts from the power steering pump pulley
- Remove the wiring harness from the power steering pulley
- Pull the power steering pump up and out of the way
-
step 6 :Removing the Alternator
- Remove the cap from the power wire
- Disconnect the wiring harness
- Remove the 13mm nut from the positive cable on the alternator
- Remove the two 12mm bolts from the AC compressor
- Loosen the 12mm bolts from beneath the AC compressor
- Remove the 13mm bolt from the top of the alternator
- Pull the alternator up and out
-
step 7 :Installing the Alternator
- Push the alternator down into place
- Insert the 13mm bolt to the top of the alternator
- Insert the 12mm bolts to the AC compressor
- Tighten the 12mm bolts from beneath the AC compressor
- Insert the 13mm nut to the positive cable on the alternator
- Connect the wiring harness
- Push on the cap to the power wire
-
step 8 :Installing the Power Steering Pump
- Lower the power steering pump down into place
- Insert the three 12mm bolts to the power steering pump pulley
- Connect the wiring harness to the power steering pulley
-
step 9 :Reinstalling the Serpentine Belt
- Familiarize yourself with the route of the serpentine belt
- Loop the belt by following the diagram
- Pull the belt over the alternator
- Pull the tensioner clockwise with the 14mm socket and ratchet
- Release the tensioner
-
step 10 :Installing the Power Steering Reservoir
- Push the power steering reservoir into place
- Insert the clip from the power steering tube
-
step 11 :Installing the Radiator Fan
- Slide the radiator fan into place
- Insert the EGR purge hose to the top of the radiator fan
- Insert the 10mm bolt to the purge hose
- Connect the connector to the radiator fan control unit
- Connect the connector to the EGR purge valve
- Wire-tie the cables back into place
- Insert the two 10mm screws holding in the radiator
- Install the clip on the oil dipstick tube
- Connect the air intake hose
-
step 12 :Disconnecting the Battery
- Connect the negative battery cable with a 10mm wrench
- Replace the battery cover
- Remove the three 13mm bolts from the battery bracket
- Push on the battery bracket
Tools needed
-
12mm Socket
13mm Socket
Flat Blade Screwdriver
14mm Socket
10mm Wrench
Wire Ties
10mm Socket
Ratchet
Needle nose pliers
Wire Cutters
Brought to you by 1AAuto.com, your source for quality replacement parts and the best service on the Internet.
Hi, I'm Don from 1A Auto. I hope this how-to video helps you out, and the next time you need a part for your vehicle, think of 1AAuto.com. Thanks.
In this video, we're going to show you how to replace an alternator in a 2002 non-turbo V70. It's fundamentally the same operation for a 2001 through 2007 non-turbo V70 and non-turbo S60. In order to perform this repair you're going to need 10mm, 12mm, 13mm, and 14mms sockets, socket wrench, pliers, wire cutters, zip ties, and a long flat blade screwdriver.
You'll find the battery in the trunk, underneath the rear containment panel. Lift that up, and you'll find three 13mm fasteners. For this case, the car doesn't have it, but take those out, and then remove the battery cover, and then disconnect the negative battery terminal with the 10mm socket wrench.
Remove the air intake hose from above the radiator, and then from the bottom of the air box. Touch the radiator. There'll be two connectors: one to the radiator fan control unit, and then another one that goes to any of that purge valve. You're going to want to cut all the zip ties that keep those cables and connectors to it, and then pull them out of the way.
Remove the 10mm screw that holds the EVAP purge valve to the front end. Locate the two 10mm screws one on either side that hold the radiator in. I'll fast-forward as I take those two out. Unfasten the click that holds the power steering line to the dipstick tube. Remove the EVAP valve from the radiator fan. Pull the purge hose off the top of the radiator fan and just set that at the side.
Then start to jiggle the radiator fan up and out and see if it's caught on anything. If it does, just move those things out of the way. Go ahead and put a little pressure against that power steering line to move it forward or towards the engine so that you get a little bit more room to get the radiator fan out. Then it's just a matter of positioning it correctly.
You'll see when you look down inside where the obstacles are, but it's pretty straightforward. Just keep that power steering line out of the way, pull it up past the radio fan control module, and then up and out. I'm going to remove the clip that holds that power steering pipe in place, and then use a long flat screwdriver to pry the power steering reservoir up and out of the way.
Locate the 14mm bolt in the center of the idler pulley. Using a 14mm socket and socket wrench, turn towards the front of the car. So turn clockwise, apply pressure that way, and then take the belt off. After you've got the belt off, the pulleys release the tension on the tensioner pulley and the socket wrench very slowly. As it's spring-loaded, you don't want it to snap back. Locate the three 12mm bolts that go through the power steering pump pulley. The arrow is pointing to the bottom right bolt, and then the two red circles are the approximate position of the other two bolts that you're going to need to take out.
It will be necessary to rotate the pulley to access those bolts. I'm using a quarter-inch socket wrench with a 12 mm socket on it to remove those three bolts. I'll go ahead and fast-forward as I do it. Just keep in mind that you're going to need to turn the pulley as you're removing these to get access to the bolts behind them through the holes in the pulley itself. With those three bolts out of the way, remove the connector that's attached to it by the clip that the power steering hose goes into, and just push it aside. Then you can pull up on the power steering pump and pull it up out of the way. Keep in mind that that solid hose stays on it.
On the backside of the alternator, remove the cap that goes over the power wire and then also that connector right there. Pull that out. Remove the 13mm nut that holds the positive wire to the back of the alternator. The AC compressor is located directly beneath the alternator, and there are two 12mm bolts that go through it. Go ahead and remove those. I'll fast-forward as I do that. On the bottom of the AC compressor you'll find the same 12mm bolts. Go ahead and slack it off unless you don't have to fully remove them.
Locate the 13mm bolt that goes through the top of the alternator there. I'll fast-forward as I remove that 13mm bolt. Go ahead, reach in, and pull your alternator over towards the middle of the engine. You're going to need to twist it up it. Keep that power steering line out of the way. It's actually easier, you'll see now that it should come down and then come out even further more towards the driver side. That's what I'm doing here. I'm dropping it back down, being careful of any connector and of the radiator in front, and you see it just wants to come out a little bit easier over there's a little bit more room.
Go ahead and put it back in starting from that side where you pulled it out. You can see here how I'm twisting it on hand, getting it into place so that that lower bracket goes in behind the top of the AC compressor.
Then reinstall that 13mm bolt that goes in on the top-side of the alternator. I'll fast-forward as I get that bolt started, and you don't want to tighten it all the way yet because you've still got to line up the bottom with the other two 12mm bolts.
Now go ahead and reinstall those two long 12mm bolts that we took out of the top of the AC compressor. The same ones that go through the bottom of the alternator and into the block. Go ahead, reinstall those and tighten them up as well as the two on the bottom of the AC compressor, the two below that we just loosened up. Tighten those back up.
Now go ahead and tighten up that 13. Reinstall the connector on the back of the alternation, and then go ahead and put your power cable back on and screw on your 13mm nut. Finish tightening the 13mm with a socket wrench. Reinstall the plastic cap on the positive cable.
Now you can put your power steering pump back into place. Line it up with the three holes that match up to it with the bracket. Then go ahead and reinstall the three 12mm bolts that you took out. I'll fast forward as I do that. Before putting the belt back on, familiarize yourself with the belt diagram that we've made here. You can even print it out if you need to. I'm going to go ahead and put the belt back on. You're going to get your belt, get it lined up on the pulleys, except for the power steering pulley, that's where we're going to use a point for it to slip-on.
Grab your 14mm wrench or socket, and socket wrench you've got on the tensioner pulley. Start pulling the tension on towards the front of the car, so clockwise and just keep ratcheting it. While you're doing that slip more and more the belt on. It can be a little tough, but the more that you get the belt on the easier it is going to be to ratchet and get more free play. Clip the connector back in place.
Lineup the guides on the power steering reservoir, clip it back into the coolant bottle, and push the tab over the house. Here, we're showing you the two tabs on the bottom of the radiator fan, and then where they sit on the radiator itself. Those are going to need to slide in. I'm back in with radiator fan. I just want to make sure I don't pinch any wires, keep everything out of the way, go in with maybe the right side first, get it around the transmission lines, and then go ahead in and get it past the power steering line. Make sure that you keep the harnesses out of the way because they will make it harder for you to get it in there. I'm just going to fast-forward as I finish putting that in.
Put the coolant and purge hose that runs along the top of the radiator fan shroud back in place before you put that purge valve back in. Then screw in that 10mm that holds it in. From there, you can go ahead and start to zip-tie back the harnesses and connectors that go along the fan shroud. I'll fast-forward as I reconnect everything and zip-tie it back into place.
Reinstall the two bolts that hold the radiator fan to the radiator assembly in the upper corners. I'll fast-forward as I go ahead and do that. Go ahead and reinstall the clip that went on the oil dipstick tube, and then plug or put your power steering line back in. If you pulled your dipstick out, go ahead and put that in and then reconnect the air intake pipe.
Reinstall the negative battery terminal and tighten it up with a 10mm wrench. Once you're done with that, go ahead and put the cover back on. If you have the 13mm nuts, go ahead and install those. Tighten up that 13mm bolt that the bracket slips in to.
We hope this video helps you out. Brought to you by www.1AAuto.com, your source for quality replacement parts and the best service on the Internet. Please feel free to call us toll-free, 888-844-3393. We're the company that's here for you on the Internet and in person.
Shop Products
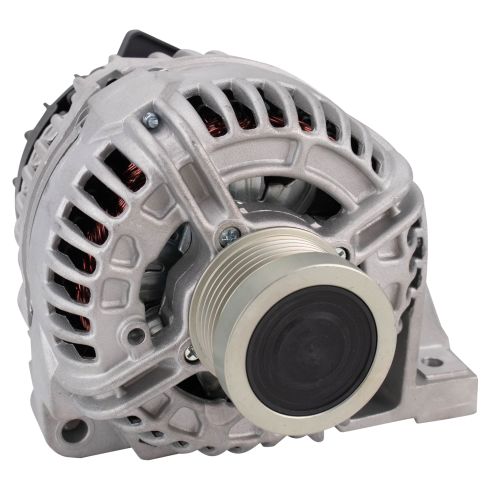
Volvo C70 S60 S70 V70 Alternator TRQ ALA94455
Part Details:
- Yes
- 12 VDC
- Serpentine
- 120 A
- 6
- Yes
- 37 mm
- Clockwise (Right)
- No
- Internal
- Yes
- No
- 82 mm
- BOSCH
- 3.23 in
- 1.46 in

How to Replace Alternator 1996-99 Buick LeSabre
Check out this helpful video from 1A Auto on how to replace the alternator on your 96-99 Buick LeSabre.
