
How to Replace Alternator 2000-06 GMC Yukon
Created on: 2020-04-10
Watch this video to learn how to install a new alternator for your 2000-06 GMC Yukon.
Tools needed
-
Torque Wrench
Hammer
Socket Extensions
15mm Socket
Pry Bar
8mm Wrench
10mm Wrench
Trim Tool Set
Flat Blade Screwdriver
Socket Driver
Serpentine Belt Tensioner Tool
8mm Socket
Center Punch
10mm Socket
Ratchet
Swivel
Now, I'm gonna disconnect the battery. Use an 8-millimeter wrench. Loosen up the negative side terminal and just set that wire aside. Take this cover off. Use an 8-millimeter socket and slide it off. Take this snorkel off. There's a little retainer right here. Just use a trim tool, slide that off, then loosen up the worm clamp here. Use an 8-millimeter socket or you can use a straight blade screwdriver. Same with this one. Grab the snorkel, slide it back, and slide it out.
Now, we're gonna loosen up the tensioner. Just take a 15-millimeter belt tool or you could use a 15-millimeter socket. Loosen the belt up and just slide the belt off the idler pulley right there. Release the tension on the tensioner. Move belt out of the way. Disconnect the connector right here, this little tab. Just slide up on the tab. Slide it out. And disconnect this wire. Take this boot off. Use a 10-millimeter wrench. Loosen up the nut and take the nut off and remove the wire, set it aside, and just put the nut back on there. And take these two bolts out. I'm gonna use a 15-millimeter socket. And slide those both out. Then you can take a pry bar. Just get underneath and just pry it up. Just be careful, you don't wanna break these ears. If you pry it back and forth, you could potentially break these off. So, just try to pry up. And just rock it back and forth, but don't grab it. Pull it that way. And there we go. Slide it out.
Now, very carefully, you do not wanna break these tabs off. I'm just gonna take a punch and a hammer and just right here, just gonna try to go with this angle and try to just hit it a little bit, see if you can get this sleeve to move forward a little bit. You don't really wanna hit it with a hammer like that. Just be cautious, try not to break it. That's gonna give us a little more room so when you put the new alternator in, it'll slide in a little easier. Now, take the alternator and just slide it in position. Take the bolts and line the bolts up. And same with this bolt. Now, I'm gonna torque these bolts to 37 foot-pounds. And take the terminal and I'm just gonna use a wire brush to just clean this up a little bit. You could use a little sandpaper or emery cloth. And take this nut off. Get the terminal on, put the nut back on. And torque this to 80 inch-pounds. That's good. Put the cover back on. That's good. Connect the connector. And take the serpentine belt, go over the pulley. Make sure the other pulleys are all lined up.
If your belt fell off, you may be able to find a key underneath the hood that tells which way the belt goes. This vehicle, this is the root of the belt. Goes around the crank, the adjuster, the water pump, power steering pump, alternator, and the idler pulley. All right. Put the tool back on the tensioner, get the belt ready and take the tension off and slide it underneath the idler. And, if you struggle a little bit, you might have to get a little more tension. There we go. Double-check. Make sure all the pulleys are good. Looks good. And take the snorkel, line it up. Throw it over the intake, over the throttle body. Line this bracket up right here and over the airbox, the mass air flow sensor. Tighten up this worm clamp right here. Just snug. And then same right here. Take the cover, line the cover up in the back and get the bolt started, and tighten it up. Snug. Now, let's reconnect the battery. Put the negative terminal on and snug it up. And then wiggle it, make sure it's not loose and you're good to go.
Shop Products


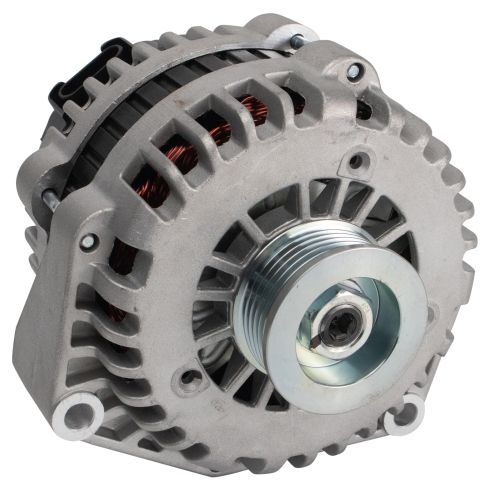
Alternator TRQ ALA94411
Part Details:
- Yes
- 145 A
- 12 VDC
- Serpentine
- 6
- 50.6 mm
- 41.5 mm
- Clockwise (Right)
- No
- No
- Internal
- Yes
- No
- DELCO
- 2.01 in
- 1.65 in

How to Replace Alternator 1994-2005 Ford Explorer 4-0L
Battery ran down? You might need a new alternator! Check out this video to learn how to replace it in your 94-05 Ford Explorer
