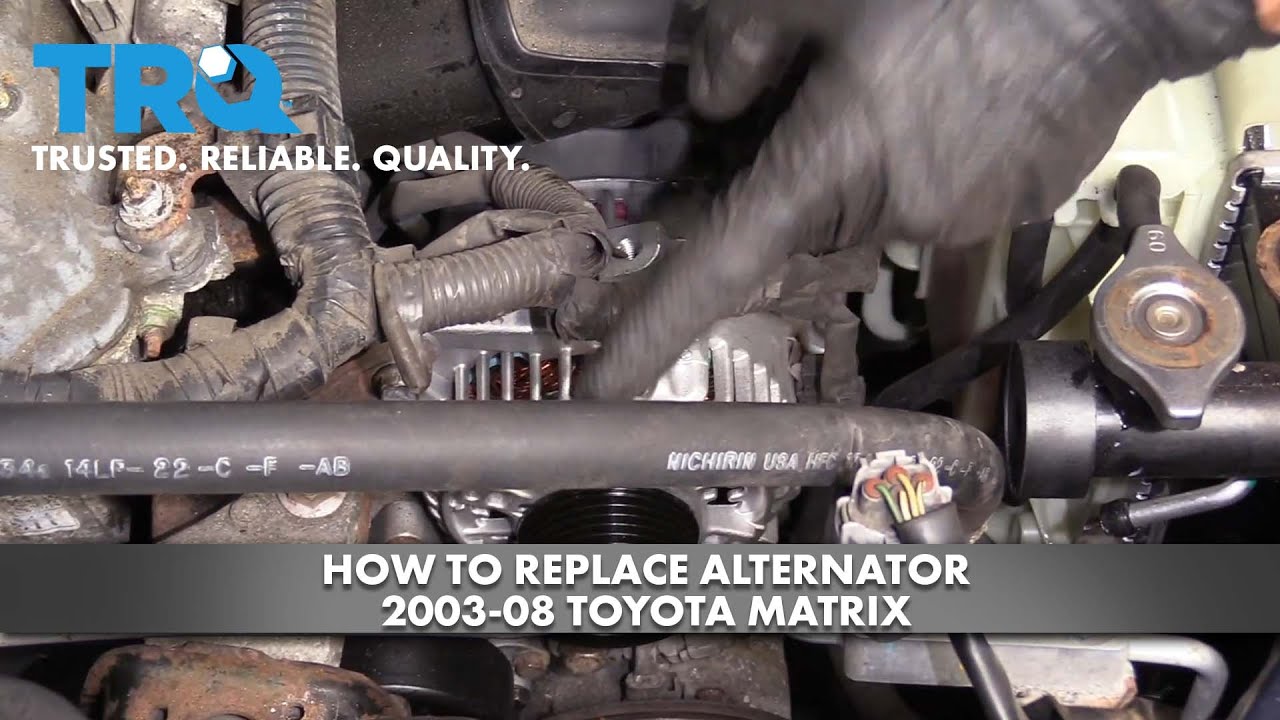
How to Replace Alternator 2003-08 Toyota Matrix
Created on: 2020-09-04
This video shows you how to install a new alternator engineered specifically for your 2003-2013 Toyota Matrix.
Tools needed
-
12mm Socket
Torque Wrench
14mm Socket
Pry Bar
19mm Socket
10mm Wrench
Pick
Sandpaper
Flat Blade Screwdriver
Drill
10mm Socket
Ratchet
1/2 Inch Breaker Bar
All right, friends. One of the first things we need to do is remove our negative battery terminal. I'm gonna use my 10-millimeter wrench, loosen this up, and get it right out of the way. A nice wiggle, set it aside so there's no way it can make connection with that battery terminal. The next thing I like to do is remove the top engine cover. You'll have a 10-millimeter nut there and you should have one right here. Now, if you were to look down along the passenger side of the engine, you're gonna be able to see the tensioner. You're gonna see that it's a piston. Following it along, we're gonna make our way right over to here. If you were to use a 19-millimeter socket and turn it clockwise, you'll be able to squish this piston and then, of course, you'll be able to remove the belt from your pulleys. It's kind of a tight space but you can do it.
Okay. I'm gonna turn this nice and slow because it's under pressure. That's compressing the piston. Now we'll go ahead and get our belt right off of here and slowly release it. Take a quick note of your belt routing. Once you've done that, go ahead and get the belt off of here. All right, now let's go ahead and grab onto this cover, just give it a little wiggle, it should wanna pop off of there. Next, we're gonna remove our 10-millimeter nut. Careful not to break the stud on your alternator. Go ahead and grab that wire, pull it right off of there. Next, we're gonna have to remove this connector right here. There's gonna be a little push tab over on the driver's side aspect of it. I'm just gonna push on that with something like screwdriver, just so I can get plenty of leverage. And then I'm just gonna try to wiggle this and draw it off. There we are. I always like to take a peek, if you see any funny colors like I have here, obviously, that needs to be serviced. I'm just gonna use my pick, come down along the side, pull up on this tab, and I should be able to slide this off. There we are.
Now to get a little bit more slack from this wiring harness, I'm just gonna follow it down to this connector right here. We'll disconnect this as well and set all of this aside. Now it's gonna be time to remove our alternator mounting bolts. You'll have a 12-millimeter bolt up here, which I'm gonna remove and then reinstall, just a couple threads. And then right down here, you're gonna find a 14-millimeter bolt. This one right here, I like to usually start with a ratchet and a nice deep socket. And then after that, I'll use a ratchet wrench so I can get it out. Okay, that one's nice and loose. Like I said, I'm gonna leave in a couple of threads. That's just gonna help prevent this from shaking around as I loosen the bottom one. All right, that's nice and loose, and get this out by hand now. Okay. It's a nice, long one. Set that aside. Let's get this top bolt out of here. There it is.
Now I'm just gonna use a nice pry bar, add a little bit of leverage to try to break our alternator free from its holding point. Okay, friends, so we brought our old alternator over to the bench. The reason for that is because I wanna compare it to the new alternator before we continue with our install. With that said, there's a couple of things that we wanna actually pay attention to on this. You wanna pay attention to the pulley. Count the amount of ribs that are in between here and then, of course, count the amount of ribs that are on the pulley on the new alternator itself. Once you're sure those are the same, let's move along to the electrical connectors. Make sure they're both three-pin connectors. That's very important. You also wanna make sure that you have the same area for your wire, it's basically gonna be located in the same exact area. And lastly, you wanna make sure that you have the same overall size of your alternator. Sometimes you're gonna find that you get an alternator that's just much bigger in size than your original. Of course, that's not gonna be the correct alternator, it's probably got a different amount of amperage coming out. This looks about the same. I think it looks great overall, so I'm ready to continue with my install.
Now that we're sure we have the proper alternator, let's go ahead and remove this bracket from our old alternator and get ready to transfer it to the new one. You're gonna have to remove this nut right here, so go ahead and spin it right off of there. It might be screwed on tight, just use your 8-millimeter. Do the same to this one. There's our bracket. Strap the nut back on there and we'll snug it up. All right, let's get over to the vehicle for our install. Okay. So we're back over the vehicle and I just wanted to show you this area right here. I wanna make sure that this is pushed out as far as it can go. This area is gonna go right over this area on the engine, so we're gonna slide it right down over that, and then, of course, we'll put over. We're gonna start the top one in just a little bit, we'll start the bottom one in a little bit, and then we'll snug them up. Okay. So those are both started. Let's go ahead and snug them up. Now it's gonna be time to torque both these bolts. Keep in mind that they're two different sizes, the top one up here is gonna be torqued to 18 foot-pounds and the lower bolt will be torqued to 40 foot-pounds.
Now that we have the alternator bolted in, it's gonna be time to start connecting it back together with the wiring. Something we wanna pay attention to is the area on the wiring that's gonna connect to the alternator. You wanna make sure that it's nice and clean so it can make a good contact point. Let's go ahead and clean that up with some sandpaper. Okay. So we have everything nice and cleaned up, this looks good. Let's start connecting it in. I'm gonna start with the very bottom down at the AC compressor. Go ahead and connect that in. Basically, just do all of your wires. Put this onto the bracket so it's secure. Let's move along. We've got our wiring for the alternator. If you wanna use a little bit of dielectric grease, we'll call it your prerogative. Okay. Let's get this on there. Start our nut on and then we'll snug it right up. Okay, it's bottomed out. Just a teeny bit more. Give it a nice wiggle, make sure it's secure. It should also have a nice cover. You wanna make sure you cover it because this will have positive current going through it and you don't wanna ground it out once you reconnect your battery. Perfect. Make sure your wiring is nice and secure. Make sure there's nothing that's hanging down anywhere that could connect onto the belt or cause an issue. This looks great. Let's move along.
Now it's time to install the belt in the vehicle. Put it on in the same route that you removed it. Okay. Slide that onto the water pump. Perfect. Now before we go ahead and remove our tool from the tensioner, just double-check the belt. Make sure it's sitting inside all the grooves going around the grooved pulleys, and of course, it's sitting along the top of the smooth pulleys as well. And, of course, make sure that everything's settled as it should. This looks really great, so it's time to move along. Let's go ahead and get our cover back on here, just line it up with the studs, put on your mounting nuts, and snug it right up. Do the same to the other one. All right. Let's go ahead and get our negative battery terminal back on here. Go ahead and snug it up. Double-check to make sure it's secure. That feels good.
Okay. So, the next thing we need to do at this point is to go ahead and start up the vehicle. We're gonna run it for approximately 10 seconds and then we're gonna turn it back off. We wanna come back out and make sure the belt's still sitting on all the pulleys as it should. If for some reason you notice that it seems like it's walking off, you need to of course fix that before you continue running the vehicle. All right. Now that we've run it, let's go ahead and take a peek at that belt, just make sure it's sitting like it should. This looks great. Next up, take it for a road test.
Shop Products
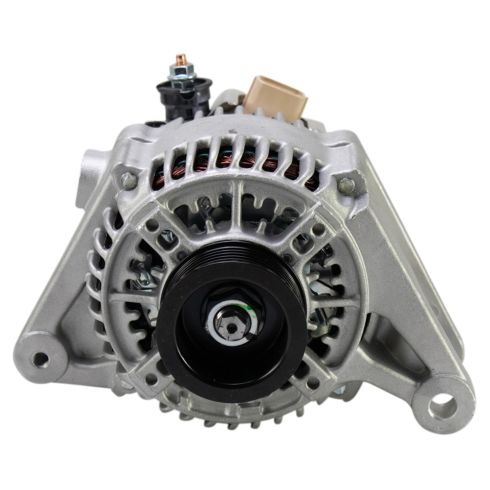
Toyota Pontiac Alternator TRQ ALA94472
Part Details:
- Yes
- 12 VDC
- 80 A
- Serpentine
- 6
- 82 mm
- NIPPONDENSO
- Clockwise (Right)
- No
- No
- Internal
- Yes
- No
- 40.5 mm
- 1.61 in
- 3.23 in

How To Replace Alternator 2004-07 Jeep Liberty
Watch now and learn how to replace the alternator on your 04-07 Jeep Liberty.
