How to Replace Automatic Transmission Connector 2005-07 Chrysler 300
Created on: 2017-02-14
This video shows you how to replace the automatic transmission connector on your 05-07 Chrysler 300. 1A Auto shows you how with step by step instructions.
-
step 1 :Jacking Up the Vehicle
- Put the vehicle in park with the e-brake one
- Jack up the vehicle from the front crossmember
- Place two jack stands on either pinchweld where the cut is in the side skirt
- Carefully lower the vehicle onto the jack stands
- Lift from the rear engine cross member with the jack
- Move the jack stands to the rear cross member
- Count the number of teeth on the jack stand and match the other side
- Carefully lower the vehicle off the jack
- Make sure the vehicle is secure on the stands
-
step 2 :Removing the Transmission Receptacle
- Rotate the tab counterclockwise to release the connector
- Pull the connector out
- Have a drain pan ready
- Loosen the 7mm bolt inside the connector receptacle
- Remove the receptacle and o-ring
-
step 3 :Installing the Transmission Receptacle
- With both o-rings on the receptacle, press it into place
- Tighten the 7mm bolt to the receptacle
- Torque the bolt to 22 inch-pounds
- Connect the connector into the receptacle
- Clean off the surface
-
step 4 :Lowering the Vehicle
- Jack the vehicle from the rear engine cross member
- Move the jack to the front cross member
- Lower the vehicle onto the stands on both sides
- Jack up from the front crossmember
- Remove the jack stands
- Lower the vehicle
-
step 5 :Checking the Transmission Level
- Make sure the temperature outside is between 70 and 100 degrees
- Start the vehicle
- Keep the brake pressed
- Cycle through each gear
- Check the fluid level with the vehicle in park and the engine running
- Remove the transmission fill tube
- Insert the transmission dipstick
- Check the fluid level
Tools needed
-
Socket Extensions
Torque Wrench
Paper Towels
Jack Stands
7mm Socket
Drain Pan
Ratchet
Floor Jack
Hi, I'm Mike from 1AAuto. We've been selling auto parts for over 30 years! We're dedicated to delivering quality auto parts, expert customer service, and fast and free shipping, all backed by our 100% satisfaction guarantee. So visit us at 1AAuto.com, your trusted source for quality auto parts.
In this video, we're going to be working with our 2006 Chrysler 300. We're going to show you how to remove and replace the automatic transmission connector. This part is notorious for leak in the front passenger corner of your vehicle, just above the transmission pan. This vehicle is equipped with the 3.5-liter V6, and the NAG1 or Mercedes W5A5 transmission, and will apply to a variety of other Chrysler, Mopar, and Mercedes vehicles.
If you like this video, please click subscribe. We have a ton more information on this and many other vehicles. If you need this part for your car, you can follow the link down in the description over to 1AAuto.com.
Here are the items you'll need for this repair: 7mm socket, ratchet, socket extension, torque wrench, drain bucket, paper towels, jack, jack stands
Be sure that your vehicle is in park with the e-brake on. Then jack up the vehicle from the front crossmember. Bring the vehicle high enough that you can get underneath it comfortably. Place the jack stands on the pinch welds where the notch is cut into the plastic side skirt. This is as high as our jack goes, but I want a little more room to work under there. What we can do is carefully lower our vehicle onto the jack stands, then go to the rear engine crossmember.
We were lifting from here, and now we'll be lifting from the one in the back. Now our vehicle is up nice and high, and it's going to give me plenty of room to work. Count the number of teeth coming out of the jack stand. Be careful not to go onto the plastic side skirt if you have them. Don't want to risk breaking those. We have one, two, three, four, five, six, seven, eight teeth exposed, so we want to make sure it's the same height on the other side. Carefully lower your vehicle off the jack. Just give it a little shake. Make sure that the jack stands are settled and even, so it doesn't fall. Now that our vehicle is raised and supported, just by the passenger cat converter, right by the transmission bell housing, we have this connector.
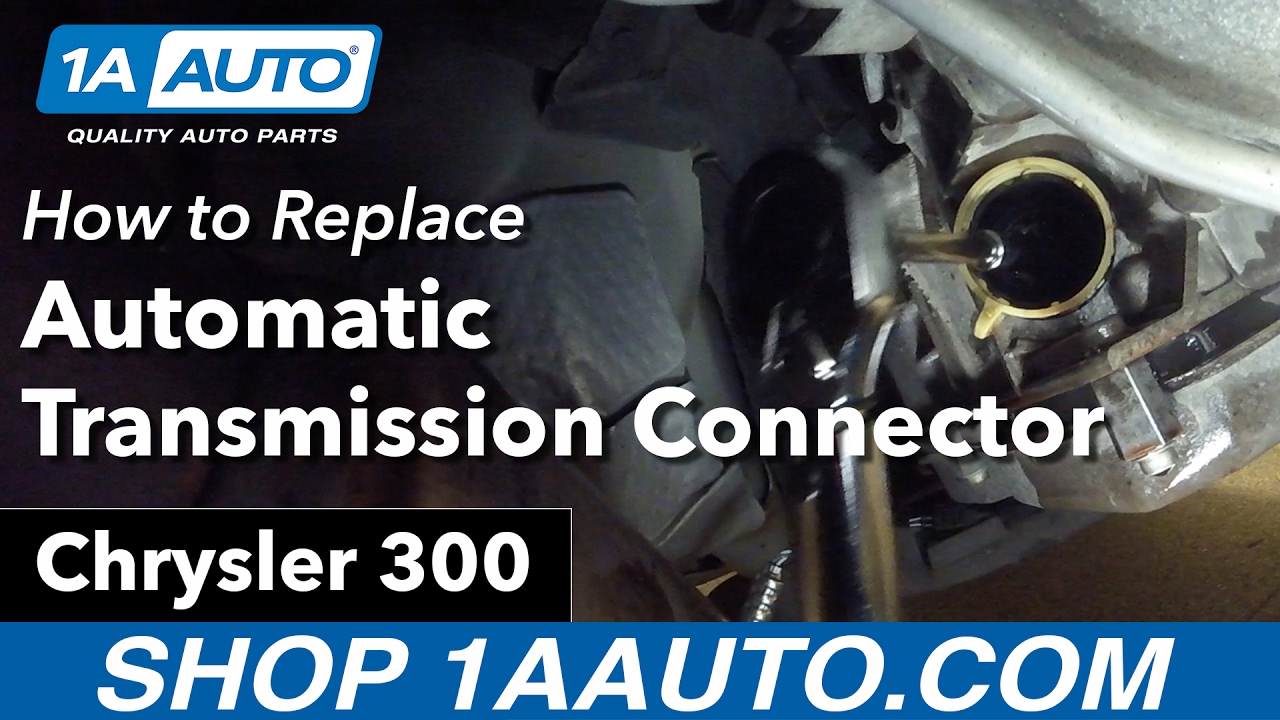
Now, ours isn't leaking, but it's very, very, common for these to leak and cause transmission fluid loss right in this corner of your transmission pan. You may think it's the gasket, here, but if you look up higher, it's very common to leak out of this receptacle. What we'll do to replace this is rotate this tab counterclockwise until it releases our connector. Just a tad further than that. We'll remove this and hang it out of the way.
Down inside, inside of this receptacle for the connector is a small bolt which we'll remove with a socket and ratchet to remove the connector receptacle from the transmission. The bolt inside of the receptacle is a 7mm, so we'll reach in there with our 7mm socket and ratchet with a small extension and loosen the bolt. Be sure to note where this tab is, because that's going to be important to aligning our new part. This is a captured bolt, so it won't actually come all the way out of the receptacle, just make sure it's loose. Be sure to have a catch pan underneath the transmission when removing the receptacle, and be sure that the o-ring on that receptacle comes out with it.
So, with both of your o-rings on the receptacle, we'll line that up the same way it came out. It'll pop right back into place. Once it's seated fully, tighten it back down with your 17 mm socket, ratchet, and extension. Torque the 7mm bolt to 22 inch-pounds. Once the bolt is torqued, reinstall the electrical connector into the receptacle. Lock it back down into place. Use a shop towel or a rag, and some solvent if you'd like, and wipe up any fluid left on the transmission. This will help check for any other leaks, as there may be compound leaks or another issue present.
Jack your vehicle back up. If you raised it up as far as we did, you'll need to lower it onto the jack stands, move your jack from the rear crossmember to the front one, lower it again from there. Once your jack stands and drain bucket are out from under the vehicle, you can slowly lower it back onto its tires.
Now these vehicles from the factory come without a transmission dipstick. You just have this little plug cap, here, that says, "for dealer use only." Fortunately, this isn't just for dealership use anymore. Now you can have the proper factory automatic transmission dipstick for your vehicle at home to make sure that you're monitoring your fluid level and condition regularly without having to go to the dealership.
Now, the way this works is it is universal for a variety of Mopar and Mercedes vehicles, as well as some other makes and models. It has about 120 mm dipstick on the end, which is incremented in 10mm. Your vehicle's dipstick will come with a chart telling you the proper transmission fluid level with the vehicle's transmission fluid at a certain temperature. Now again, we run into this dealership issue of your vehicle possibly needing a proper scan tool to accurately check your transmission fluid level. Fortunately, we have a way around that. Our shop is kept at 70 degrees. So our vehicle, when parked inside the shop all day, sits at about 70 degrees. This means that we can start our vehicle, cycle through our gears quickly, and check our dipstick level, and be right in that 70 to 100 degree ballpark. This will give us a good idea of our fluid level without needing a proper factory scan tool.
Start your vehicle. Keep your foot pressed firmly on the brake, and cycle through each gear in the transmission for a few seconds. If you have a manual shifter like us, click up as high as it will allow you. Sit in each gear for a few seconds. Cycle back through, and check your fluid level with the vehicle in park. Now, it does say to check this fluid level in neutral, but in most vehicles park is the transmission in neutral, with a parking pawl engaged. Remove the factory plug from the transmission fill tube, and install your dipstick. Now this may not seat in fully, so just get it down as far as you can. Remove it, and check your fluid level. Compare this reading to the chart supplied with your dipstick, and adjust your fluid level accordingly.
Thanks for watching. Visit us at 1AAuto.com for quality auto parts, fast and free shipping, and the best customer service in the industry.
Shop Products


How to Replace Kick Down Cable 1982-91 GMC Jimmy Full Size
In this video, 1A Auto shows you how to replace a sticking, broken or frayed transmission detent or downshift cable in a 82-91 GMC Jimmy Full Size.
