How to Replace Battery 2003-11 Honda Element
Created on: 2019-02-15
How to replace the battery on 03, 04, 05, 06, 07, 08, 09, 10, 11 Honda Element
Tools needed
-
Socket Extensions
Water
Rust Penetrant
Paper Towels
Terminal Cleaner
Drain Pan
10mm Socket
Ratchet
Baking Soda
Hi. I'm Mike from 1A Auto. We've been selling auto parts for over 30 years.
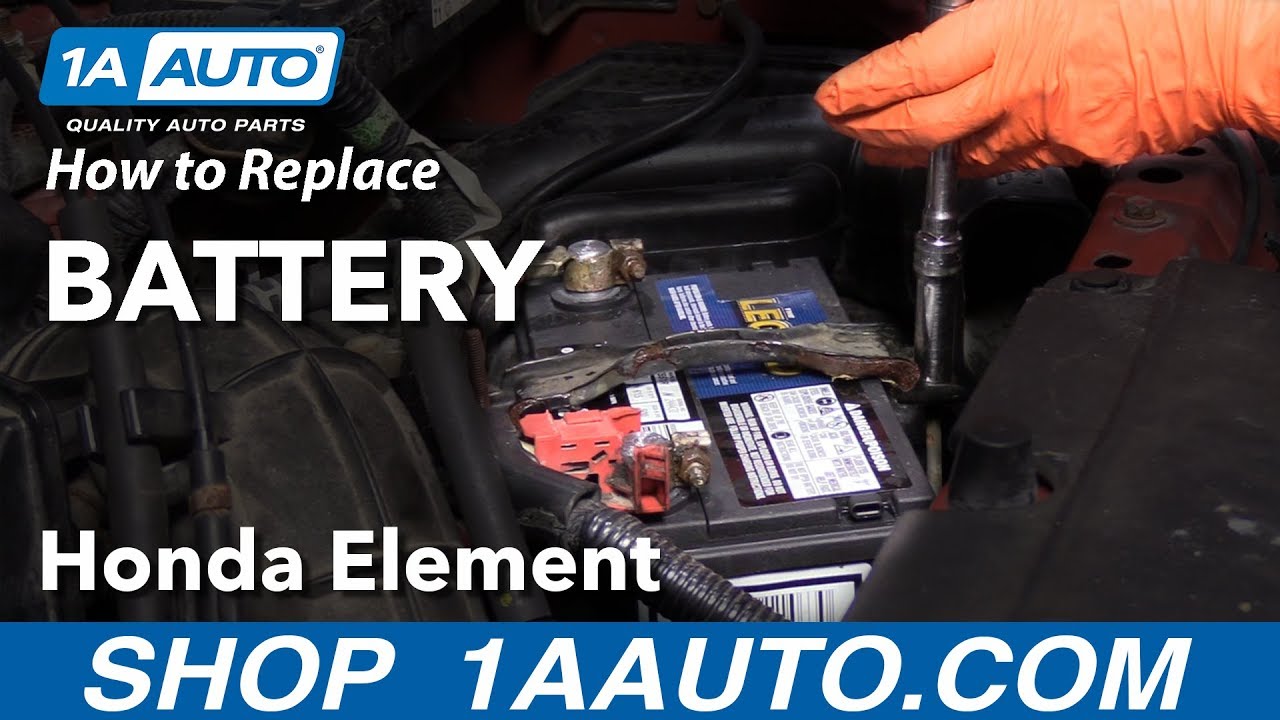
Hi, everyone. Sue here from 1A Auto. And today we're working on our '06 Honda Element and we're going to be changing the battery. I'm going to show you where it's located, and how to interchange it out, clean the terminals, and also how to test one. So here we go right into it. The battery is located in the engine compartment in front of the driver's seat. So it's in the left front fender well. I'm going to take some spray and just spray these ends down, because we have to take this off, the hold down. And those bolts look like they haven't moved in, well I'm going to guess since 2010.
So let's take the terminals off first, while that's soaking in there. I'm going to take the negative side off first. It's a 10 millimeter socket. Loosen that up, and grab the cable, pull it right off the terminal end. Just push that aside. Then we have the positive. It's the same, it's a 10 millimeter socket. Loosen that right up. Lift that up.
Now, we have another 10 millimeter socket. The hold down is actually 10, so you need one tool. Let's see if we can get this to go without breaking. That white stuff is dried up battery acid, it's corrosion, and it will tingle the skin because it's slightly burning it. Make sure you wear gloves, try not to get it on your bare skin. After you're done using your tools, I recommend wiping them down before you put them back in your toolbox.
So there's a little hook on the end of this, so what I'm going to do is hopefully I've got enough here, so I just unhooked it from the tray. There's a same identical hook on this side. That was the hold down. That is corroded, the paints peel off of it, the predictive coating. Now these terminal ends, they put these little protective things on way back and when, but what I want to show you is that this is not a maintenance free because it has actual caps that you can open and check.
So let me get some safety glasses here. So make sure you have eye protection and glove protection. Take a flathead screwdriver or a little pry bar and you're going to pop the cover off. Let's just take this thing out of here, too. All right, so we're going to pop this cover off. This is what I discovered when I checked this out. We have one complete dry cell. There is no battery acid in there at all. How do I know that? I use my refractometer. It's a refractometer and it tests battery acid, coolant, and washer fluid.
So I take my little plunger and I went in here and just still the one's completely gone. There's no fluid. So, I went to cell number two, same thing. There's nothing there. Cell number three has fluid in it. No, it's not a mystery to me. I already know the battery's no good because there's no fluid in two cells. Then you take your refractometer and you line it up to the light. The light shines down in here and inside there, there's a gauge that tells you whether it needs to be recharged or if it's completely dead.
In this case, it goes past the R. So that means it doesn't even read on the actual scale. So yeah, this battery's no good. That's the proper way to test a battery is to actually check your acid level, each cell, because you can load test of battery, and I've seen a completely dry cell fluid in the other cells, some would just load test it, and say your battery's fine. Head on going, you're fine. I don't know why it cranks slow. That'll just checks the voltage inside the battery, which can be charged up fully, especially if it was running.
But with a dead cell that's a defective battery, that's not got a hold a charge. So you will be stranded. If you have a maintenance free, then you can't check cells. You have to just rely on the machine and then you go by date, and hope that the date marks on there. And you know that if for any batteries over anywhere from five to seven years old, you've gotten your money's worth, it's time to move on. So now I'm going to lift this battery out. We're just going to grab both sides. Lift it up.
I can actually smell it. That's just, it's not a good smell. So now I'm going to go clean this. We'll come back with a clean tray and a clean battery hold down. Then we'll install our battery. So now I have a cleaned the tray and the battery hold down. I'm going to clean the terminal ends. The way I like to do that is I have hot water in a cup here and they just add regular old baking soda. Just like a teaspoon. Then I'll take the terminal end. This is an inexpensive way of cleaning it. You don't have to buy the cleaner from the parts store, and it truly neutralizes battery acid. If it was really badly corroded, you would see this thing foam up.
You've got that green corrosion going on when you put this on, it just fills up like a soda cup. So we got bubbles coming out, that's good. Just neutralizes any battery acid on there. These terminals are pretty clean. It was the actual hold down that was dirty. So, see if we can get that positive terminal in that. You don't have to use hot water. I like to use hot water. I just always have, it makes me feel like it's cleaning. I will take a wire brush still to that.
The other thing you can do here is I'm going to put a catch tray underneath and I'm going to just clean that down real quick. So I'm going to take my water and I'm just going to sprinkle it here and you can see where the battery acid was, how it foamed up. I'll just take a rag and wipe that clean. Now I can reinstall that tray that I cleaned earlier and alls I did was the same thing, water and baking soda and cleaned it down. Now this has these little tabs in it, so it has the guide tabs where it goes, sits down in. Now I've going to get my battery terminal cleaner, I'm going to clean these terminals. It's just a brush, comes like this. This is for the battery post itself on the battery and here's the external one for the posts, the cable ends, I mean.
Maybe I'll turn this for you so you get a better angle, and you can see the nice contact scraping it made, cleaned that surface up in there, just like sandpaper. The positive, the negative came out really nice. That's what you want when a nice clean surface so it has good contact. So now I've got my new battery and as you can see, check for batteries that have the actual manufacturer's date that they built this on there. So 11/18, November of '18 this was built, assembled, acid, and sealed. It is a non maintenance, it's a maintenance free so no maintenance can be done to this.
So I'm going to place it down in. I don't like to take the covers off until it's down in there. Seat that down. Now I'm going to take this flathead screwdriver or a razor blade and I'm going to pop off the date. That also helps the manufacturer if you a defect and it helps you to later on maybe a year down the road you're like, "Hey, I could have sworn I just bought that." Well there's living proof.
So we're going to go with December '18. That's all you do is just pop out the last date in the month. Now let's clean the terminals now. Take the plastic protector off. I'm going to put that right on my core that I'm sending back. Now I'm going to put the wire brush on, just one or two turns. Spin it off, blow that off there. Now I can connect the positive side first. Make sure that terminal end is all the way down. I want to see some of that terminal post sticking up off the top. I see a lot of people, they just rest it on there. They put it like this. That's a no, no. That's not going to work.
Loosen that up just a smidge. See if I can tap that down a little bit more. There we go. Yeah, I tapped down on the terminal good, I didn't take a hammer to it. You want that tight enough so that when you grab it, you can not turn that at all, has zero play. You have any play in that, it's not going to make a good contact and then it's not going to charge. It's going to leave you some place. Sometimes these things can be a real bugger. So I'm going to clean this end. Put my negative post down. Make sure it seats all the way down, there's some crown showing that. Snug it up. Nice. Feels good.
Get my hold down. Now place this hook in down here first. Put the far one it. Here we go. So now I'm going to put some pressure on that, and I'll raise that up like that. Get my extension and socket, 10 millimeter. A little pressure on that. There we go. I'm going to go back and forth because I don't want to crush the battery, and I want them to have equal pressure on it so that the plates don't bend side. Some people think that changing a battery is simple. Well it is simple. It's not hard. But it's just like an oil change. Do it right.
I'm just snugging it down. I don't want to see that battery in dented. That's not going to go anywhere if you get in an accident. Now you have the option to spray some of that protective coating on there. It's up to you. If you wanted to put some dielectric grease on there and you can now, after the terminals are on.
Thanks for watching. Visit us at 1AAuto.com for quality auto parts, fast and free shipping, and the best customer service in the industry.

How to Replace Dead Battery 2002-10 Mercury Mountaineer
How to remove, install, and replace a dead car battery on 02, 03, 04, 05, 06, 07, 08, 09, 10 Ford Explorer or Mercury Mountaineer.
