How to Replace Blower Motor and Resistor 1992-99 Mitsubishi Montero
Created on: 2018-01-03
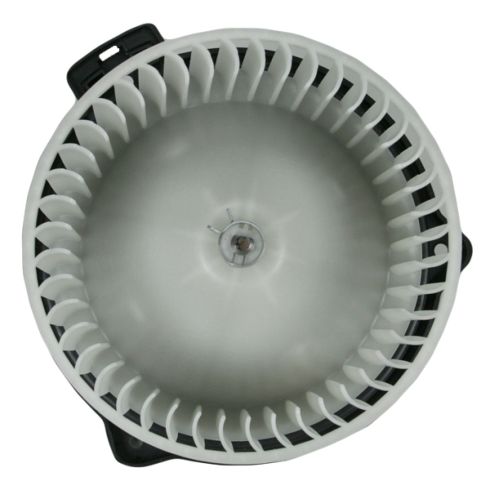
New Heater Blower Motor with Fan Cage from 1AAuto.com How to repair, install, fix, change or replace a bad or broken blower motor and resitor on 92, 93, 94, 95, 96, 97, 98, 99, 00 Mitsubishi Montero.
-
step 1 :Removing the Lower Dash Trim
- Remove the Phillips head screw from the trim
- Press in the push clip and remove it from the dash
- Remove the lower dash
-
step 2 :Removing the Blower Motor
- Disconnect the blower motor resistor
- Remove the two Phillips screws from the resistor
- Remove the resistor
- Remove the wiring harness from the blower motor
- Remove the screws from the blower motor
- Pull the blower motor down and out
-
step 3 :Installing the Blower Motor
- Insert the blower motor into place
- Tighten the Phillips screws to the blower motor
- Connect the wiring harness to the blower motor
- Insert the resistor into place
- Tighten the two Phillips screws to the resistor
- Connect the blower motor resistor
-
step 4 :Installing the Lower Dash Trim
- Insert the lower dash trim into place
- Press the push clips into the lower dash
- Tighten the Phillips head screws to the trim
Tools needed
-
Socket Extensions
Phillips Head Screwdriver
7mm Socket
10mm Socket
Ratchet
Trim Tool Set
Hi, I’m Mike from 1A Auto. We’ve been selling auto parts for over 30 years!
To remove this plastic under-dash trim, use a Phillips head screw here, push clip here, and a push clip up under here. I'm going to start with the Phillips head screw. Put that aside. Take a trim clip tool or a small flat-bladed screwdriver, just kind of pop the trim clip up. Pull it out. Do the same over here. This will just fall right out of there. We're actually pulling it off of the duct that's right here underneath the dash. Put that aside.
The blower motor resister is back here. To unplug it, push in this clip. Pull down the connector, and put that aside. There's two screws holding it in. You can either use an 8mm or a Phillips head. I have a Phillips head right here, so that's the one I use. Just going to unscrew them. And as I'm loosening it, work the resistor out, and here is the resistor.
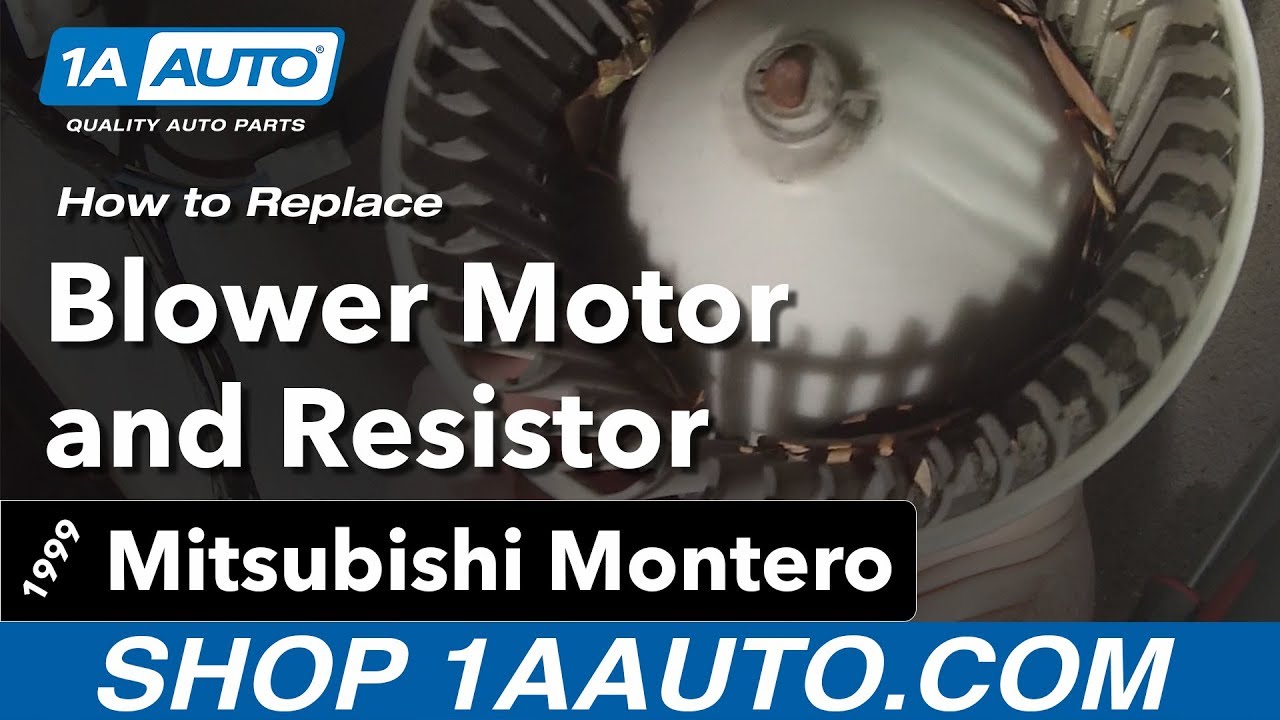
With the blow motor resistor disconnected, you've got more room to get the blow motor out. It's just sitting here, and I'm going to unplug it first by pushing in the connector lock and wiggling out the connector. All the wires are loose. This is held in with three self-tapping bolts. They've got a T20 Torx or a flathead, or it looks like you can use a 10 mm socket, so I'm going to use this T20 Torx because I've got it here. Just unscrew all these. I'm going to hold the blow motor as I loosen the last one.
This blow motor is working, but it was making a noise. It sounded like debris stuck in it. This truck doesn't have a cabin filter to keep debris from falling into the blow motor, so I'm going to see what's inside here. Yeah, it's filled with leaves, so I got to clean that up before I reinstall it.
With the blower motor cleaned, I'm just going to put it back in place. Line up this square part with this part over here. It'll sit right in place. I'm going to capture one of these self-tapping screws and install the remaining two. Reinstall the resistor. It's keyed, so it only goes in one way. It's got to fit in just like this. Capture the bolts. Capture one. Capture the other one.
Now that those are tight, you can plug it back in. It'll click when it's in place. Plug the blower motor back in, and those are installed. I'm going to reinstall the plastic trim. This opening is going to go on a heater duct that's under here. It's going to match up with this one on the trim panel. Just going to slide right on. Lift up into place, and install the Phillips head screw. Just tighten it down. It's just going into plastic. Now reinstall the push clip, and reinstall the other push clip. And push that in place.
Thanks for watching. Visit us at 1AAuto.com for quality auto parts, fast and free shipping, and the best customer service in the industry.
Shop Products

How to Replace Blower Motor with Fan Cage 1982-88 Chevy Camaro
Need to replace the blower motor on the 82-88 Chevy Camaro. This video will help you do it yourself
