How to Replace Blower Motor Module 2000-13 Chevy Impala
Created on: 2013-08-28
Learn how to replace a bad or broken AC/heater fan speed resistor on your 00-13 Chevy Impala.
-
step 1 :Removing the Lower Glove Panel
- Pry out the three clips from underneath the glove box with a flat blade screwdriver
- Twist counterclockwise on the light
- Remove the bulb
- Remove the lower panel
-
step 2 :Removing the Blower Motor
- Remove the three 7/32 bolts from the blower motor
- Remove the blower motor
- Detach the blower motor lead
-
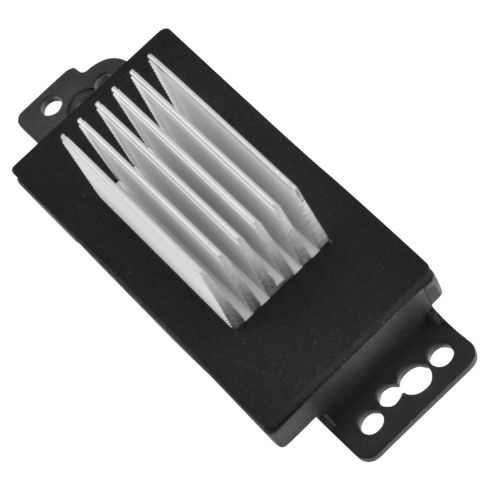
step 3 :Removing the Resistor
- Remove the two 7/32 bolts holding the blower resistor
- Remove the resistor
- Press the tab and disconnect the wiring lead
-
step 4 :Installing the New Resistor
- Insert the resistor into place
- Insert the 7/32 bolts into the resistor
- Connect the wiring lead
-
step 5 :Reinstalling the Blower Motor
- Insert the blower motor into the correct position
- Insert the three 7/32 bolts by hand
- Tighten the 7/32 bolts
-
step 6 :Reinstalling the Lower Glove Panel
- Twist the bulb clockwise into the panel
- Insert the panel into place
- Press on the three clips
Tools needed
-
Flat Blade Screwdriver
Ratchet
7/32 Inch Socket
Brought to you by 1AAuto.com, your source for quality replacement parts and the best service on the Internet.
Hi, I'm Don from 1A Auto. I hope this how-to video helps you out, and the next time you need a part for your vehicle, think of 1AAuto.com. Thanks.
In this video, we're going to show you how to replace the blower motor resistor on this 2006 Chevy Impala. When the blower motor resistor starts going, you'll notice that your fan doesn't work at certain speeds. If you have manual A/C, your fan may work at position one and position four, but not two or three, and that's pretty much the biggest sign that the motor resistor is going or is bad, and this is a pretty straight forward replacement.
You'll need a 7/32 socket with a ratchet, and you also need a small flat blade screwdriver.
Up underneath the glove box there are three clips. You pry out the middle clip, or just pry the clip out and try and pull it. Use small flat blade screwdriver, and we'll fast-forward as we do the other two clips on this side. Just counterclockwise on the light and drop the panel down and out of the way. We're going to remove the three 7/32 bolts that hold the blower motor in place and we'll fast-forward. You don't necessarily have to do this, but it certainly makes it a lot easier to get to the bolts that hold the resistor in place. With those bolts out, the blower motor comes down and you can detach the leads just by pressing on a clip. Then the two 7/32 bolts that hold the resistor in place. You just kind of press your wrench up against the insulation, push it up onto the bolts, and they come out. Once you have the bolts out the resistor comes right out. There's a little tab on it, use a small flat blade screwdriver to help you pry up on the tab, and usually it's just a little sticky so you can work the connector off.
Okay, with a screw and a socket in your hand, work the resistor back up in place and start the screws in. We'll just fast-forward as we get that first screw in, tighten it up some, start the second one, and then tighten that up. Be careful not to make them too tight. You don't want to strip the plastic that the screw goes into. Once you have it tight, reconnect the harness to the resistor, and now put the blower motor back up in place. Make sure you put it in the correct position and everything lines up. Start the three bolts on by hand first, make sure you don't cross thread or damage the plastic threads, and then tighten those up. Again, don't over tighten them, you don't want to damage the plastic. We connect the blower motor harness and then the panel back up clockwise on the light to lock it in place and then secure the panel with the three clips.
We hope this video helps you out. Brought to you by www.1AAuto.com, your source for quality replacement parts and the best service on the Internet. Please feel free to call us toll-free, 888-844-3393. We're the company that's here for you on the Internet and in person.


How To Replace Fan Speed Resistor 2005-09 Chevy Equinox
Follow the steps for this easy repair and replace a bad fan speed resistor yourself!
