How to Replace Blower Motor Resistor 1995-2002 Chevy Cavalier
Created on: 2013-08-22
This video will show how to remove the blower motor and blower motor resistor on the 95-02 Chevy Cavalier
-
step 1 :Removing the Blower Motor
- Remove the three 7/32 screws from the blower motor with a socket wrench
- Disconnect the connecter by pulling up on the tab
-
step 2 :Removing the Blower Motor Resistor
- Remove the blower motor resister connector by pulling up on the tab
- Remove the two 7/32 screws from the blower motor resistor with a socket wrench with extensions
- Pull the blower motor resistor down and out
-
step 3 :Installing the New Blower Motor Resistor
- Insert the new blower motor resistor into the slot
- Tighten the two 7/32 screws with a socket wrench with extensions
- Reconnect the blower motor resistor connecter
-
step 4 :Reinstalling the Blower Motor
- Plug in the fan motor by reconnecting the connector
- Reinstall the three 7/32 screws with a socket wrench
Tools needed
-
Socket Extensions
1/4 Inch Socket
Swivel
7/32 Inch Socket
Brought to you by 1AAuto.com, your source for quality replacement parts and the best service on the Internet.
Hi, I'm Don from 1A Auto. I hope this how-to video helps you out, and the next time you need a part for your vehicle, think of 1AAuto.com. Thanks.
In this video, we're going to show you how to replace the blower motor resistor in a 2000 Chevy Cavalier. You'll need a 1/4 inch socket wrench, an extension, a swivel, a 7/32 inch socket, as well as a new blower motor resistor from 1A Auto.
To get to the blower motor resistor, you'll need to first remove the blower motor. You'll find that in the passenger compartment footwell right below the glovebox. There are three 7/32 screws that hold that in. Go ahead and use a socket and socket wrench and remove those three screws. I'll fast-forward as I do that.
Find the connector there, pull up on the tab, and pull the connector out. Pull up on the tab for the blower motor resistor connector and pull that off. There are two more 7/32 screws that hold that blower motor resistor in place. You're going to need to use an extension with your swivel and your short 7/32 socket to get to those. I'll go ahead and fast-forward as I take those out.
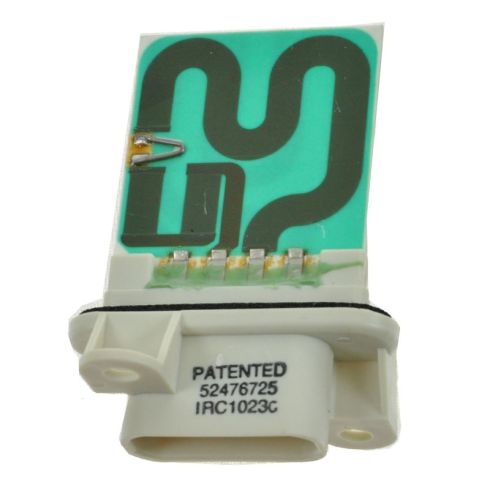
Once you've got those two screws out, go ahead and pull the blower motor resistor out. Here's a side by side of the old part and the new part from 1A Auto.
Install the new resistor by placing it up and into the blower fan compartment and reinstalling your two 7/32 screws. I'm going to go ahead and fast-forward as I put those in and tighten them back up.
With the blower motor resistor plugged back in, you can plug in your fan motor and stick that back up inside. Reinstall the three 7/32 screws that hold that in place. I'll go ahead and fast-forward as I do that.
We hope this video helps you out. Brought to you by www.1AAuto.com, your source for quality replacement parts and the best service on the Internet. Please feel free to call us toll-free, 888-844-3393. We're the company that's here for you on the Internet and in person.
Shop Products

How to Replace Blower Motor Resistor 1999-2007 Ford F250 Super Duty Truck
Watch this video to learn how to replace the blower motor resistor in a 99-07 Ford F250 Super Duty truck.
