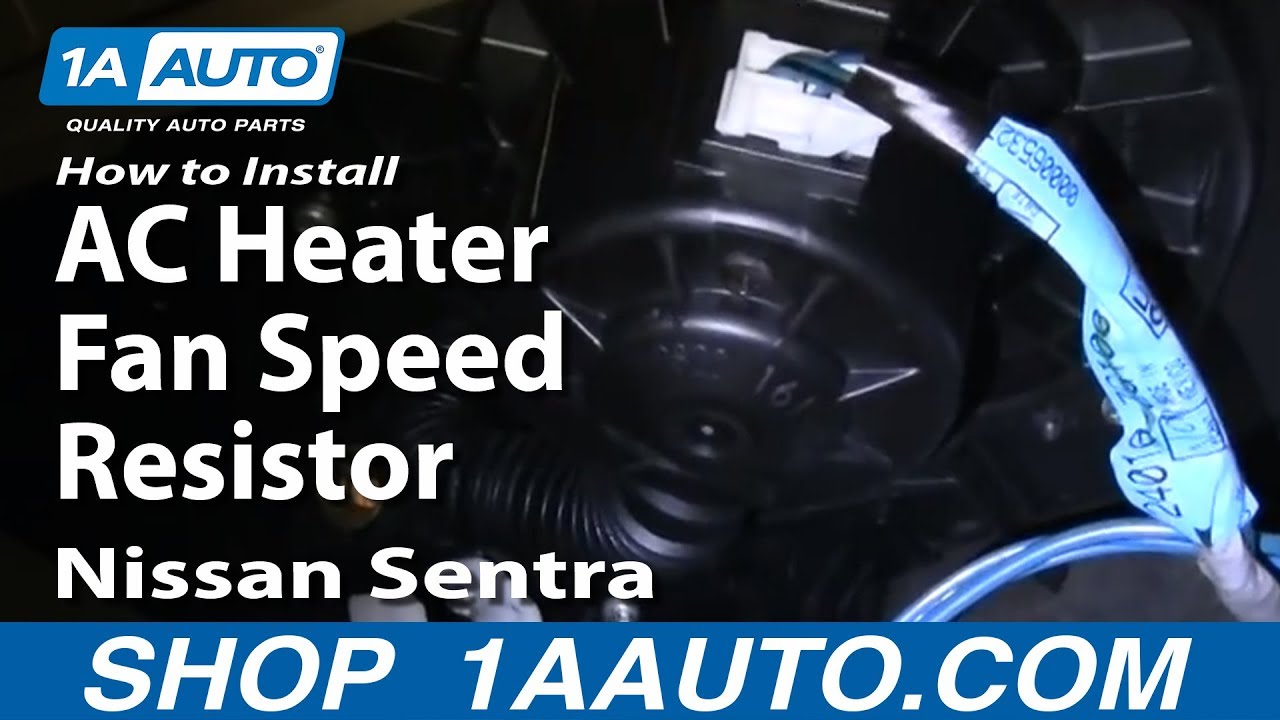
How to Replace Blower Motor Resistor 2000-06 Nissan Sentra
Created on: 2012-09-25
If you can't change the vent speed in your 00-06 Nissan Sentra, check out this video on how to replace the blower motor resistor, and fix it yourself!
-
step 1 :Removing the Blower Motor Resistor
- Open the glove box
- Push the glove box to the side and pull it out
- Remove the two Phillips head screws from the access panel
- Pull off the access panel
- Disconnect the blower motor resistor wiring harness
- Loosen the Phillips head screw from the access panel clip
- Turn the access panel clip out of the way
- Remove the two Phillips screws from the resistor
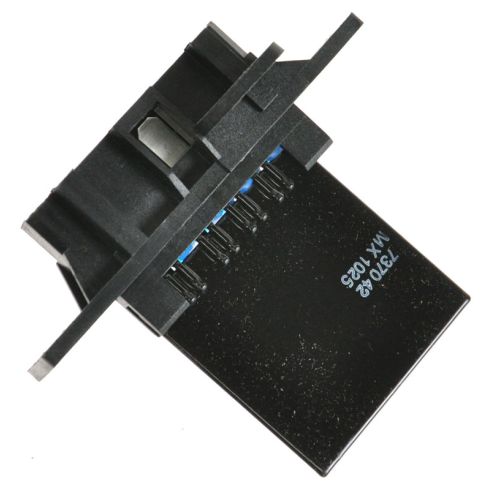
- Pull the resistor down and out
-
step 2 :Installing the New Blower Motor Resistor
- Push the new blower motor resistor into place
- Insert the two Phillips screws into the resistor
- Connect the resistor wiring harness
- Turn the access panel clip into place
- Tighten the Phillips screw in the access panel clip
- Push the access panel onto its clips
- Insert the two Phillips screws into the access panel
- Push the glove box into place
- Close the glove box
Brought to you by 1AAuto.com, your source for quality replacement parts and the best service on the Internet.
Hi, I'm Mike from 1A Auto. I hope this how-to video helps you out, and next time you need parts for your vehicle, think of 1AAuto.com. Thanks.
In this video, we're going to show you how to replace the A/C and heater van speed resistor on this 2006 Nissan Sentra. It's not a hard repair, but it is a little difficult just getting in underneath there and the angles. The only tools you'll need are a regular Phillips screwdriver and a short Phillips screwdriver.
We're inside. What you want to do is open up your glove compartment and basically what I'm doing is pushing to the side firmly. Then, you can pull your whole glove box right down. Now your resistor is right up under here. It's this connection here. You can press a tab and pull that down. You can see that there are two screws that hold it in. Basically, finding it is the toughest part. Once you get down here loosen up that clip, move it out of the way, and I loosened that easier-to-see screw first. Then I use a short screwdriver to loosen up the one that's back closest to the firewall of the car. Take that out then take the other screw all the way out. Once I have that screw out then I just pull the resistor right down and out.
Here's our original one and then you can see our replacement one is exactly the same. Here again I'm just going to speed through this. It's basically a matter of putting the resistor up in there and then, basically, you want to start the screws by hand and just the difficult part is the kind of the bad angle that this is at. Once you put the resistor up in there, you should be able to press it in enough. It should stay in place. Then you can put the screws in, start them in, then use your screwdriver and tighten them up. Once you have those tight, then you can reconnect your harness and you can tighten up that clip or that bracket that holds the lower panel on. Now the tabs on this panel go up into those white clips. Clip it in and then bring this up and on there like that. Now do a little more fast forward as I just put the two screws that hold that panel in. Put your glove box back in. Just kind of tuck it in, push it to the side, and it's all set.
We hope this video helps you out. Brought to you by www.1AAuto.com, your source for quality replacement parts and the best service on the Internet. Please feel free to call us toll-free, 888-844-3393. We're the company that's here for you on the Internet and in person.
Shop Products

Top 5 Problems Ford E-250 Van 4th Generation 1992 - Present
This video discusses the top problems with the 4th generation Ford E series van, model years 1992 to present.
