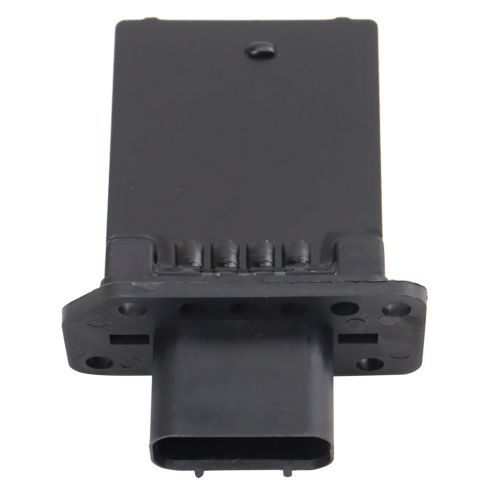
How To Replace Blower Motor Resistor 2007-17 Ford Expedition
Created on: 2020-12-09
This video shows you how to install a blower motor resistor yourself in your 2007-2017 Ford Expedition.
Tools needed
-
8mm Socket
Ratchet
Okay, friends. To get started on our blower motor resistor, let's go ahead and open up our glove box, squeezing on the sides that way there these tabs release. Looking behind here, you're going to be able to see your blower motor resistor. You can either try to access this right through up here or, of course, you can try to come underneath the dash which is pretty easy as well. I'm just going to them squeeze on the little tab. I'll draw this off of here and now I'll show you what tab I'm talking about. Right here where my index finger is the tab, you squeeze that and pull it away and it releases. At this point, we have a nice clear view of our resistor. You have a mounting bolt right here on the lower aspect of it closest to us. And then on the upper aspect, right over here farthest away. Remove both of those 8-millimeter headed bolts. There we are we are. Grab that resistor, take it right out of there. There it is, friends.
All right, friends, now it's going to be time to install our brand new blower motor resistor. Looking at the front, you can tell that there's an area that has a slash out on one of the corners. As we install this resistor, we want to go on in just like this so the slash on the top facing towards us. So carefully slide this right in. It should want to line up with the pitons that are there. We'll start in both of the bolts and then we'll snug them up. Okay. That's bottomed out. You don't want to go too much further than when it's bottomed out only because the screw is actually going directly in the plastic. If you go too tight, you could strip it. Bottomed out a teeny bit more. Now, let's go ahead and connect this in. There we are. At this point, go ahead and close this up by squeezing the two pieces together. All right. Now, all you have to do is test your blower motor on all speeds.
Shop Products

Ford Mazda Lincoln Mercury Blower Motor Resistor TRQ HCA40068
Part Details:
- Highest Quality Materials
- Quality Tested - built to a strict level of product standards.

How to Replace Blower Motor Resistor 2002-06 Nissan Altima
How to repair, install, fix, change or replace a bad or broken blower motor fan speed resistor on 02, 03, 04, 05, 06, Nissan Altima.


