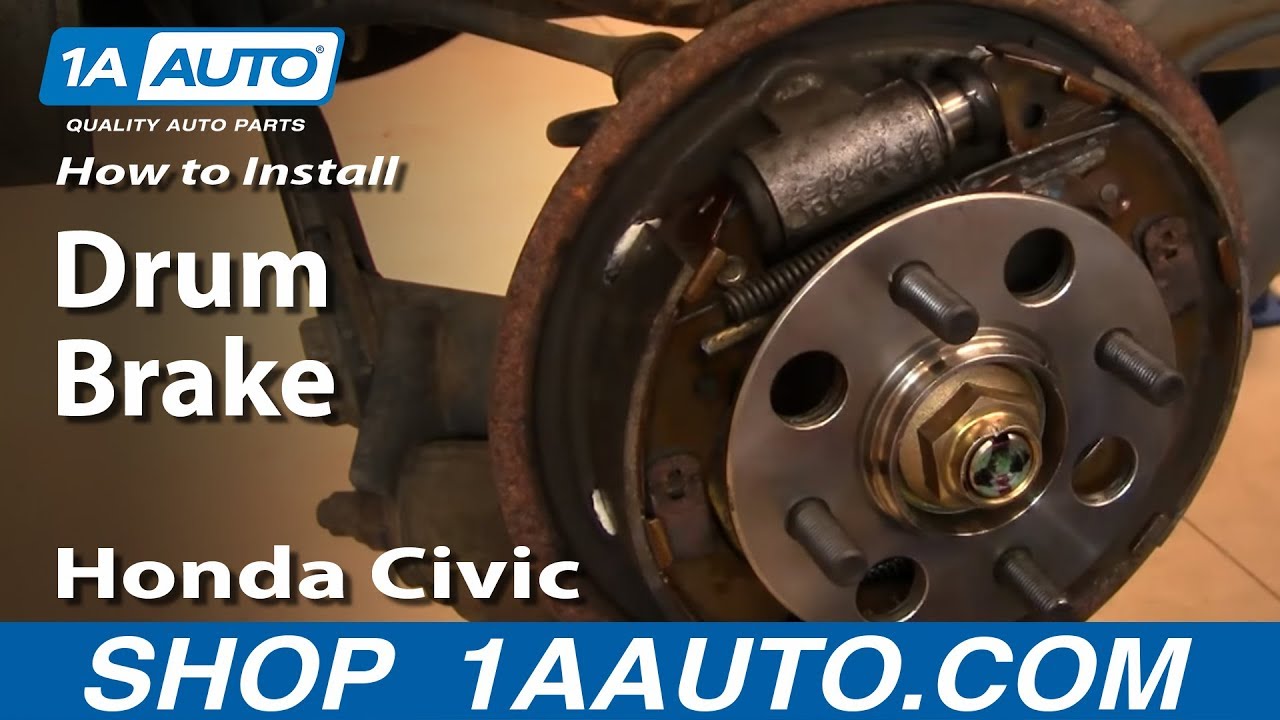
How to Replace Brake Kit 2001-05 Honda Civic
Created on: 2012-07-21
If your 01-04 Honda Civic needs a rear drum brake service, watch this video to learn how to do it yourself with expert guidance from 1A Auto
-
step 1 :Removing the Wheel
- Loosen the lug nuts with the vehicle on the ground
- Raise the vehicle with a floor jack
- Secure the vehicle on jack stands
- Remove the lug nuts
- Pull of the wheel
-
step 2 :Removing the Brakes
- Pull off the brake drum
- Remove the springs with locking needle-nose pliers
- Push the piston in by hand and lock the rubber in place
- Remove the tabs with the pliers
- Pull the brake shoes apart
- Remove the front brake shoe
- Remove the separator bar
- Pull the rear brake shoe off the emergency brake cable
- Remove the emergency brake lever from the rear brake shoe
-
step 3 :Installing the Brakes
- Connect the emergency brake lever to the new rear brake shoe
- Attach the rear brake shoe to the emergency brake cable
- Apply white grease to the contact areas on the backing plate
- Put the rear shoe into place
- Insert the tab
- Make sure the separator bar adjusts freely
- Insert the separator bar
- Attach the front shoe to the rear shoe via the spring
- Put the front shoe into place
- Insert the tab
- Reattach the springs with the pliers
- Slide the brake drum on
-
step 4 :Reattaching the Wheel
- Slide the wheel into place
- Put the hub cap on
- Start the lug nuts by hand
- Tighten the lug nuts preliminarily
- Lower the vehicle to the ground
- Tighten the lug nuts to between 100 foot-pounds in a crossing or star pattern
- Reattach the center cap
-
step 5 :Testing the Brakes
- Pump your brakes repeatedly until they feel firm
- Test your brakes at 5 miles per hour and then 10 miles per hour
- Road test the vehicle
Tools needed
-
A Piece of Pipe (for leverage)
Torque Wrench
Jack Stands
19mm Socket
White Grease
Lug Wrench
Ratchet
Floor Jack
1/2 Inch Breaker Bar
Brought to you by 1AAuto.com, your source for quality replacement parts and the best service on the Internet.
Hi, I'm Mike from 1A Auto. I hope this how-to video helps you out, and next time you need parts for your vehicle, think of 1AAuto.com. Thanks.
In this video we're going to show you how to remove and reinstall the rear brakes on this 2003 Honda Civic, pretty much the same as any 2001 to 2005 Civic with the rear drum brakes. The brakes are actually pretty good in this vehicle so we just show you how to take them apart and put them back together. We do one side. Obviously, you always want to replace your brakes in pairs.
The tools you'll need are a jack and jack stands, a tire iron, or a 19mm socket with a breaker bar, or even you could use your ratchet with a piece of pipe for some leverage just to get the lug nuts started, some needle nose locking pliers, and a torque wrench.
These lug nuts are 19 millimeters. You can either use a socket with a breaker bar or your tire iron. If you don't have the benefit of air tools, you'll want to start with your wheel on the ground. We'll loosen the lug nuts first. Then raise and support your vehicle and remove the wheel and tire. Just speed it up here as I remove the wheel and tire. Hopefully, your brake drum will come right off.
You see these springs right here, now there are special tools that you can use to get these apart. If you own a garage and work on cars all the time, it might make sense, but it also could make sense to buy a tool like this that has many uses. It's a locking jaw or vice grip pliers that has kind of a needle nose to it. Get it in there, lock it onto that spring, pull the spring over and release it. There's also a spring right here that's much easier. Pull it down and release it. Before you go too far, push your piston back in here and just lock this rubber boot back on. Just kind of pry it and pull it up and over. Pull it up and over, and then just kind of rotate it around as you push it right on. Change the size of your pliers here. You push on this little tab. Push it in, twist and let that out. Do the same thing on this side. It should untwist. Let that off. Your front shoe comes off. Rear shoe comes off, and the rear shoe is connected to the brakes here, the emergency brake cable. We just have to take this off. Right down here, your rear shoe is connected to your emergency brake cable. Pull it forward on the spring. Then pull your cable through like that. If you were putting on new shoes, what you would want to do is take this apart here. You basically just spread this clip apart, slip it off and then this arm comes off of the back shoe. You would want to put it onto the new shoe that you install, obviously, and then the reinstallation is just pretty much a reversal of the procedure. It's kind of upside down here. Clip the arm in place. Just slide that right down and in. Put the rear shoe up and in.
Before I go to reinstall that, I use a little bit of white grease right here on these contact points. There's three in the back and three in the front.
I've already got to get my clip on here. Put the shoe up into place and lock that on. This is the separator bar. It's what adjusts so you want to make sure this is all nice and free. This spins on there and that spins easily inside there. That goes right in there. Now you take your front shoe you put the spring on. Put it on down here. This shoe should be pushed right in there and then this one goes in behind. There's a little bracket that's holding the bottoms of them on. Pull our stud back. Make sure this goes into place. Now take your clip for the front shoe and make sure the front shoe is up in place. Hold the pin on the back side of the backing plate and then push the clip in and turn it. Rotate it with the pliers to lock it on.
Now you want to push these together. This little bracket goes right in there. I'll just show you that bracket from the other side so you can see. We'll put that there and stretch it right across. Put it in there. Make sure you push it right in. This spring goes right in. It goes on there and down into there.
Reinstall the rear brake drum. Then really kick it into high gear as I put the wheel on. Then on this vehicle you put the hub cap on, start the lug nuts and then preliminarily tighten them with either your ratchet or in this case my impact wrench. Then I'll torque them when the vehicle is on the ground. Then once the vehicle is on the ground, then torque your lug nuts to 100 foot pounds kind of using a crossing pattern as you go. Last, but certainly not least, always make sure you pump the brake pedal a bunch of times. Firm it up. Make sure the brakes are working correctly before you road test the vehicle.
We hope this helps you out. Brought to you by www.1AAuto.com, your source for quality replacement parts and the best service on the Internet. Please feel free to call us toll-free, 888-844-3393. We're the company that's here for you on the Internet and in person.
Shop Products


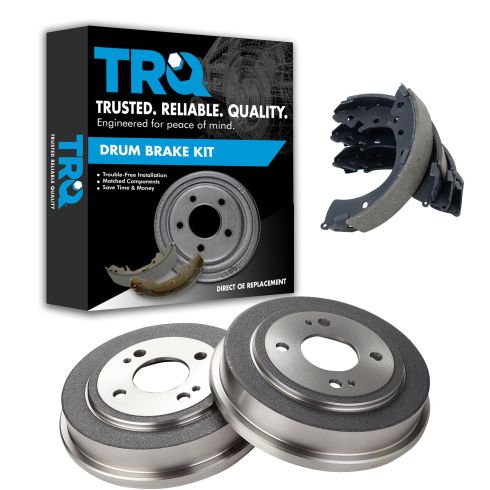
Honda Accord Civic FIT Rear Brake Shoe & Drum Kit TRQ BKA10466
Part Details:
- (1) Rear Brake Shoe Set
- (2) Rear Brake Drums

1A Product Review 2001-05 Honda Civic Rear Brakes
1A Auto reviews rear brakes for 2001, 2002, 2003, 2004, 2005, Honda, Civic available on 1aauto.com
