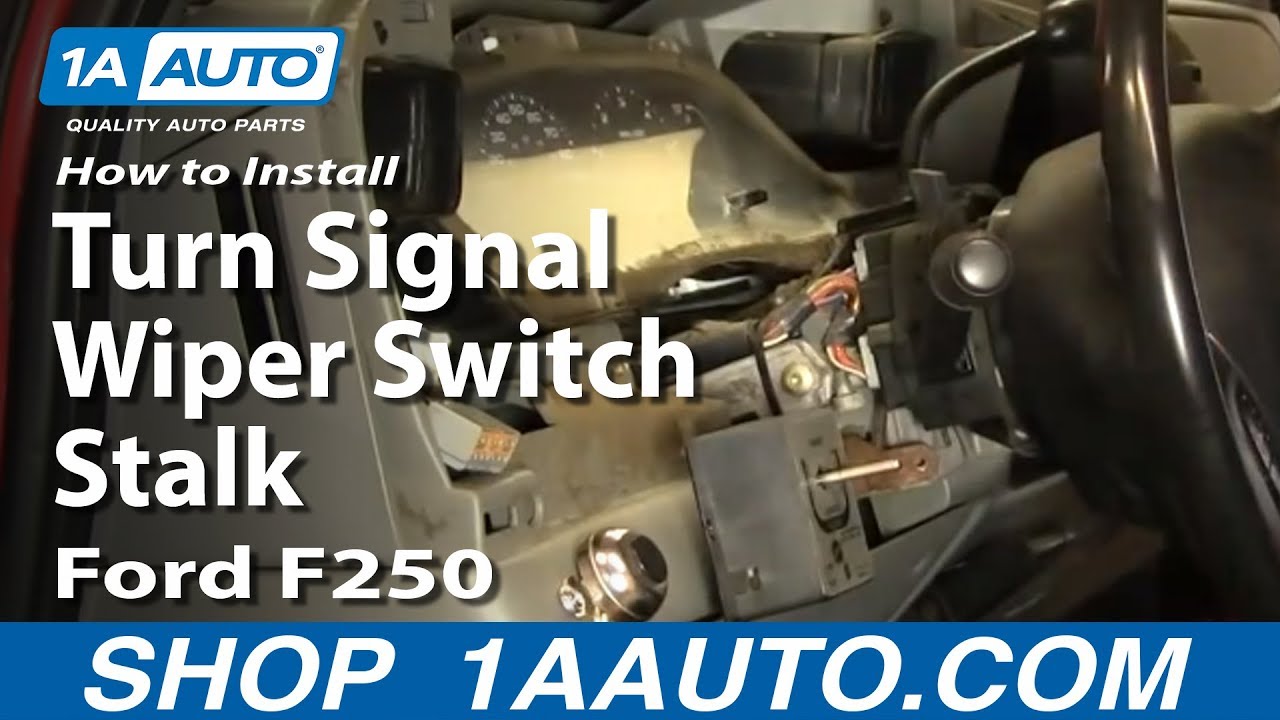
How to Replace Combination Switch 2002-07 Ford F250 Super Duty Truck
Created on: 2011-11-30
Watch this 1A Auto video to learn how you can replace the combination switch on your 02-07 Ford F250 Super Duty.
-
step 1 :Disconnecting the Battery
- Use an 8mm wrench to disconnect the negative battery cable
-
step 2 :Removing the Dash Trim
- Pry out the headlight switch with a flat blade screwdriver
- Disconnect the wiring connections from the headlight switch
- Unsnap the dash trim
- Move the shifter down
- Undo the cigarette lighter wiring connector and the airbag switch connector
- Disconnect the antenna wire from the radio
- Disconnect the radio wiring connection
- Pull off the dash panel
- Remove the radio from the dash panel
-
step 3 :Removing the Steering Column Trim
- Use the Torx driver to unlock the lock cylinder locking pin
- With the key in the on position push the lock cylinder in
- Remove the lock cylinder
- Remove the steering wheel tilt lever with an adjustable wrench
- Remove the three Phillips head screws from the lower steering column trim
- Pull off the lower steering column trim
- Pull off the upper steering column trim
-
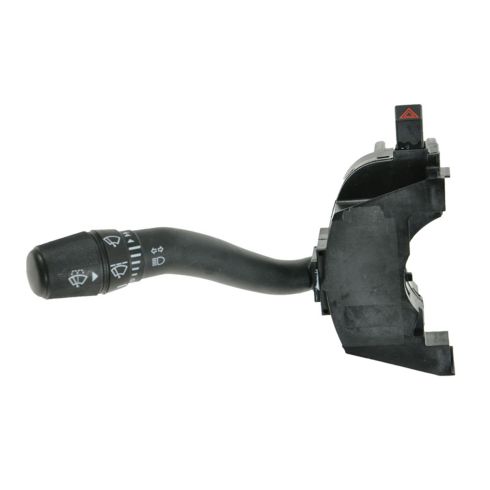
step 4 :Removing the Multifunction Switch
- Remove the two T20 Torx screws from the multifunction switch
- Pull the switch free of the steering column
- Disconnect the wiring connectors
-
step 5 :Installing the New Multifunction Switch
- Connect the wiring connectors to the new switch
- Put the switch in place
- Insert the two T20 Torx screws
-
step 6 :Reinstalling the Steering Column Trim
- Put the upper steering column trim panel in place
- Put the lower steering column trim panel in place
- Snap the steering column trim together
- Insert the three Phillips head screws in the lower steering column trim
-
step 7 :Reinstalling the Dash Trim
- Put the dash panel into place
- Reconnect the airbag switch connector and the cigarette lighter connector
- Loosen the two 7mm bolts in the radio outlet
- Push the panel on
- Tighten the two 7mm bolts
- Connect the wiring connector to the radio
- Connect the antenna wire to the radio
- Slide in the radio
- Connect the wiring connectors to the headlight switch
- Slide the headlight switch in
- Insert the ignition lock cylinder with the locking pin on the bottom
-
step 8 :Reconnecting the Battery
- Reconnect the negative battery cable
Tools needed
-
Adjustable Wrench
Flat Blade Screwdriver
T20 Driver
Phillips Head Screwdriver
8mm Wrench
7mm Socket
Ratchet
Brought to you by 1AAuto.com, your source for quality replacement parts and the best service on the Internet.
In this video, we're going to show you how to replace the multi-function switch, which is the turn signal, high beam and wiper switch on this 2003 F250, same as most of the super duty trucks from this era.
Tools you'll need are an 8mm wrench, a flat blade screwdriver, a Phillips screwdriver, T20 Torx driver.
With the eight millimeter wrench, disconnect your negative battery cable.
With a flat blade screwdriver the switch just pulls out. There's two connections. Press a tab here and then tab there, disconnect. You going to want to put your finger nails or grab a hold of your dash and pull it back. It just unsnaps. From this side, put your shifter down. Pull out and there are two connectors, one for your cigarette or power outlet here. There's a little tab on the inside of that. You disconnect this one here and if you look, you want to press on the tab right there. This up here just has a tab right on top. It unplugs quite easily.
Pull your dash up and radio out. Disconnect the antenna, and then the tab on the bottom of your radio connection, pull that out. Pull this panel out. To make reinstallation easier, there are two clips on the side of your radio. You push them in and your radio slides right out. You're going to want to remove your lock cylinder. You need to use a Torx, wrench, or something that has a flat tip on it. There is a hole right underneath your key. Feel in for the spot on the block cylinder. With key in the on position, just push up and the key comes right out.
You can use a small adjustable wrench to remove your tilt level. Underneath there are three Phillip screws. There's one in there, one in there, and then one right up in there. There's two indentations on that tilt lever. You can hook a wrench on them and loosen it, and then removing the three screws, the third screw is in the hole that's closest to the steering wheel, pops down, pull this out and off. There's two T20 screws: one there and then one right up under here. Just speed up here as I remove those two T20 Torx screws. Now you can pull your switch off. This tab on top here, disconnect that, and then a tab on the inside of this other connection take that off.
There's your switch out. On this new switch from 1A Auto, all the graphics are nice, and it's going to work correctly. You might also see that we cleaned up behind our panel a little bit. It's going to plug in exactly the same. Put the lower one in and then the upper one. Put the switch in place. Just speed it up again here as I put those two mounting screws for the switch back in place and tighten them up snug. You don't want to over tighten them, though.
Now you want to put your top panel in place. Pull it down and around the ignition switch. The bottom one drops in. It kind of snaps together on this side, a little bit. Make sure it snaps together correctly on this side. I hit fast-forward here as I just put those three Phillips screws back in to hold that together. Put this preliminarily in place. Connect your air bag switch over here and your power outlet.
In the top of the radio opening, there are two 7mm bolts you'll want to loosen up. That allows the panel to slide right on. You don't want to tighten these too much because you want to be able to get the panel off again but you want to make them seated so nothing rattles. Take the radio and plug the harness in, plug our antenna in, and make sure it gets onto the track, slide that in, plug in the harnesses. Make sure it lines up. This pin goes on the bottom. Make sure it can go in, so you might have to hold it and turn it a little bit. When that pin pushes down put it in. You have to twist it a little bit and you're all set. Then reconnect your negative battery cable.
We hope this helps you out. Brought to you by www.1AAuto.com, your source for quality replacement parts and the best service on the Internet. Please feel free to call us toll-free, 888-844-3393. We're the company that's here for you on the Internet and in person.
Shop Products

How to Replace Turn Signal Switch 1997-2006 BMW 325Xi
Check out this video to learn how to replace the turn signal switch on your 97-06 BMW E46 model.
