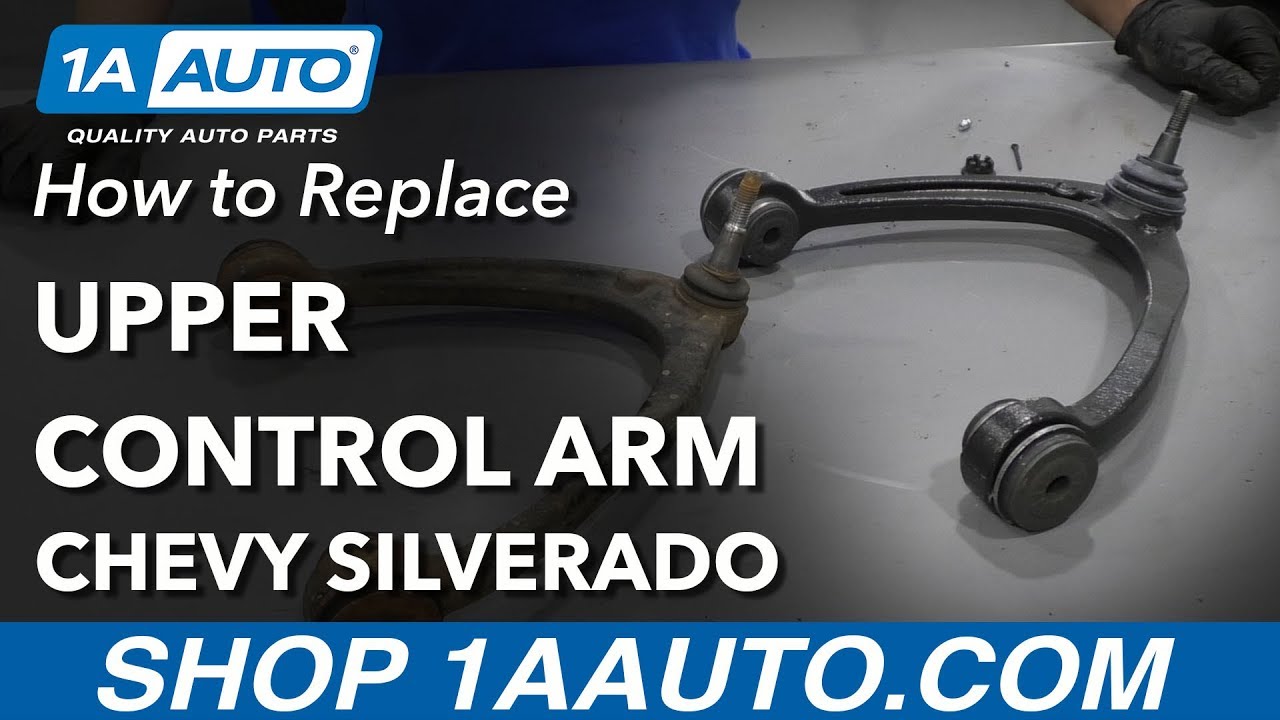
How to Replace Control Arm with Ball Joint 2007-15 Chevy Silverado 1500
Created on: 2018-12-06
How to repair, install, fix, change or replace failing, rusted, rotted, or damaged control arms with ball joint on 07, 08, 09, 10, 11, 12, 13, 14, 15 Chevy Silverado 1500
-
step 1 :Removing the Wheel
- Pry off the hubcap
- Remove the 22 mm lug caps
- Remove the center cap
- Loosen the 22 mm lug nuts
- Raise and support the vehicle
- Remove the lug nuts
- Remove the wheel
-
step 2 :Removing the Control Arm
- Pry off the ABS wire retaining clip
- Disconnect the ABS electrical connector
- Pry open the ABS retaining clamp and remove the ABS wire
- Remove the 10 mm bolt securing the brake hose to the lower control arm
- Remove the brake hose bracket
- Remove the 19 mm nut securing the upper control arm ball joint
- Separate the upper control arm ball joint from the knuckle with a pickle fork
- Remove the 21 mm nut from the 21 mm bolt at the front control arm bushing
- Remove the 21 mm nut from the 21 mm bolt at the rear control arm bushing
- Hammer to loosen the two 21 mm control arm bushing bolts
- Remove the two 21 mm control arm bushing bolts, taking note of their orientation
- Remove the upper control arm
-
step 3 :Installing the Upper Control Arm
- Insert the upper control arm bushings into place
- Insert the two 21 mm upper control arm bolts into place, making sure to return them in the same orientation
- Tighten the 21 mm nuts onto the two 21 mm bolts
- Torque the 21 mm nuts at ride height to 140 ft-lb
- Insert the upper control arm ball joint into the knuckle
- Torque the 18 mm castle nut to 37 ft-lb
- Tighten the castle nut further to align the pin hole, if necessary
- Insert the cotter pin and peen it over
- Install the grease fitting into the ball joint
- Replace the brake caliper hose bracket and secure it with the 10 mm bolt
- Replace the ABS wire into the retaining clamp
- Reconnect the ABS electrical connector
- Replace the ABS wire retaining clip
- Fill the ball joint with grease using a grease gun
- Use a grease gun to
-
step 4 :Installing the Wheel
- Slide the wheel onto the lugs
- Tighten the 22 mm lug nuts
- Lower the vehicle to apply minimal weight to the wheel
- Torque the 22 mm lug nuts to 140 ft-lb in a crossing pattern
- Lower the vehicle completely
- Replace the center cap, lug covers, and wheel cover
Tools needed
-
Pickle Fork
21mm wrench
Hammer
Socket Extensions
Flat Blade Screwdriver
Torque Wrench
19mm Wrench
Ratchet
Grease Gun
Trim Tool Set
1/2 Inch Breaker Bar
Complete Metric Socket Set
Hi, I'm Mike from 1A Auto. We've been selling auto parts for over 30 years.
What's up, guys? I'm Andy from 1A Auto. Today I'm going to show you how to install this upper control arm on this 2008 Chevy Silverado work truck. If you need these parts or other parts for your vehicle, click the link in the description, and head over to 1AAuto.com.
I'm going to take a pry bar and take this hubcap off first. Go around here. Just pry it off. There you go. Pull that off. Set it aside. I'll take a 22 mm socket. I'm going to loosen up these lug caps. Loosen those off. Take the center cap off. And I'll take a breaker bar and a 22 mm socket, and loosen up these lug nuts. Now that all those are loosened up, I'm going to go to the other side and do the same.
Now I'm going to raise and support the vehicle. We're using a two post lift. If you're doing this at your house, you can use a jack and jack stands. I'll take these lug nuts off. Once we get those lug nuts off, just take the wheel off. We're going to disconnect this ABS harness. Just take a trim tool to get underneath here. Slide that up. Disconnect the connector. We want to push down on this little tab. Slide it out like that. Now I'll take a straight blade screwdriver. I'm just going to get in here to release this. It's easier to release it right here and just take the harness off like that, versus using a trim tool. You can do it that way, but it's just easier to do it this way. Set that aside.
We want to disconnect this bracket right here. This is for the brake hose. We'll use a 10 mm socket and a ratchet. Loosen up this bolt. Take that bolt out, and then we can grab the bracket. Slide it up. Set it aside. Now we're going to take this nut off. Loosen it up with a 19mm wrench. You're going to take a socket and a ratchet. Just loosen it up. It's a little bit easier. Oops.
Before I take this nut off completely, I'm just going to keep it on there a couple threads, because I want to break it free from the knuckle, break the upper ball joint from the knuckle. You can use a pickle fork to try to get in between here, and break it free with a hammer, or just slide it into position and then hit it with a hammer. And that popped free, which is good. And having the nut there prevented anything from sliding out too quick.
Now I can push down on this control arm and then pull the nut off, then slide it out just like that. This knuckle is just going to stay in that position or now. I'm going to take these nuts off. I'm just going to use some rust penetrant before I try to loosen them up. Just get it on the nuts. Now I'm going to use a 21 mm wrench. I'm going to go on the inside of this bolt, and a 21 mm socket and a breaker bar. I'm going to loosen up this nut.
Once it's pretty loose, then I can switch to a ratchet. We're going to do the same with the other side. Put a wrench on this bolt right there, and take a 21 mm socket and a breaker bar. Loosen up this nut. Take that nut off. Then you get a straight blade screwdriver and pry under here. Someone actually put this cam adjuster on backwards. This normally would look different. Now I can take this cam adjuster out. Keep in mind the direction these come off. Like I said, this one was backwards. This one should have been this way, should come out like that.
I'll take the other side out and just give this a little tap. This one's on there correctly. This little plastic thing is just to ... So when they install it from the factory, these normally get taken off when there's an alignment done so that they can make the adjustments. Now we're going to take these bolts out. Make sure the knuckle doesn't pull on the caliper hose too much. Just slide it into position where it just sits there. I'm going to take this bolt out. Slide the adjuster. If you slide the upper arm all the way back, it's easier to get the bolt out.
So I'm trying to slide the cam adjuster down the bolt as I slide the bolt out just like that. So we'll set that aside. Make sure you keep it where this one was the backside and that one is the front side. You don't want to get them mixed up. It's almost making it past the spring. Just wiggle it back and forth. I'm going to try to get a bigger pry bar in here and spread the spring a little bit. There we go. Once it got past the head of the bolt, then it's able to slide out like that. Slide that out. We can grab the upper control arm and just pull it right out.
Here's our old part. Here's our new upper control arm from 1AAuto.com. As you can see, the shape is the same, has the same bushings. The new one actually comes with a grease fitting, so it is greasable to make sure it lasts longer. Flip it over. The stud is in the same position. It comes with a new nut. You're going to take this nut off, and there's actually a cover. This is just for shipping purposes. Take that off, and it does come with a cotter pin. Get yours at 1AAuto.com, and you'll be ready to rock and roll.
I'm going to take the new upper control arm, slide it into position. I'm going to have to work it back and forth a little bit. You can take a hammer and just give it a tap. That's good. We'll take this bolt and we'll get this one started. I'll just do this. I'm going to use a pry bar and a hammer. Just try to tap the bolt further back into the slot. Further back I go, the easier it will be to get past that spring. And we got that bolt in. We want this cam, this slot on the cam, to go over that little pin, this. So we're going to pry this out a little and slide it up, and then put that back into position just like that. We'll do the same for the front one.
All right. So we got that bolt all the way through. I'll slide this cam back over that little pin right there just like that one. Now I'll take this outer cam. This is going to go on the outside. And I line this up where this plastic goes over that pin. So you may have to pull this out a little bit, because from the factory they align that pin up with that plastic. So there's a little hole there. So line that pin up with that hole just like that. And I'll take the two nuts. Put them up there.
Take my 21 mm wrench, stick it on the bolt on the inside. And then I'll take the 21 mm socket and ratchet, tighten up this nut on the outside. I'll just snug it for now. Actually, not too snug because I still want to be able to move this. I'll do the same with the backside. And snug that, not too tight because you still want to move this. All right.
At this point it's easier to torque these bolts, but I want this arm to be about where it would be at normal ride height. So if you have the ability to put the tire on and put this back together and then re-torque it, that would be ideal. But if you can estimate where ride height would be, take the 21 mm wrench, take the 21 mm socket. We're going to torque this nut to 140 foot-pounds.
We'll do the same with the backside. Take this, pull the knuckle into position. I'm going to use a pry bar to pry down on the upper control arm. Then I'll take the nut. Get this started on the ball joint. Be careful not to slip. All right. Then I'll start to tighten this down with a 18 mm socket and a ratchet. Now I'm going to use a torque wrench and the same 18 mm socket. We're going to torque this to 37 foot-pounds. We'll take a cotter pin. I'm going to try to line it up.
If the castle nut doesn't line up with the hole, you can tighten it a little more. This doesn't line up too well, so just tighten it a little more until the hole lines up. Line that up. Now I'll take some side cutters, and I'm just going to bend the cotter pin down, just like that. You can cut it right there, and then just trim it right here, just like that.
I'm going to install the grease fitting. Just get this lined up. Get it started. Let's just take a 7 mm wrench and just snug this up, not too tight. That's good. Now I'm going to install this brake caliper hose bracket. Just get that in position. Take a 10 mm bolt, get that started. I'm going to use my 10 mm socket and ratchet. Just snug that up. Reposition this ABS wiring harness into this little plastic clip, and then lock it in place. Reconnect the wiring harness here. Click it in, and then put it back into the holes and lock it down.
Now I'm just going to grease this. Take a grease gun. Put it on the grease fitting. Give it a couple pumps. Do a couple more pumps. All right. I like to do it until I see the boot move a little bit so that at least I know the grease made it down below. Now remove the grease gun. Slide the wheel over the lug studs. Put the lug nuts on. I'm going to use a torque wrench and a 22 mm socket, and we're going to torque these down to 140 foot-pounds. We're going to torque them in a star pattern. That's going to tighten the wheel down evenly. Those are good.
Now I'm going to install the center cap. I'll use the socket, the same 22 mm socket, and just snug these down by hand. You really don't want to tighten these because they're plastic. They'll end up breaking. Now we're going to take this outer hubcap and we're going to line this valve stem area up right there, and just push it on.
Thanks for watching. Visit us at 1AAuto.com for quality auto parts, fast and free shipping, and the best customer service in the industry.
Shop Products


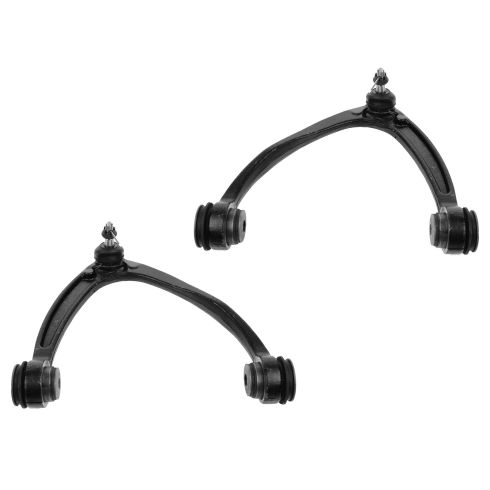
Chevrolet GMC Cadillac Front Driver & Passenger Side 2 Piece Control Arm with Ball Joint Set ACDelco ACSFK00002
Part Details:
- 2 Piece
- (1) Front Passenger Side Upper Control Arm with Ball Joint
- (1) Front Driver Side Upper Control Arm with Ball Joint

How to Replace Front Lower Forward Control Arm 2006-10 Dodge Charger
This video shows you how to install a new made to fit front lower forward control arm on your 2006-10 Dodge Charger.
