How to Replace Crankshaft Position Sensor 1998-2011 4-0L V6 Ford Ranger
Created on: 2016-12-14
This video will show you how to replace the crankshaft position sensor on your 98-11 Ford Ranger. 1A Auto will show you how, step by step.
-
step 1 :Removing the Crankshaft Position Sensor
- Remove the two 8mm bolts from the crankshaft position sensor
- Pull the sensor forward
- Compress the wiring harness safety ring
- Disconnect the sensor wiring harness
- Pull out the sensor
-
step 2 :Installing the Crankshaft Sensor
- Put the crankshaft position sensor into place
- Insert the two 8mm bolts for the sensor
- Connect the wiring harness
- Snap on the safety ring
Tools needed
-
1/4 Inch Ratchet
Socket Extensions
8mm Socket
Ratchet
Hi, I'm Mike from 1A Auto. We're dedicated to delivering quality auto parts, expert customer service, fast and free shipping, all backed by our 100% satisfaction guarantee. Visit us at 1AAuto.com, your trusted source for quality auto parts.
In this video, we're going to be working with our 2001 Ford Ranger 4.0 liter V6. We're going to show you how to remove and replace your crank position sensor, which, if faulty, can cause the vehicle to shut off when running if it fails while driving or if it fails while parked could prevent you from starting your vehicle at all. If you like this video, please click "subscribe." We have a ton more information on this truck as well as many other makes and models. If you need this part for your vehicle, you can follow the link down in the description over to 1AAuto.com. Here are the items you'll need for this repair.
Your crank position sensor is located at the back of your crank pulley, which is down here at the bottom of the motor just below the fan pulley on the water pump. The crank position sensor is actually located on the passenger side of this pulley. It's removed from the bottom, but we're going to remove all of this stuff at the top here to make it easier for you to see what we're doing. We've removed the bottom radiator cover, fan, and fan shroud to make it a little easier to show you what's going on. The crank position sensor has two eight millimeter bolts: one at the bottom and one up at the top here. We'll remove these with an eight millimeter socket ratchet and extensions. Remove the sensor, give yourself a little more room to get to the electrical connector on the back, which has this metal safety ring you'll have to compress before you can remove the sensor. Remove the sensor from the vehicle.
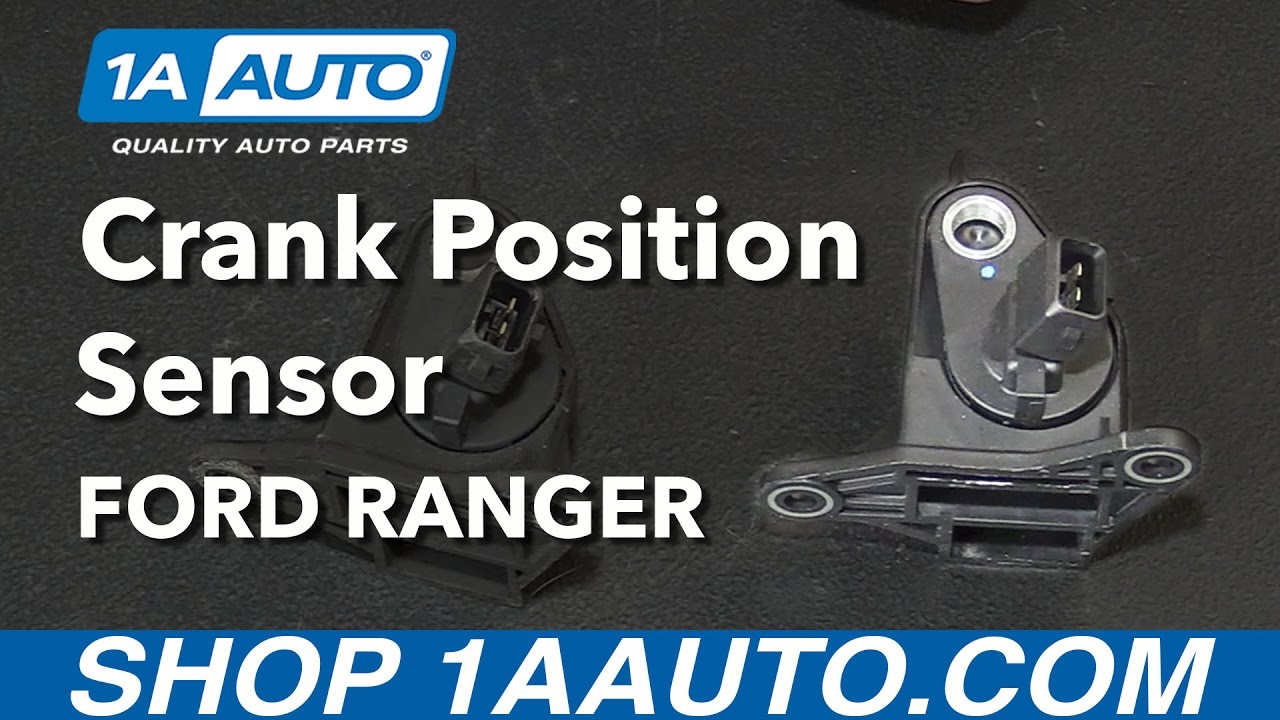
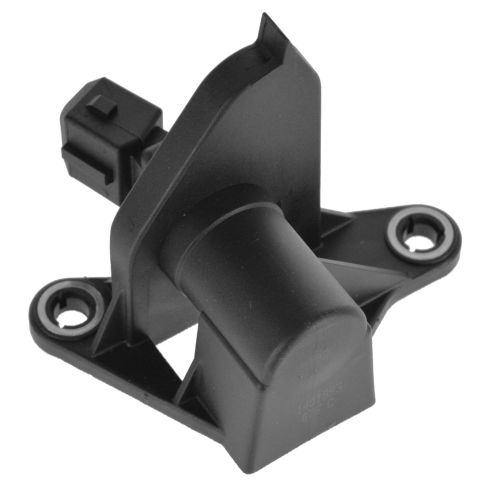
Here we have our old part that we removed from our vehicle and our new part from 1AAuto.com. As you can see, these parts are exactly the same. We have the same two bolt mounting flange, we have the same sensor on the end here. It's actually inside of this plastic housing. The sensor sits down into it here, but they are the same in there. They also have the same two pin connector on the end along with the same interlock here to make sure that that connector stays aligned and on there firmly. What your crank position sensor does is there's a tone ring or trigger wheel on the back of your crank pulley, which generates a signal when passed by this sensor. That signal translates into where the crank is in its stroke when rotating. This allows the engine to know how fast the motor is rotating as well as what cylinders are in what position to help determine the proper firing order for the injectors and the ignition coils. If this sensor goes out, your vehicle may crank and not start, or if the sensor fails while driving, it may shut down and seem as if the engine won't run. If you have a bad crank position sensor, this new part from 1A Auto is going to go in direct fit just like your original equipment and fix you up right.
Reinstall your crank position sensor along with the two eight millimeter bolts, which you may want to start by hand if possible. They can be a little tough to reach in there. Tighten the bolts back down with your eight millimeter socket and ratchet. These are just plastic, so I'm using a quarter inch drive ratchet here. You just need to get them snug, no need to really crank these on or you could break something. The electrical connector goes with that metal retainer ring at the bottom, pop it in until it locks on. Make sure it's on there nice and tight, and you're good to go.
Thanks for watching. Visit us at 1AAuto.com for quality auto parts, fast and free shipping, and the best customer service in the industry.
Shop Products

How to Replace Crankshaft Position Sensor 2001-07 Toyota Highlander L4 2-4L
This video has steps to remove the serpentine belt, alternator, and wheel to access and replace the crankshaft position sensor

