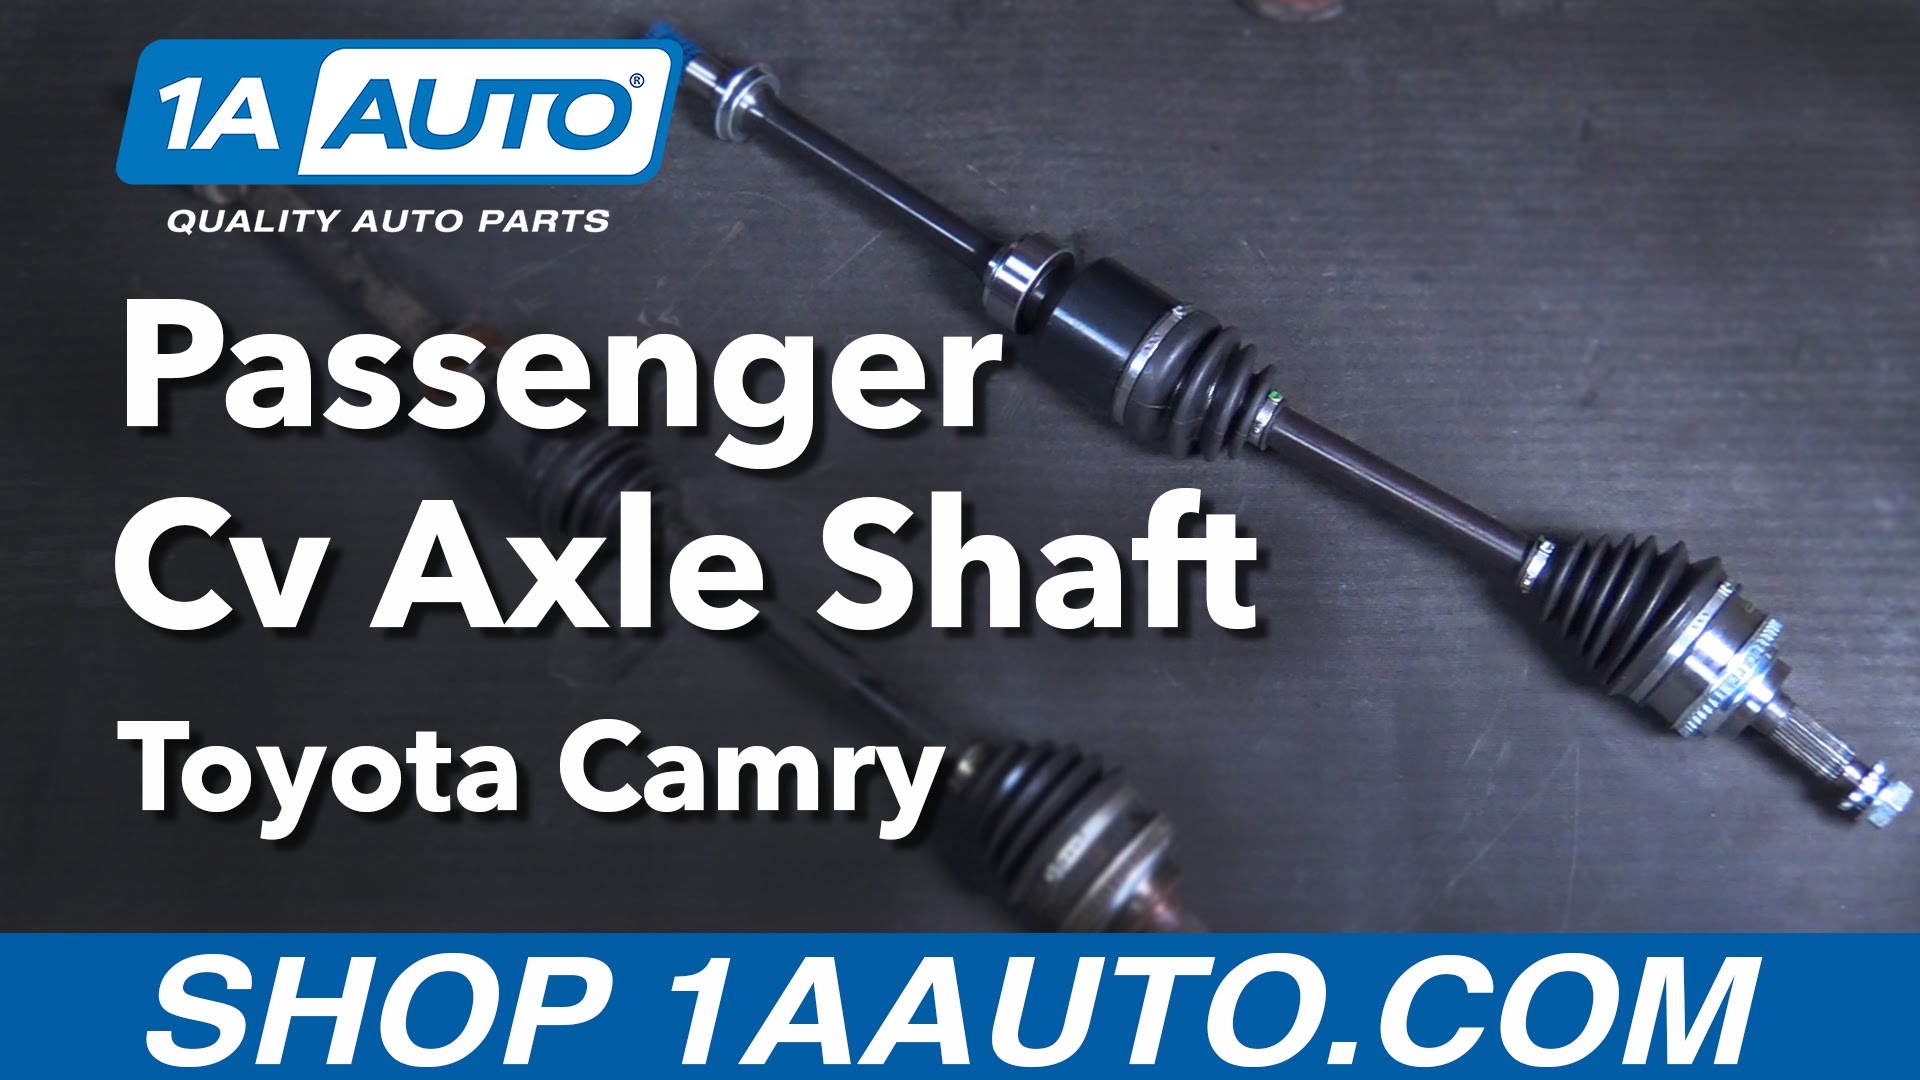
How to Replace CV Axle Passenger Side 1992-2001 Toyota Camry
Created on: 2016-09-21
Learn how to replace the CV axle shafts on your 92-01 Toyota Camry. 1A Auto shows you how in this video.
-
step 1 :Removing the Wheel
- Loosen the 21mm lug nuts with the vehicle on the ground
- Raise the vehicle with a floor jack near the pinch weld
- Secure the vehicle on jack stands at the unibody frame rail, and place it just ahead of the lower control arm on the rear
- Repeat the process for the other side so the vehicle is level
- Remove the hub cap
- Remove the lug nuts
- Pull off the wheel
-
step 2 :Removing the Axle Nut
- Bend the cotter pin straight out with needle nose pliers
- Pull the cotter pin up and out
- Remove the lock cover on the nut
- Hold the hub still with a pry bar
- Break the axle nut socket loose with a 30mm socket and breaker bar
- Leave the nut at the end of the axle
- Hammer the axle out
- Remove the axle nut
-
step 3 :Removing the CV Axle from the Spindle
- Remove the ABS retainer from the spindle
- Break the 22mm strut nuts loose and remove them
- Tap the bolts out of the spindle with a punch and hammer
- Pull the spindle down and out of the strut
- Pull the axle out of the spindle
-
step 4 :Removing the CV Axle from the Differential
- Have a drain pan ready
- Remove the 14mm bolt from the bearing on the end of the axle shaft
- Push together to two tabs from the snap ring
- Insert two pry bars to 3 and 9 o'clock on the axle, applying even pressure
- Carefully work the snap ring out of its holder inside the differential
- Remove the axle from the differential
-
step 5 :Installing the CV Axle to the Differential
- Align the axle splines with the splines in the differential
- Work the axle into the differential
- Insert the snap ring around the CV axle, aligning the ears up
- Tighten the 14mm bearing bolt
- Torque the bolt to 24 foot-pounds
-
step 6 :Inserting the CV Axle to the Spindle
- Line up the splines into the hub
- Start the axle nut on the end of the axle
- Reinstall the 22mm strut bolts to the spindle
- Tighten the nuts to 156 foot-pounds
- Connect the ABS retainer
-
step 7 :Installing the Axle Nut
- Tighten down the axle nut with a 32mm socket and ratchet
-
step 8 :Reinstalling the Wheel
- Slide the wheel into place
- Start the lug nuts by hand
- Tighten the lug nuts preliminarily
- Lower the vehicle to partial weight on the ground
- Tighten the lug nuts to 76 foot-pounds in a crossing or star pattern
- Lower the jack
- Torque the axle to 217 foot-pounds
- Reinstall the lock cap and new cotter pint to the axle nut
- Reinstall your hubcap
Tools needed
-
12mm Socket
Torque Wrench
Hammer
Pry Bar
Jack Stands
21mm Socket
32mm Socket
Center Punch
Drain Pan
Ratchet
Floor Jack
Needle nose pliers
22mm Socket
Brought to you by 1AAuto.com, your source for quality replacement parts and the best service on the Internet.
Hi, I'm Mike from 1A Auto. I hope this how-to video helps you out, and next time you need parts for your vehicle, think of 1AAuto.com. Thanks!
In this video, we're going to be working with our Toyota Camry 2.2-liter inline-4. We're going to show you how to remove and replace your old CV axle on the passenger side.
If you like this video, please click subscribe. We have a ton more information on this car, as well as many other makes and models. If you need this part for your vehicle, follow the link in the description over to 1AAuto.com.
Here are the items you'll need for this repair: 12-32mm sockets, ratchet, socket extension, torque wrench, needle nose lock pliers, flat punch, hammer, breaker bar, drain bucket, jack and jack stands.
Break all of your lug nuts loose while the vehicle is still on the ground. You're going to need a 21mm socket and a breaker bar. Install your jack under the vehicle. Line it up with the pinch weld. Jack the vehicle up high enough that you can get a stand underneath, making sure you have enough clearance to remove your tire or do whatever you have to do under the vehicle.
Stall your jack stand onto this unibody frame rail under the vehicle. With the vehicle raised and supported, remove your lug nuts the rest of the way. If you need a little more room to work, you can pull the hub cap off, remove your wheel from the hub. We've put our vehicle on a lift to make it easier to film for you, but this job can be easily done with a jack and jack stands.
Remove the cotter pin from the end of the CV axle. You have to straighten it out. Grab the end and work it out of the axle. Remove the lock cap. Insert a pry bar between the wheel studs. I'm bracing mine against the lift, but you can brace yours against the ground on the jack and jack stands when you use the 30 millimeter axle socket and a cheater pipe on a breaker bar to break the axle not loose. Once the axle nut is cracked loose, you can remove it almost fully.
We'll leave our prime bar there for when it gets a little tight on the threads to make sure that it doesn't spin. Place a punch in the center hole of the axle and tap it to release it from the splines. Remove the two strut bolts with the 22 millimeter socket. We're going to use a breaker bar to start and then switch to a ratchet and use a wrench to hold the bolts in place.
You can press in on the hub, squiggle it a little to get the bolts out, and then remove the spindle from the strut. This plastic clip will come off with it, just move that away for now. You can now remove the end of the axle from the hub. Remove this 14 millimeter bolt at the bottom of the barring at the end of your axle shaft, and you use a socket and ratchet. Using a pair of pliers, push together these two tabs on the snap ring and remove it from the bearing. Once it's off the bearing and onto the CV axle, use a pry bar on each side to make sure you put even pressure out on the axle.
You may need to use a large punch and hammer to hit the back of the CV axle until the bearing is free of the bracket. Be sure you have a drain bucket underneath the transmission for any fluid that might come out. Move the axle assembly from the vehicle.
Here we have our old CV axle that we removed from our vehicle and our new part from 1AAuto.com. As you can see, these parts are identical with the same splines and threads. We have the same joints, ABS tone ring, and the same axle shaft length. It comes with the new center bearing here, the same threads and dust boot going into the transmission itself. We also get a new nut and a new lock app for the end. Those should be replaced with any CV axle replacement.
CV axles tend to go bed from torn boots, letting all the grease out and drying up the joint inside or the joint inside going bad for another reason. It can bind or pop. You can also hear a clicking noise when you turn the wheel. These bearings also have the potential to go bad as it's another failure point on the vehicle. Due to the length of this shaft, they had to support it in the middle somewhere. If your CV axle is making noise binding or popping out, this new part from 1A Auto is going to go in direct fit just like your original equipment and fix you up right.
Reinstall the CV axle through the bearing bracket and into the transmission being careful not to score the bearings or splines off of anything on the way in. You may have to rotate it a little to line up and push it into place. Reinstall the snap ring around the CV axle. Make sure you line the ears up on the side. Set the snap ring in and compress it with your pliers. Push it back into the channel.
Reinstall the 14 millimeter bearing bolt for the socket and ratchet and torque the 24 foot-pounds. Reinstall the end of the axle into the spindle. Be sure not to pop the joint out on the inboard side while doing this. Line up the spindle into the strut and start your two 22 millimeter bolts.
Start your two 22 millimeter nuts for the strut bolts. Reinstall the plastic retainer for the ABS sensor line and tighten up the two 22 millimeter bolts for the strut with a socket ratchet and lunch. Torque to 256 foot-pounds. Within the axle nut on by hand, make sure it's fully seated. We'll reinstall our wheel and tire.
Reinstall the wheel and tire. Tighten down the nuts. Put the vehicle onto the ground so you can then torque the axle nut. Check that they're all seated. If you've removed the tire, only lower the vehicle until the wheel touches the ground. With partial weight of the vehicle on the ground, torque your lug nuts to 76 foot-pounds in a cross pattern. Then you can remove your jack the rest of the way. Torque the axle nuts to 217 foot-pounds. Install the walk cap over the axle nut and the new cotter pin. Then the cotter pin around the end of the axle. Reinstall your hub cap and you're good to go.
Thanks for tuning in. We hope this video helped you out. Next time you need parts for your car, please visit 1AAuto.com. Also check out our other helpful how-to and diagnosis videos.
Shop Products


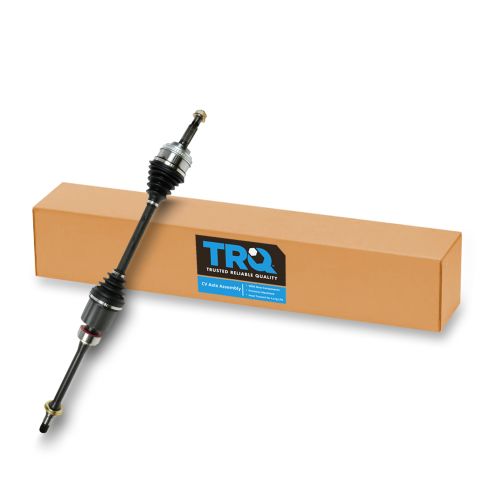
Toyota Camry Solara Front Passenger Side CV Axle Assembly TRQ CSA82160
Part Details:
- 26
- 941 mm
- 37.05 in
- 48
- 20
- Male
- Standard Replacement
- Yes

How to Replace Front Passenger CV Axle 2011-14 Hyundai Sonata
New CV Axle Shaft from 1AAuto.com. How to replace the front passenger CV Axle on the 11-14 Hyundai Sonata.
