How to Replace Dead Battery 2005-10 Chrysler 300
Created on: 2016-12-16
How to locate and remove your battery on 05, 06, 07, 08, 09, 10 Chrysler 300
-
step 1 :Removing the Battery
- Disconnect the negative battery cable with a 10mm wrench
- Disconnect the positive battery cable with a 10mm wrench
- Remove the 10mm battery mounting bolt
- Remove the hold down
- Pull out the battery
-
step 2 :Reattaching the Battery
- Put the battery tray into place
- Insert the hold down
- Tighten the 10mm battery mounting bolt
- Reconnect the positive battery cable
- Reconnect the negative battery cable
Tools needed
-
Socket Extensions
10mm Socket
Ratchet
Hi, I'm Mike from 1AAuto. We've been selling auto parts for over 30 years! We're dedicated to delivering quality auto parts, expert customer service, and fast and free shipping, all backed by our 100% satisfaction guarantee. We've created thousands of videos to help you install our parts with confidence. That saves you time and money, so visit us at 1AAuto.com, your trusted source for quality auto parts.
In this video, we're going to be working with our 2006 Chrysler 300 3.5-liter V6. We're going to show you how to locate, remove, and replace the vehicle's battery.
If you like this video, please click subscribe. We have a ton more information on this car, as well as many other makes and models. If you ever need parts for vehicle, you can follow the link down in the description over to 1AAuto.com.
Here are the items you'll need for this repair: 10mm socket, ratchet, socket extension
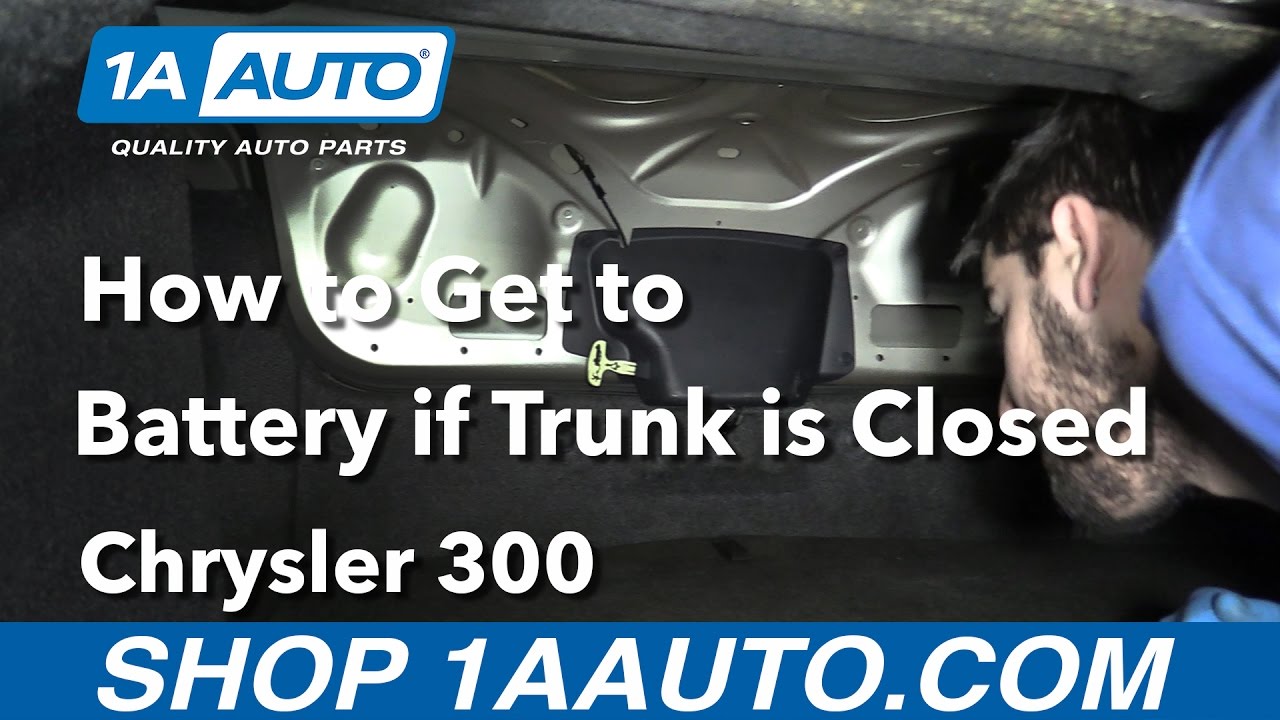
Your battery is located in the trunk. Lift up the cargo cover or the rear carpet here, you'll find our battery underneath.
Using a 10 millimeter socket and ratchet, disconnect the ground for the battery first. Lift up, and hang it out of the way where it won't get damaged. Same 10 millimeter socket over here on the positive side. Loosen that up as well. Remove it. You may have to work these side to side a little to get them to come off.
At the rear of the battery you'll find this 10 millimeter bolt, which we'll remove with a socket, a ratchet, and a long extension. Once the bolt is out remove, that hold down. Normally your battery would have a handle here, but ours is missing, so we'll simply lift up and remove the battery from the tray.
If you have a new battery simply lower it back in. Slide it to the back and into this edge, and you'll see that it hooks in. You can't get it out anymore. Drop your battery hold down back over the opening for the bolt. Reinstall your 10 millimeter bolt with your socket, ratchet, and extension. Just bring that down tight until your battery's nice and secure. Reinstall the positive terminal on the battery first. We'll tighten that down with our 10 millimeter socket and ratchet.
Once the positive side's on, be sure you have your key in hand in case your vehicle has an alarm, because this will set it off. Install the negative terminal. Tighten that back up with your 10 millimeter as well. Make sure your battery terminals are nice and secure and lower the rear carpet back into place. Close your trunk lid.
Thanks for watching. Visit us at 1AAuto.com for quality auto parts, fast and free shipping, and the best customer service in the industry.

Pulley Problems Diagnose Noise Under Your Truck Cars Hood
This video shows you how to diagnose squealing and chattering noises coming from pulleys in your vehicle.
