How to Replace Distributor 1998-2002 Honda Accord
Created on: 2011-06-17
In this video, 1A Auto shows you how to replace the distributor in a 98-02 Honda Accord.
-
step 1 :Removing the Engine Distributor
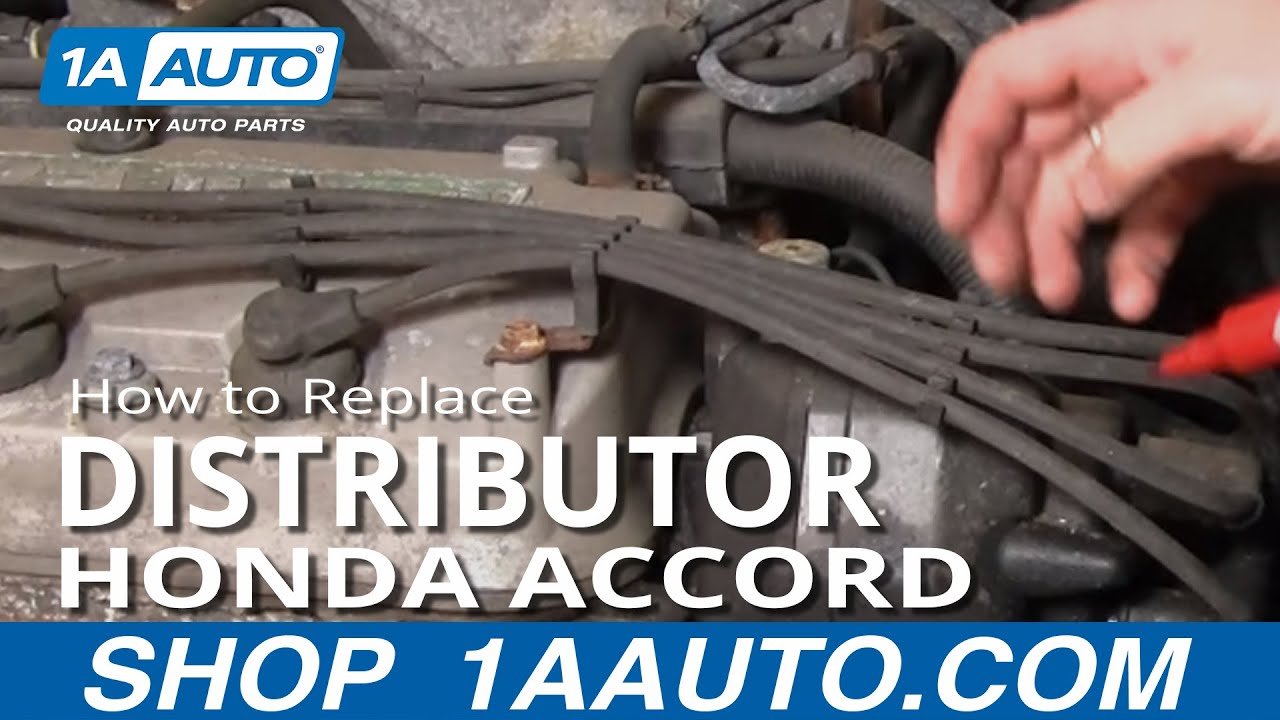
- Mark the spark plug wires for future reference. Mark the top one Number 1. Go around clockwise ending with 4
- Unplug the spark plug wires by turning and pulling them. Push them out of the way
- Remove the 12mm bolt from under the engine distributor
- Separate the lead attached to the distributor by pinching the clip
- Remove the 12mm bolt on the left of the distributor
- Pull the distributor free
- Place a paper towel under the hole to catch any oil
-
step 2 :Installing the New Distributor
- Turn the rotor into the same position as it is on the old rotor
- Line up the distributor and push it into place
- Replace the two 12mm bolts on either side of the distributor. Tighten to 10ft/lbs
- Reconnect the lead
- Reconnect the spark plug wires
Tools needed
-
12mm Socket
Socket Extensions
Paper Towels
Ratchet
Brought to you by 1AAuto.com, your source for quality replacement parts and the best service on the internet. Hi, I'm Mike Green. I'm one of the owners of 1A Auto. I want to help you save time and money repairing and maintaining your vehicle. I'm going to use my 20+ years experience restoring and repairing cars and trucks like this to show you the correct way to install parts from 1AAuto.com. The right parts installed correctly. That's going to save you time and money. Thank you, and enjoy the video.
In this video, we're going to show you distributor removal and replacement on this 2000 Honda Accord with a four cylinder. The only tools you'll need are a 12mm socket and ratchet with an extension and a paper towel to soak up a little bit of oil that drips out.
Okay, first thing I'm going to do is mark these wires, okay? I'm going to start with my top wire. And this is just for my purposes, not necessarily what number they are, but I'm going to make the top one number one, and then I'm just going to go around clockwise. Two for this one that's on the right here. Then the next one down is three. Okay, then this one here I'm going to mark as four. I just mark them one, two, three, four, just going around clockwise. Now I can remove them. It's just turning and pulling. Okay, just kind of get them out of the way here.
Now, the 12mm socket with a ratchet and extension. There's one bolt right down here. Now, we'll just fast forward as we remove that bolt. Okay, our lead is right over here, and we're going to press and just pinch right up at the top. Work it up and down and off. Okay, and our other bolt is right down at the bottom on this side. Again, we'll fast forward as we remove the bolt on the back of the engine. Okay, pull that bolt out, and then our distributor comes right out. When you take the distributor out, you want to be careful not to move the little rotor that comes out of the engine because you're going to use that to preliminarily set your new distributor. So here are our two distributors, the original one, the new one from 1A Auto. Now, in this vehicle, the original one's working fine, so I'm just going to reinstall it. That's why you'll see me reinstalling the dirty one. No reason to put a new part on a car that doesn't need it.
So it's sitting just like I took it out, and you can see that the wheel is positioned, the rotor is positioned this way. Okay, and there's a little mark on this side of it, so we want to take our original. If we were going to replace it, turn the rotor the same way. Okay, there's a mark that marks the side of the rotor. Okay, so basically, point it the same way, and then you would reinstall it into the car. As I said, I'm going to reinstall my original because it works absolutely fine, but you basically . That paper towel was just in there to catch some oil that dripped out of the engine, pull this out of here. Okay, and I'm just going to speed it up here as I reinstall those two bolts, put them in and kind of get them hand-tight a little bit with the extension and socket and then tighten them up.
I tightened it to about 10foot-pounds, which is tight but not overly tight. Okay, see I'm working really close to the positive battery cable here. Make sure your wrench never touches that positive battery cable. Okay, reconnect this, put our spark plug wires back in place. Okay, number one goes on top. Okay, number two, number three and four. Now, just a quick test to see that it runs.
We hope this helps you out. Brought to you by www.1AAuto.com, your source for quality replacement parts and the best service on the internet. Please feel free to call us toll free, 888-844-3393. We're the company that's here for you on the internet and in person.
Shop Products


Honda Accord Acura CL Distributor TRQ EDA71780
Part Details:
- Standard Replacement
- Yes
- Yes
- Yes

How to Replace Distributor Cap Rotor 1999-2000 Chevy Tahoe
This video shows you how to install a new distributor and rotor in your 1992-2000 Chevy Tahoe.
