
How To Replace Driver Side Radiator Cooling Fan 1998-2002 Honda Accord
Created on: 2011-06-20
How to repair, install, fix, change or replace a broken radiator fan. If your car overheats or runs hot and the radiator cooling fan will not turn on then this may be your solutionon 1998-2002 Honda Accord models.
-
step 1 :Removing the Radiator Fan
- Disconnect the radiator fan wiring harness
- Pry the wiring harness out of its clips
- Remove the three 10mm bolts from the radiator fan
- Pull the radiator fan up and out
-
step 2 :Installing the New Radiator Fan
- Thread on the lower 10mm bolt
- Seat the fan on the bolt
- Start the two top 10mm bolts into the fan
- Tighten the three 10mm bolts
- Clip the wiring harness into place
- Connect the fan wiring harness
Tools needed
-
Flat Blade Screwdriver
10mm Socket
Ratchet
Brought to you by 1AAuto.com, your source for quality replacement parts and the best service on the Internet.
In this video, we're going to replace the left hand, or the driver's side radiator fan on this 2000 Honda Accord. It's a pretty straight forward repair. All you need is a 10mm socket and ratchet, and a regular screw driver.
When you turn on your vehicle's A/C, as I have here, you should see both fans go. If one of them is not working, that means that one's bad. If they're both not working then you need to check the relay or the fuse.
Removing and replacing the fans is pretty straightforward. There are some harnesses that clip on here so you want to pry those clips off. Then, there's a 10mm bolt. I can't really show it to you, but it's down here in the center of this metal one. Right down there, basically in the center is another 10 mm bolt. You want to disconnect your lead, which is a matter of pushing down on that tab right there and pulling it out. Right down here, there's a little connection on the bracket. What you do is you put your screw driver in there like that, and then pull this up and off the radiator shroud. I'm just going to fast-forward through removing those two top bolts. The lower bolt I remove all the way, but you don't have to. As I'll show you later the fan is designed to slide down on it so you can just loosen it up probably four or five turns. It comes up and out.
As you can see this one is slotted, so what you can do is take your bolt that you removed from the bottom here. You can take that bolt and just thread it back in. As you saw, my original one was working fine. So, we'll put it back down in and careful not to hit any of the fins on the radiator. Then, you can bring it up a little higher, reach down, drag your bottom bracket onto your lower bolt here. It looks like we took it up a little too much. Start here. Use a little fast forward again as I tighten up those three bolts. You want them nice and firm, they don't have to be extremely tight, though. I'll take this clip, it's down low where you can't really see what I'm doing, but I'm clipping this harness back onto the radiator shroud where it belongs. This routes underneath. Get this pinned back in, and then last but not least connect your harness.
We hope this video helps you out. Brought to you by www.1AAuto.com, your source for quality replacement parts and the best service on the Internet. Please feel free to call us toll-free, 888-844-3393. We're the company that's here for you on the Internet and in person.
Shop Products

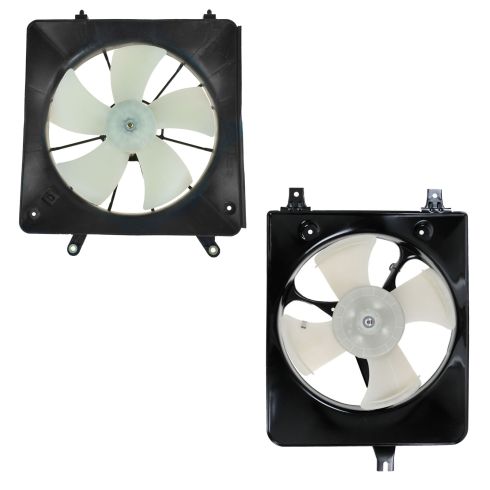
1998-02 Honda Accord L4 2.3L with Denso Style Radiator Fan Engine Cooling Fan Assembly with A/C Condenser Cooling Fan Assembly 2 Piece Set TRQ RFA81512
Part Details:
- 2 Piece Set
- (1) A/C Condenser Cooling Fan Assembly
- (1) Engine Cooling Fan Assembly

How To Replace Radiator Cooling Fan 2002-06 Nissan Altima
Replacing the radiator cooling fan? This repair is not as complicated as you might think. Learn to do it yourself with this video!
