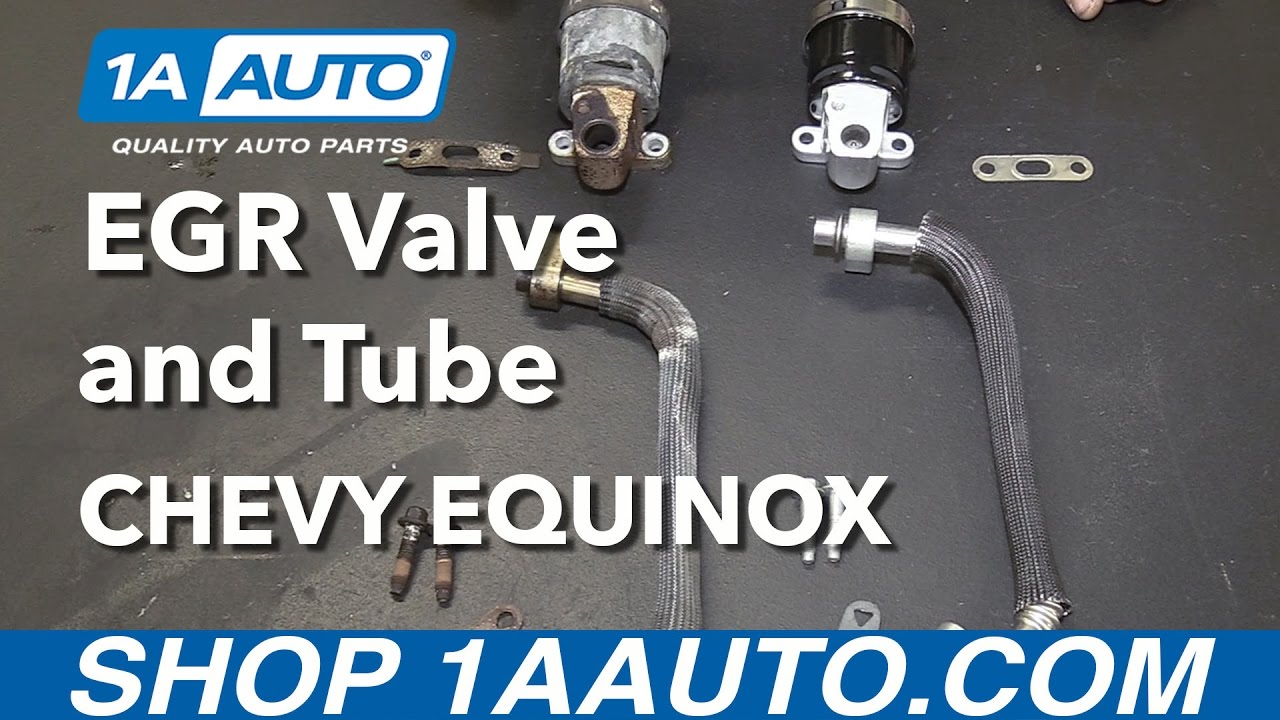
How to Replace EGR Valve and Tube 2005-09 Chevy Equinox
Created on: 2017-01-05
How to repair, install, fix, change or replace a failing, worn out, or defective EGR valve on 2008 Chevy Equinox.
-
step 1 :Removing the Engine Cover
- Remove the oil fill cap
- Turn the bottom portion of the fill tube counter clockwise
- Disconnect the EGR valve wiring harness
- Lift the engine cover up and off
-
step 2 :Removing the EGR Tube
- Soak the bolts with rust penetrant for 5-10 minutes
- Remove the three 10mm bolts from the EGR tube
- Remove the EGR tube
-
step 3 :Removing the EGR Solenoid
- Remove the two 10mm bolts on the EGR Solenoid
- Remove the EGR solenoid
-
step 4 :Installing the EGR Solenoid
- Insert the bolts through the new valve
- Insert the gasket to the EGR solenoid
- Insert the solenoid into place
- Tighten the 10mm bolts
-
step 5 :Installing the EGR Tube
- Insert the EGR tube into place
- Tighten the three 10mm bolts to the tube
-
step 6 :Installing the Engine Cover
- Insert the engine cover onto the pegs on the engine
- Connect the EGR valve wiring harness
- Reinstall the oil fill tube
- Reinstall the oil cap
Tools needed
-
Socket Extensions
10mm Socket
Ratchet
Pick
Hi, I'm Mike from 1AAuto. We've been selling auto parts for over 30 years! We're dedicated to delivering quality auto parts, expert customer service, and fast and free shipping, all backed by our 100% satisfaction guarantee. So visit us at 1AAuto.com, your trusted source for quality auto parts.
In this video, we're going to be working with our 2008 Chevy Equinox 3.4-liter V6. We're going to show you how to remove and replace your EGR and EGR tube together. This is for the non-updated EGR or the old style EGR where the new styles will require splicing and modification to the harness as well as a software update from your local GM dealer.
If you like this video, please click Subscribe. We have a ton more information on this and many other vehicles. If you need parts for your car, you can follow the link down the description over to 1AAuto.com.
Here are the items you'll need for this repair: pick, 10mm socket, ratchet, extension
Remove the oil fill cap. Grab the bottom portion of the fill tube here, turn that counterclockwise as well. Move that. The connector on top of your EGR valve is also going to be in the way, if removing your engine cover. This is a little plastic tab in here. Now, these are really prone to breaking, so I like to push down on that tab with a pick and just remove the safety from the connector completely, so we don't risk breaking it and having it be less secure when we reinstall. Push down on the tab, and remove the electrical connector from your EGR. Simply pop up, and remove your engine cover.
Remove the three bolts securing the EGR tube onto both the exhaust manifold and the EGR solenoid. We'll remove the top one with a 10 millimeter socket and ratchet and use an extension on the bottom two for a little more clearance. We soaked ours in penetrating oil for about 5, 10 minutes before we tried this, just to make sure that these bolts wouldn't snap. Remove the EGR tube.
With the EGR tube out of the way, remove the two 10 millimeter bolts on the EGR solenoid. We'll do this using a 10 millimeter socket and ratchet. With the bolts removed, you can remove your EGR from the intake manifold.
Let's put the bolts from the EGR through the new valve. Place the gasket on there to make sure it doesn't move and it's going to make it a lot easier to line this up. Line up the two bolts. Start both of those in by hand and we'll tighten those back down with our 10 millimeter socket and ratchet.
A good trick for lining up this gasket when we install it is if the holes are the right size we can actually get the thread started into the gasket a little ways. It'll help make sure it doesn't move when we go to install it back onto the exhaust manifold. These do rotate and are flexible. We'll set the bottom in. Just get a couple of threads going there just to keep it pretty close to in place. Then we'll tweak it and line the top up if we can. Start that bolt as well in, just a couple of threads because we don't want to lock anything down yet. Once all that's started and everything's seated, we can tighten it all up with our 10 millimeter socket and ratchet.
Reinstall the engine cover. These bushings sit on top of these two pegs here. Snap both of those into place. Reinstall the oil fill tube, as well as the cap. Reconnect the electrical connector for the EGR, and again, I remove these safety clips. Pop that back in if you did the same thing.
Thanks for watching. Visit us at 1AAuto.com for quality auto parts, fast and free shipping, and the best customer service in the industry.
Shop Products

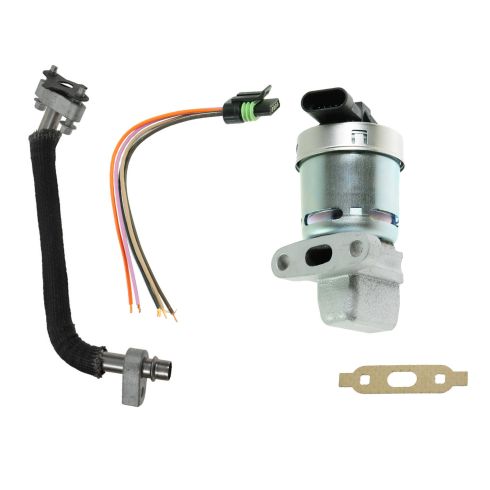
Chevrolet Equinox Pontiac Torrent EGR Valve & Tube Kit DIY Solutions ESS00155
Part Details:
- Pigtail
- (1) EGR Tube
- (1) EGR Valve
- (1) Electrical Connector

How to Replace EGR Tube 2006-08 Dodge Ram 1500 5-7L
New EGR Tube from 1AAuto.com How to repair, install, fix, change or replace a failing, worn out, or defective EGR valve tube on 06, 07, 08 Dodge Ram 1500
