How to Replace Engine Water Pump 2000-05 Chevy Impala
Created on: 2011-11-22
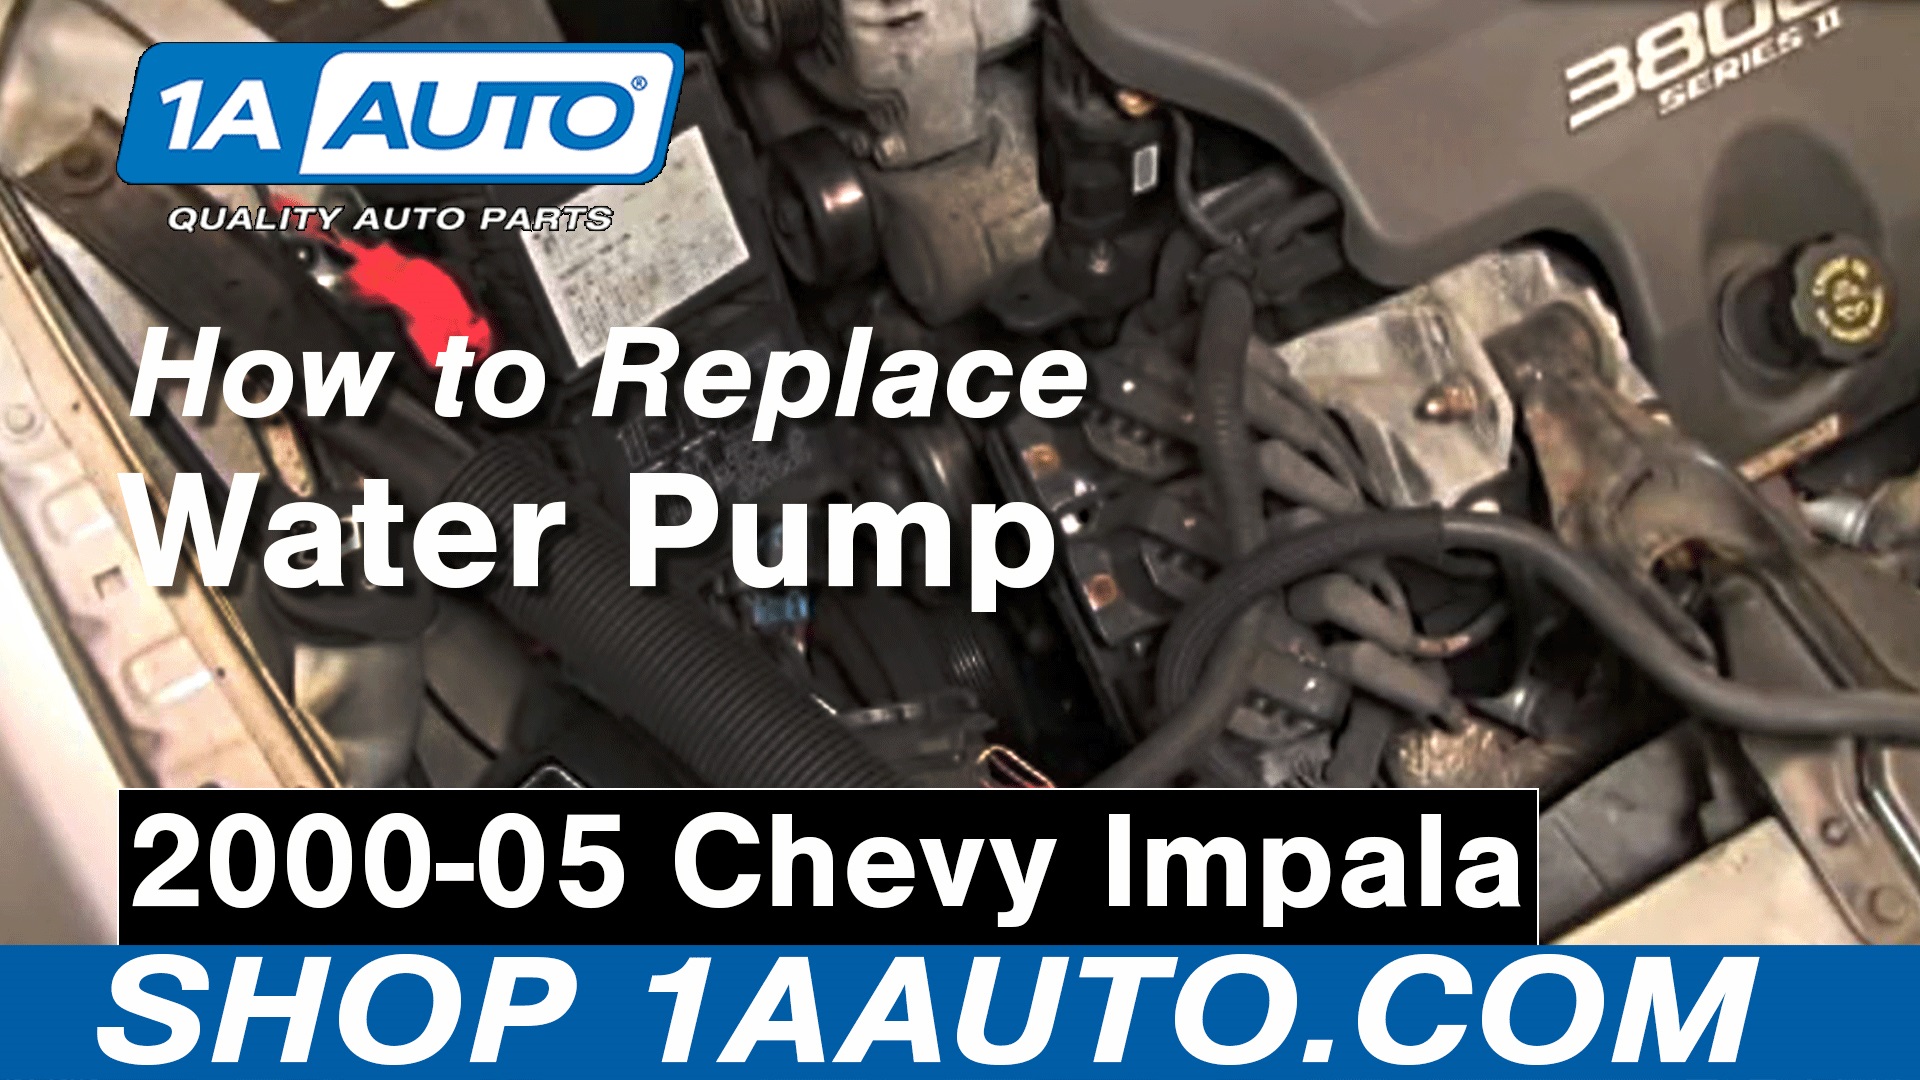
Watch this video to learn how to replace your own water pump. The experts at 1A Auto show you how to replace the water pump on your 00-05 Chevy Impala.
-
step 1 :Accessing the Water Pump
- Remove the two 13mm bolts from the strut brace on the passenger side.
- Remove the two 10mm nuts holding the coolant take in place.
- Lift the tank up and set it aside.
- Place a belt wrench on the water pump pulley.
- Use an 8mm socket to remove the 4 bolts holding the pulley in place.
- Remove the pulley.
- Turn the power steering pump pulley to access the bolts (2).
- Loosen the bolts and pull the power steering pump forward.
-
step 2 :Removing the Water Pump
- Place a catch pan underneath the water pump.
- Remove the 13 mm water pump bolts.
- Remove the 3/8 inch water pump bolts. One underneath and three on top.
- Tap the pump with a hammer to free the pump and remove it from the engine.
- Use a razor blade to scrape away the gasket left on the engine.
- Make sure that the surface where the water pump attaches is clean.
- Jack the driver's side of the car up to pour out more of the coolant. When it stops drop the car back down.
- Use a paper towel to clean up some of the coolant and make sure everything is clean.
-
step 3 :Installing a New Water Pump
- Put a light amount of gasket sealant on the new water pump.
- Line the water pump up with the engine.
- Start the top bolt. Then the bottom bolt. Then put the rest of the bolts in by hand.
- Tighten them with a ratchet.
- Tighten the bolts with a torque wrench. Large bolts 15lbs and an eighth of a turn. Do the inner of one side then the other. Then both outer bolts. Small bolts 11lbs and a quarter turn. Do them in the order of top, bottom, left then right.
- Replace the power steering pump bolts. Tighten them firm but do not over tighten them.
- Line up and bolt the water pump pulley back into place. Use the belt wrench and an 8 mm socket to do this.
-
step 4 :Installing the Serpentine Belt
- Start with a loop and put it down around the crank pulley.
- Continue it down around the AC pulley.
- Bring it up from the crank pulley.
- Put it around the water pump and around the tensioner.
- Then down around the power steering pulley.
- Use a pipe and ratchet to turn the belt counterclockwise and then up on to the alternator.
-
step 5 :Replacing Coolant Bottle and Filling the Radiator
- Drop the coolant bottle back into place and secure it with the 10mm nuts.
- Use 13 mm nuts to fasten the brace.
- Fill the radiator directly. Making sure you have the appropriate amount of fluid.
Tools needed
-
Razor Blade / Gasket Scraper
Funnel
A Piece of Pipe (for leverage)
Socket Extensions
Hammer
15mm Socket
8mm Socket
Belt Wrench
Gasket Adhesive
10mm Socket
Drain Pan
Ratchet
Floor Jack
3/8 Inch Socket
Brought to you by 1AAuto.com your source for quality replacement parts and the best service on the internet.
Hi, I'm Mike Green. I'm one of the owners of 1A Auto. I want to help you save time and money repairing or maintaining your vehicle. I'm going to use my 20-plus years experience restoring and repairing cars and trucks like this to show you the correct way to install parts from 1AAuto.com. The right parts, installed correctly that's going to save you time and money. Thank you and enjoy the video.
In this video, we're going to show you how to replace the water pump on this 2002 Chevy Impala. This vehicle has the 3.8 liter V6, engine that's used in a lot of different GM vehicles, so the procedure is basically the same.
Tools you'll need are a jack, an 8 mm, 10 mm, 13 mm, 15 mm, and 3/8 inch sockets with a ratchet and extension, a belt or a chain wrench, a hammer, a gasket/razor blade scraper, gasket adhesive, torque wrench, and then replacement coolant and a funnel.
Start out by removing the two 13 mm bolts that hold the strut brace on the passenger side. There are two 10 mm nuts that hold the top of your coolant tank, and then once you have those out, you move the tank up and you can just actually leave it connected and just kind of lay it on the front of the engine. Just make sure you don't spill any coolant out of it.
This is called a belt or a chain wrench. You put it down on the water pump pulley. Then take the belt, pull it tight, turn it. It kind of holds itself. Then 8 mm socket and ratchet. I apologize, I kind of got in the way here. You'd hold the pulley with that belt wrench, then use an 8 mm socket and ratchet and take the four bolts that hold the water pump pulley on there. Then once I'm done that, remove the bolts, and then I'll remove the pulley.
That was a series of bolts. There's two larger ones over here, and then two larger ones here, and then a series of bolts around the perimeter. See this bolt right here is blocked by the power steering pulley. That's pretty easy to remedy. You need to just take the power steering pump off, which, if you reach through, slowly turn the power steering pump pulleys and just reach through and feel. Then you'll, actually you can see the tip of my finger on one of the bolts, so reach right through the pulley and remove the bolts for the power steering pump.
Take the 13 mm socket and extension. I'm going to speed it up here. So I use that extension with the socket on it, put it through the hole in the pulley, get it onto the bolts. There's two bolts that hold that power steering pump in place. Once you have those bolts out, then you can pull that power steering pump. I don't actually take the bolts out of the pump, I just pull the pump forward to expose that water pump bolt.
Now you can see, after you remove those two bolts and the power steering pump's out of the way, easy access to that bolt and the rest of them. Before you take the water pump bolts out, make sure you have a catch pan underneath.
The larger bolt at 13 mm. I'm just going to fast forward here a little bit. As I remove the bolt and each bolt on, one of the bolts on each side that goes into the water jack of the engine so it will drain the fluid from the engine as you pull the bolt out.
You can see as I took that bolt out, now I'm leaking fluid out of the engine, which is fine. I'm going to fast forward through taking out the 13 mm, or the larger bolts on the other side, and again, just like on the first side, one of the bolts leads right to the water jacket, so you'll get some coolant that leaks out of the front of the engine.
Interesting enough, the smaller bolts are 3/8 inch. Again, just use fast forward as I remove, there's four smaller bolts, one is underneath and then three are on top.
With all the bolts out, take a hammer, couple taps, all right, this is your old water pump you can see our old water pump. We need to find, or just make sure we remove all the gasket from the engine. Usually you kind of reach down there with your fingernail and peel slowly and try to take off the largest chunks that you can. This is a razorblade holder, a very sharp blade, helps to get stuff like this off. Just run the razorblade underneath the gasket.
I'm going to fast forward here again. Very important, make sure you remove all the old gasket, then use some paper towels, maybe a little bit of solvent, and just make sure that the surface where you mount the water pump is clean.
Here in this shot I'm just going to jack up the driver's side of the car a little bit. That just helps to get a little more of the coolant out of the engine. Then, obviously, after some of it drips out, then let the car back down. Like I said before, a little paper towel, soak up the fluid, and make sure everything's clean.
With my new pump, I've put a very light amount of gasket sealant on both sides. I'm going to put my upper and lower bolt through. Two of the holes are just lineup holes. Goes in like that. I am being careful not to lean against much of anything. I'm going to get it close, start my top bolt. So I'm all lined up pretty well. Put it on. Start the bottom bolt.
Now I'm going to put all the rest of the bolts in by hand. Then I'm just going to use my 8 mm socket and ratchet, as well as my 13 mm socket and ratchet. I'll just snug the bolts first, because you do want to torque these on, so I'll show you that in a minute. To tighten roughly, you want to use a torque wrench. The larger bolt you torque to 15 pounds. Then you turn about an eighth of a turn. Start on one side, then go to the other side.
I'll speed up here. Then torque the other bolts. Again, that's 15 foot-pounds and then about an eighth of a turn. Tighten them up in a pattern, doing opposite. So when you do an inner on one side, then do the inner on the other side; the outer on one side, then the outer on the other side.
Now for the small ones, it's 11 pounds. You want about a quarter, just a little less than a quarter of a turn. Again, here I'll speed up. That was 11 foot-pounds, and then a little less than a quarter of a turn. You want to do these in a pattern as well. I do the top, then the bottom one, then the left, and then the right one.
Take our 13 mm socket on our extension, reach down, kind of put the power steering pump back up into place. Get our socket on the bolt and lift it and feel it into place. Start turning the bolt, see if you can get it to catch. Looks like I got it. That kind of was the editing version. I did probably play with that for about a minute-and-a-half or two minutes before I got the bolt to start in. Once you get the first bolt in, then you just kind of put the socket and extension on the lower bolt, start that one in, and then grab your ratchet and tighten them up. You want to tighten these up firm. You are going into aluminum so do not over tighten them. Probably calls for about 25-30 foot-pounds.
We're going to put the pulley back on. There are little dimples punched through the pulley. If you look closely you can see there's threaded holes and then the little dimples right next to them. Put the pulley back, the pulley down on, kind of line it up looking back through it. You know when you got it on because it's nice and, you push on it and it stays nice and steady. Start one of the bolts.
Fast forward once I get one of the bolts started, start another bolt and then get all four started and kind of on there by hand. Now use a belt wrench again. Put it around the pulley in the opposite way, then grab the 8 mm socket with a ratchet and tighten these bolts up firm. They probably should be anywhere from 11-12 foot-pounds.
We're going to follow serpentine belt diagram. We're going to put a loop down around the crank here, then around the AC pulley, get it around our power steering pump and up and over. The only thing we won't put it on at first is the alternator. We're going to take a loop, put it down around the crank pulley, continue it down around the AC pulley, comes up from the crank pulley, it goes around our water pump, around our tensioner, and down and around the power steering pulley. Pretty much got it preliminary routed. It's a little off here. On our AC pulley. Seems we have it on our crank pulley correctly and the power steering pulley correctly. So it just has to go up on to the alternator. If you don't have a long ratchet, put the 15 mm socket on there, put a nice big pipe here. That gives you a lot of extra leverage. Pull with that pipe. I do apologize here. You use the pipe and ratchet to turn the serpentine belt tension counterclockwise and put the belt up and on to the alternator. Make sure the belt is on my AC compressor correctly. It's down and around the crank correctly. Power steering pump, up and around.
Just going to speed through here. One of the last steps is putting that coolant bottle back in place and then using the 13 mm nuts to hold down the brace and use the 10 mm nuts to fasten the coolant bottle on. Now you want to fill the radiator directly. On this Impala it originally use the red dex-cool but its already been changed over to the green so I'm just using the regular green antifreeze. Fill the radiator directly and then start it up and run it. And check the fluid then fill it up the rest of the way through the overflow bottle. For the first few times you drive it just pay attention to it and make sure you keep the right amount of fluid in it.
You can see the engines running. Nothing dripping from there. You might see a little steam. That's just kind of the stuff burning off that spilled on the engine. No drips underneath. A couple residue ones from again what spilled on the body and whatnot.
We hope this helps you out. Brought to you by www.1AAuto.com your source for quality replacement parts and the best service on the internet. Please feel free to call us toll free 888-844-3393. We are the company that serves you on the internet and in person.


Chevrolet Buick Pontiac Olds ACDelco Professional Engine Water Pump ACDelco 252-693
Part Details:
- ACDelco Professional

Top 5 Problems Ram Truck 1500 4th Generation 2009-17
Watch this video to learn the top problems facing the 2009-17 Ram 1500 truck.
