How to Replace Exhaust Camshaft Position Sensor 2006-13 Toyota RAV4
Created on: 2019-09-19
Watch this video to learn how to replace the exhaust camshaft sensor on your 06-13 Toyota RAV4. 1A Auto shows you how to do it yourself!
-
step 1 :Removing the Exhaust Camshaft Position Sensor
- Lift the engine cover straight up to remove it
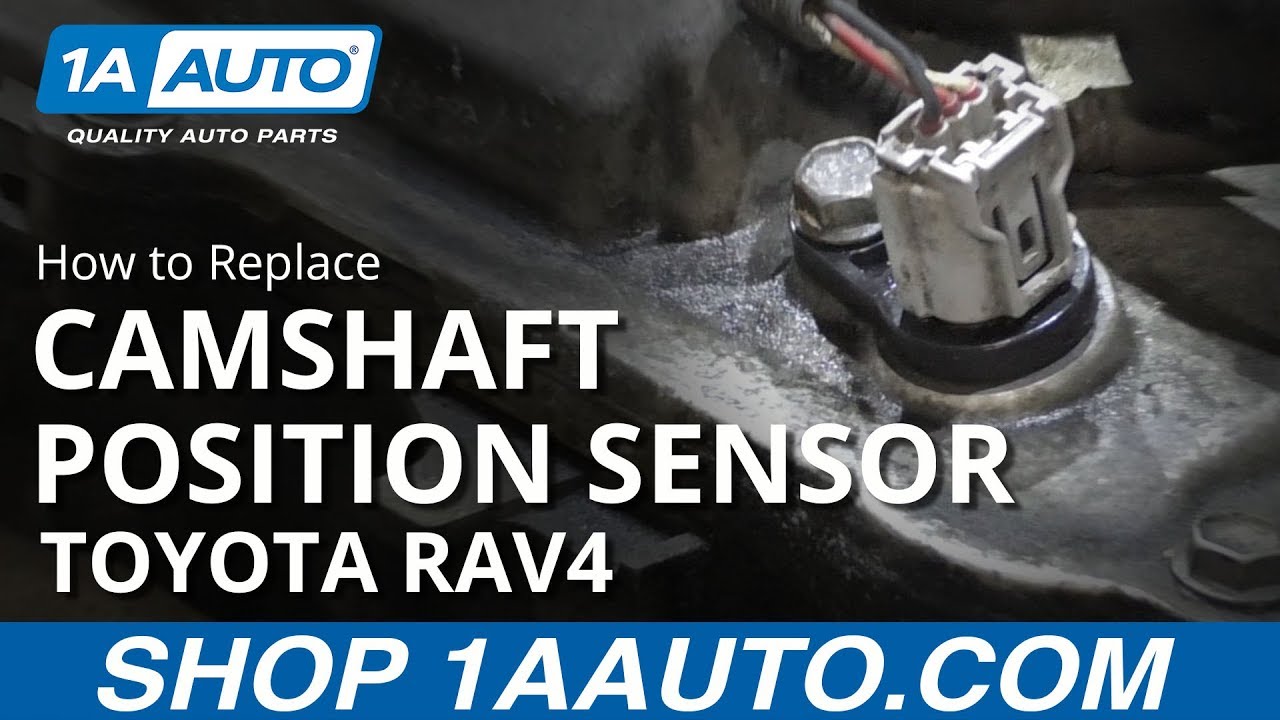
- Locate the exhaust camshaft position sensor at the front of the valve cover
- Disconnect the camshaft position sensor electrical connector
- Remove the 10 mm bolt
- Pull the camshaft sensor straight out to remove it
-
step 2 :Installing the Exhaust Camshaft Position Sensor
- Apply a small amount of oil or grease around the sensor O ring
- Insert the sensor into position
- Install the 10 mm bolt
- Connect the sensor electrical connector
- Push the engine cover down onto the mounting pins
Tools needed
-
Socket Extensions
10mm Socket
Ratchet
Cloth Rags
Pick
What's up guys? I'm Andy from 1A Auto. In this video, I'm going to show you how to replace the exhaust camshaft position sensor on this 2010 Toyota Rav4. If you need this part or other parts for your vehicle, click the link in the description and head over to 1AAuto.com.
I just want to pull this cover off. Just grab underneath the cover, slide up, and that up there. These retainers that hold it in, just push on little grommets right on those locations. The exhaust camshaft position sensor is located right here. We're just going to disconnect the connector. Push down right here on the lock. Disconnect the connector. Now if there's any dirt or anything you want to wipe it away or take a blowgun, blow off any dust. You don't want any of the dirt getting into the engine.
And going to take a 10 millimeter socket and electric ratchet or you can use a regular ratchet, take this bolt out and just grab the sensor. Just wiggle it back and forth a little bit. There is an O-Ring that seals it. Sometimes it'll stick a little bit, so the O-Ring's pretty stuck in there. What I'm going to do is just take a little water displacement oil or some kind of a lubricant, just spray that in there. Just let it sit for a second. Lubricate that and then I should be able to pull it out. All right, let's grab the sensor, wiggle it a little bit, twist it Just going to put a little bit of tension right here, just with a pic. There we go. And it came up. This is the O-Ring that was sticking. Here's the old sensor.
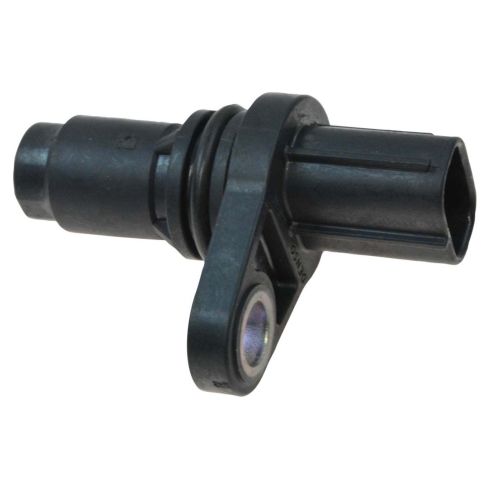
Just before we install the new sensor, just take a rag and wipe out some of that area. There's probably a little bit of corrosion on there. You take a little bit of emery cloth or some light sandpaper and just sand it it if you had to. I don't plan on doing that with this one. That's good, especially because you don't want any of that stuff to get down in there, so. Here's the old part. Here's the new cam sensor from 1AAuto.com. You can use this cam sensor both in the exhaust cam or the intake cam. The sensor itself is the same as the same O-Ring. The connector's the same, and the mounting position is the same. Get yours at 1AAuto.com and you'll be ready to rock and roll.
All right, take the new sensor. You can take a little bit of oil or transmission fluid or even some other kind of grease and put that on there. It'll help the O-Ring go in a little easier without rolling. And slide the sensor in position. Just wiggle it a little bit, back and forth. Make sure it's flush. That looks good. Take the bolt, get the bolt started. And I'll take my 10 millimeter socket and electric ratchet, snug this down. That's good. Take the connector, line it up, lock it in place. Take this cover and we want to align these little tabs up with these little pins right there. There's three of them. Just push it down and then you're good to go.
Thanks for watching. Visit 1AAuto.com for quality auto parts shipped to your door, the place for DIY auto repair. And if you enjoyed this video, please click the subscribe button.
Shop Products

How to Replace Camshaft Position Sensor 2002-09 Toyota Camry
Need to replace a broken or worn out camshaft position sensor? Watch this video and learn how to remove the air intake and sensor to do it yourself
